JPayne Woodworking Creative Craftsmanship
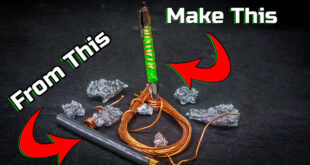
One of the first projects most turners make is a pen. Pens are really a lot of fun to make and are a super satisfying project to complete. Not only are they quick and easy to make for the most part depending on the materials but they also are great gifts and something you can use every day. One of the best parts though is that you can make them super unique if you put a little thought into it. I wanted to make one that went along with my tastes. So of course it would be a hybrid epoxy pen. I also wanted to use a little bit of a different technique to make the mold for this pen and see how it would work out.
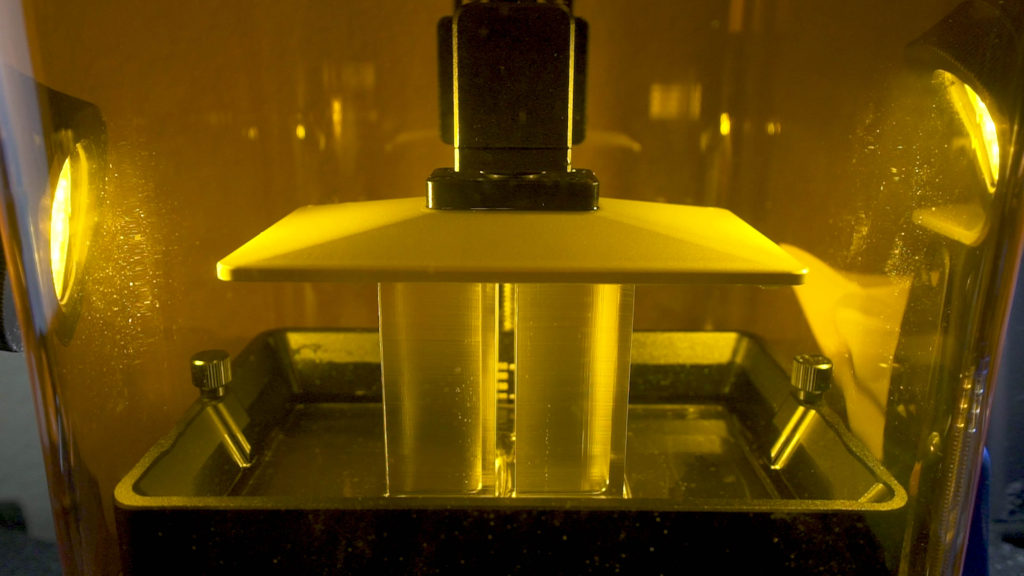
The first step was to make the molds for he two parts of the pen that would be the blanks. I had an idea to us the Zortrax 3d printer to make the molds that would be needed. After designing the molds in fusion 360 I printed out the molds using yellow flexible resin. These liquid Inspire 3d printers from Zortrax are really cool to watch and are very accurate in there printing. With this in mind I knew exactly what size the mold would be and made things a little easier in that regard. The yellow flexible resin I used was in hopes of being able to reuse the molds after this project but unfortunately this was not possible. Watching the printer do its work though is mesmerizing. It makes you feel like you are in Star Trek watching a machine pull a solid object from a shallow pool of liquid.
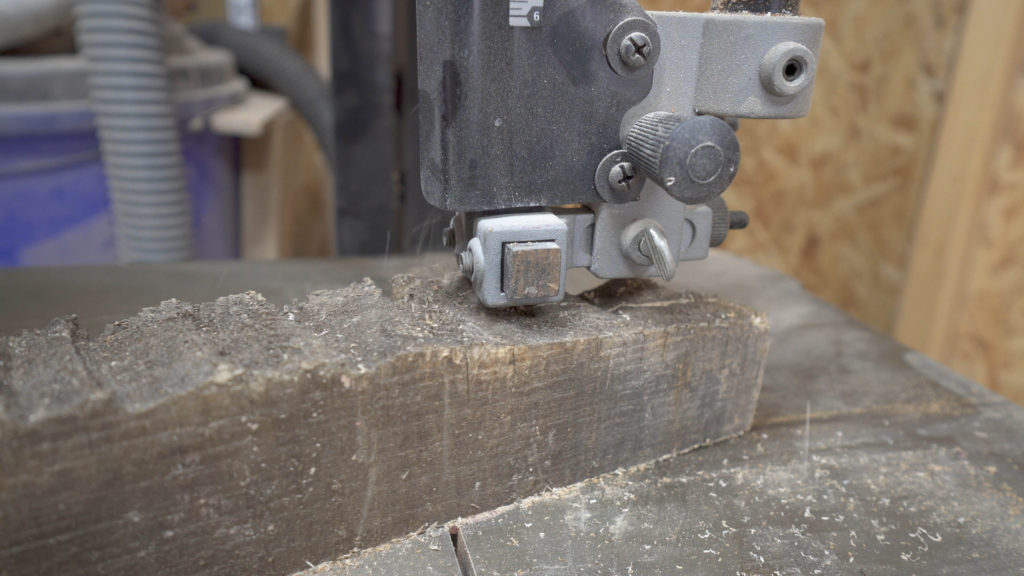
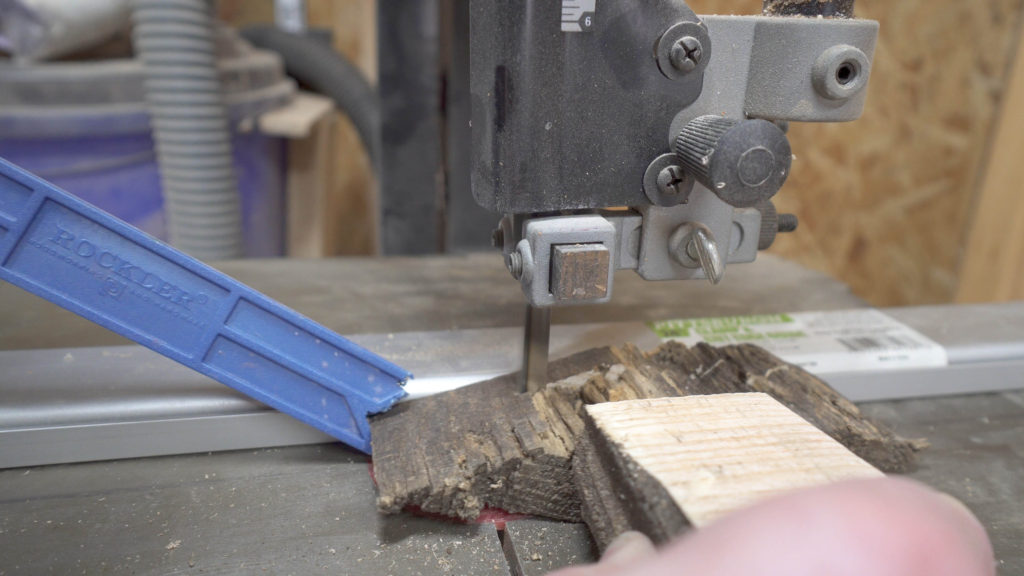
After the molds were printed out I began cutting down the white ash that I was going to be using for the wood in the pen. The piece of ash that I went with had a very weathered and tattered look I thought this would give a cool pattern with the epoxy. Using the band saw I cut the board down to a size where I could stand a small section of the ash up vertically in the mold and the wood would take up roughly half of the mold space. This would give a hard contrasting line between the epoxy and the wood.
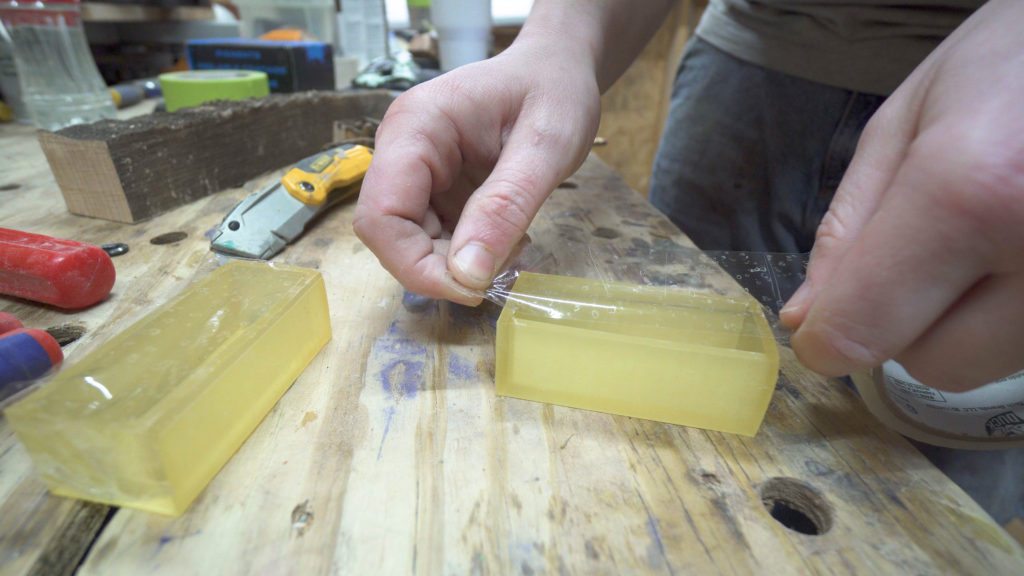
I now had to prep the molds for the epoxy. I did this with packing tape layering the tape inside the mold to where there were no exposed surfaces in the mold. This was completed simply enough by placing a strip of tape on the top opening of the mold and cutting the piece with a razor blade so that it would lay flush against each interior wall. Overlapping the pieces made sure that every surface was completely covered by the tape. With the hopes that the molds would be reusable this was a step I took my time on to ensure it was completed correctly.
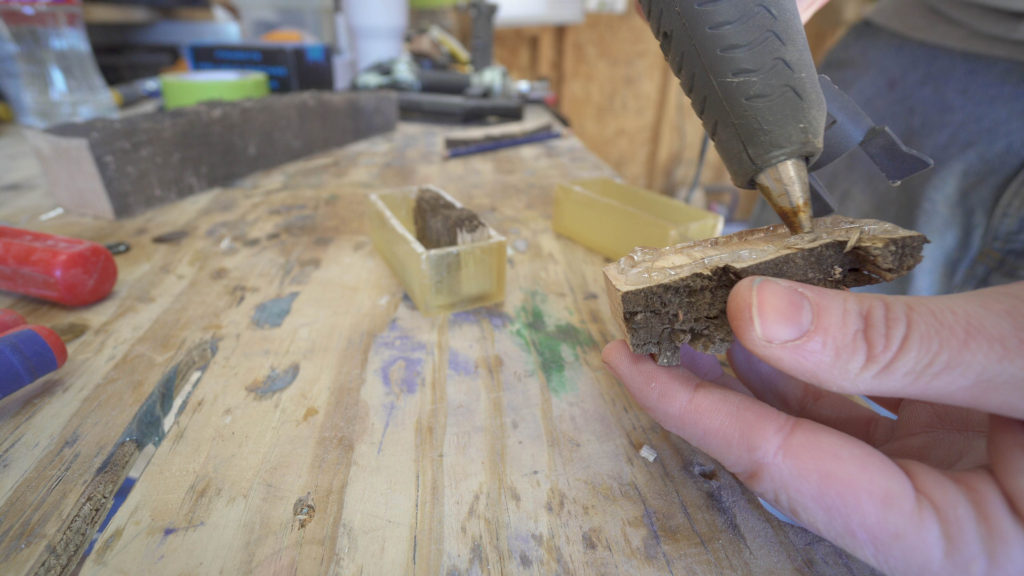
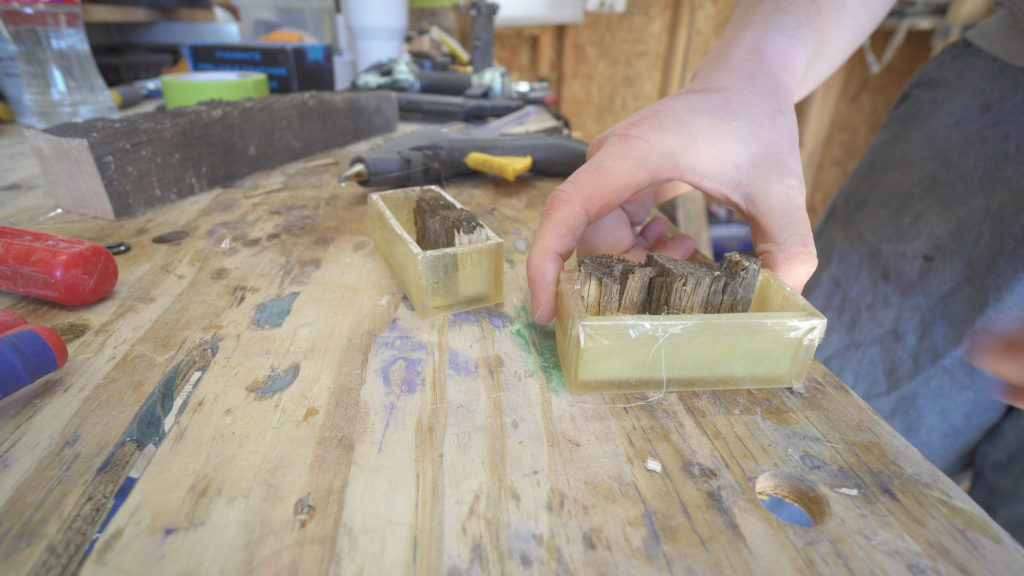
Once the inside of the mold had been completely covered I used hot glue to place the ash pieces I had previously cut into the molds. This was mainly to stop the ash from moving around inside the mold. I was not to worried about the epoxy getting behind the wood as it would be turned away on the lathe anyway. I did want to ensure however that the wood was aligned were the epoxy wood line would be close to center.
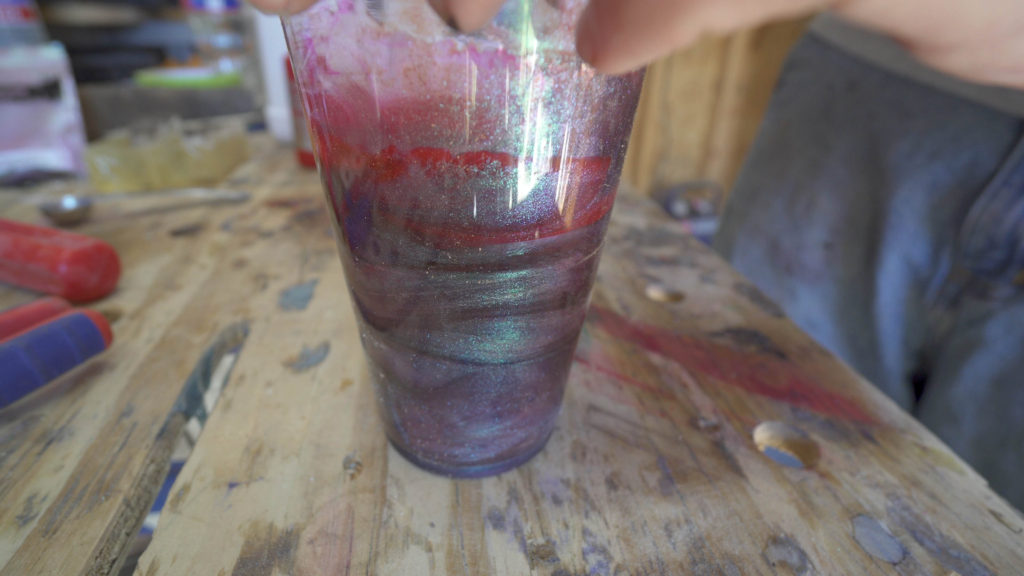
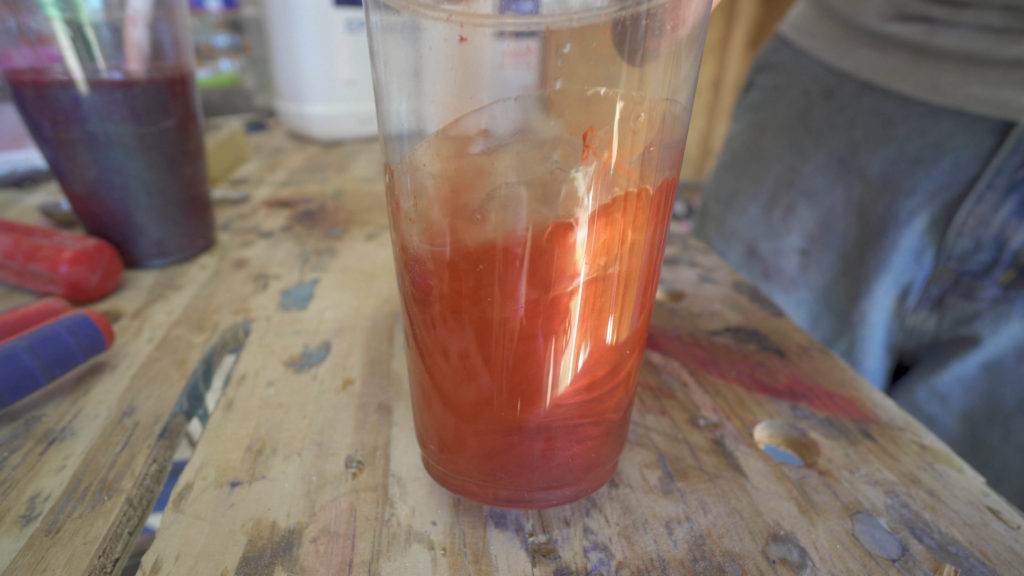
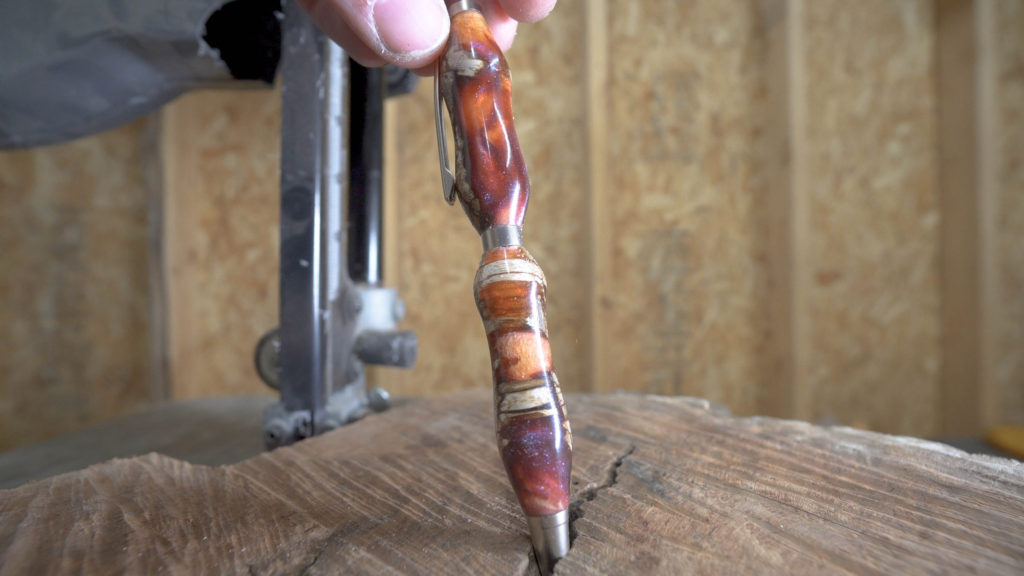
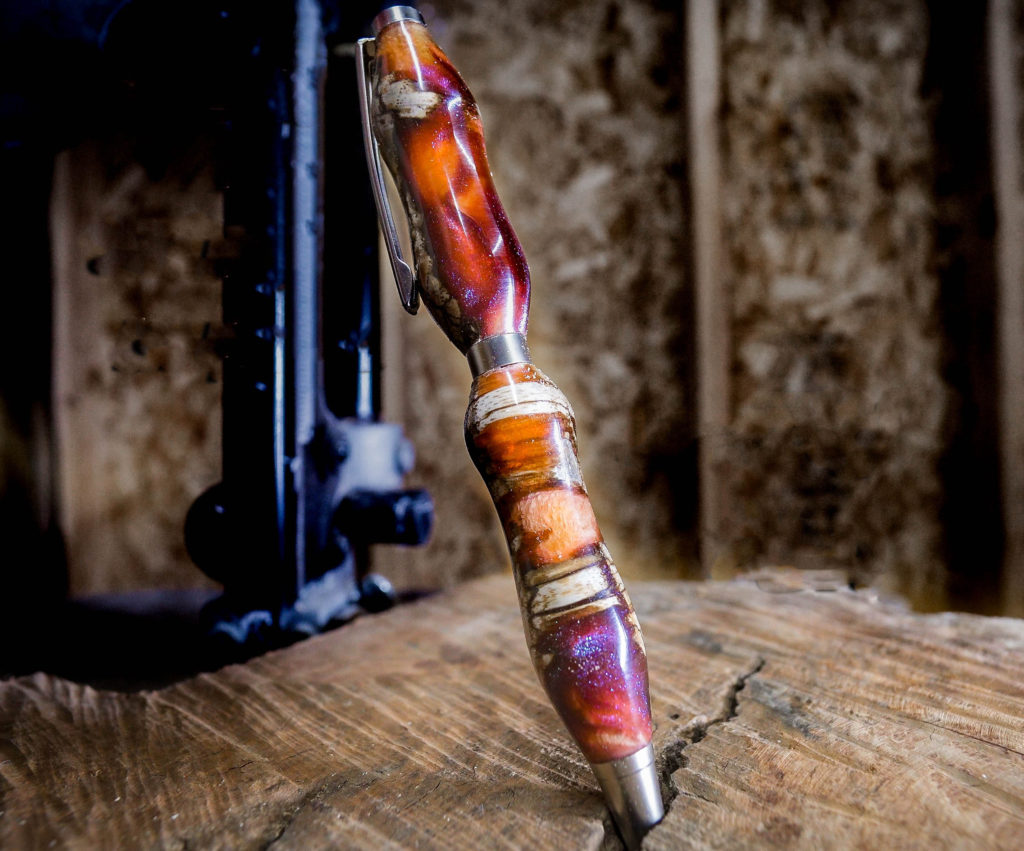
I mixed up some Total Boat epoxy and used Kp Pigments galaxy colorshift with Red juice tint added and also sakhir red pigments. I thought these two colors had great contrasting looks but something about them I thought would look great together. I mixed up each color independently in its own cup. If you were to try to mix them together to try to to pour both together it would have gave a very different look to the color.
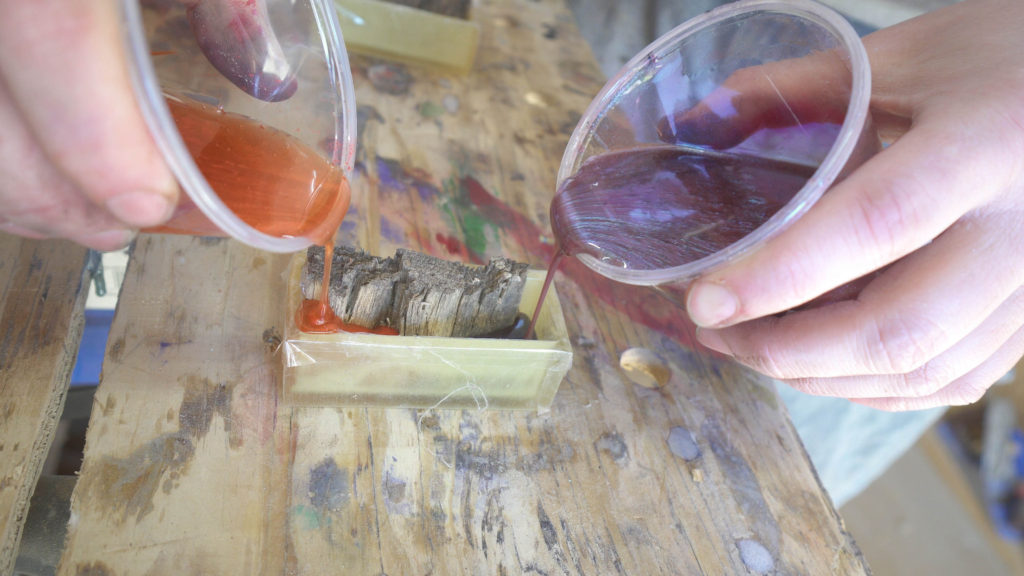
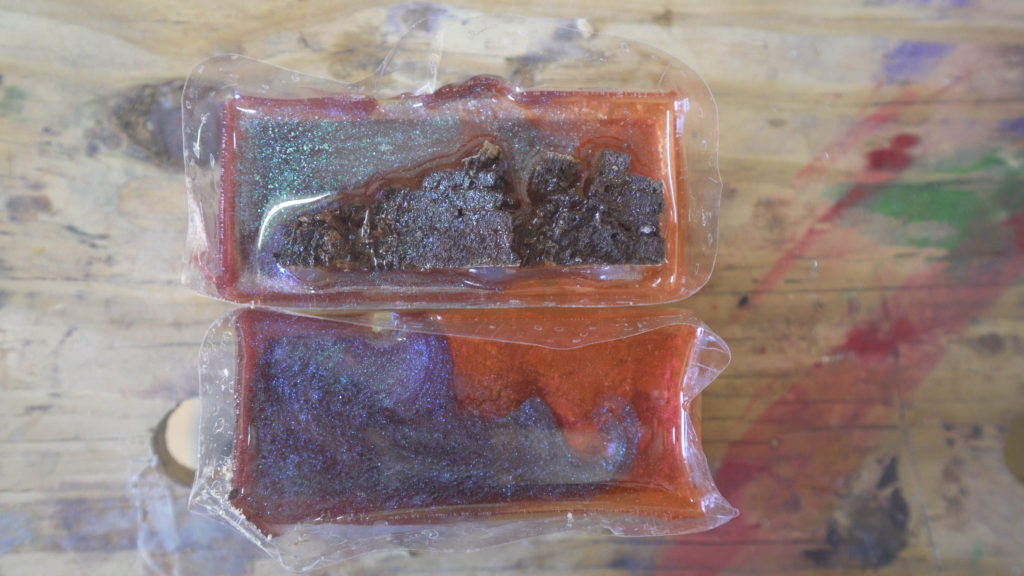
When pouring the two colors into the mold I started with both colors at the same time so that the colors would meet somewhere in the middle of the mold. I was in some was hoping that there would be somewhat of a soft line between the two colors once they were cured. This however as you will see was no the case. In the immortal words of Forrest Gump “ it happens”. The two color though do look amazing together. So with both of the molds filled with epoxy I placed both molds into the pressure tank to cure. After curing is where the real frustration came to pass. The molds witch were supposed to be flexible were really not at all. I do not know maybe the heat of the curing epoxy caused the molds resin to change and harden more than it was supposed to but after a long while trying to remove the molds I had to shatter them. So lesson learned and no harm done.
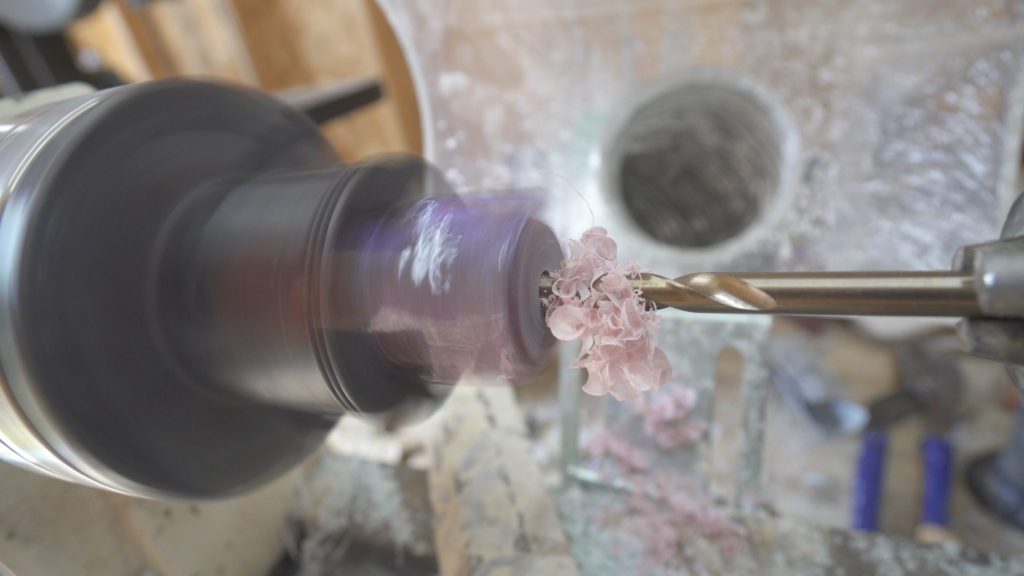
With the blanks removed from the mold I was ready to hit the lathe. First step was to place the blanks one at a time in the pen jaws on the lathe and bore a 7 mm hole into blank for the pen barrel. The pen jaws on the head chuck made this much much easier.
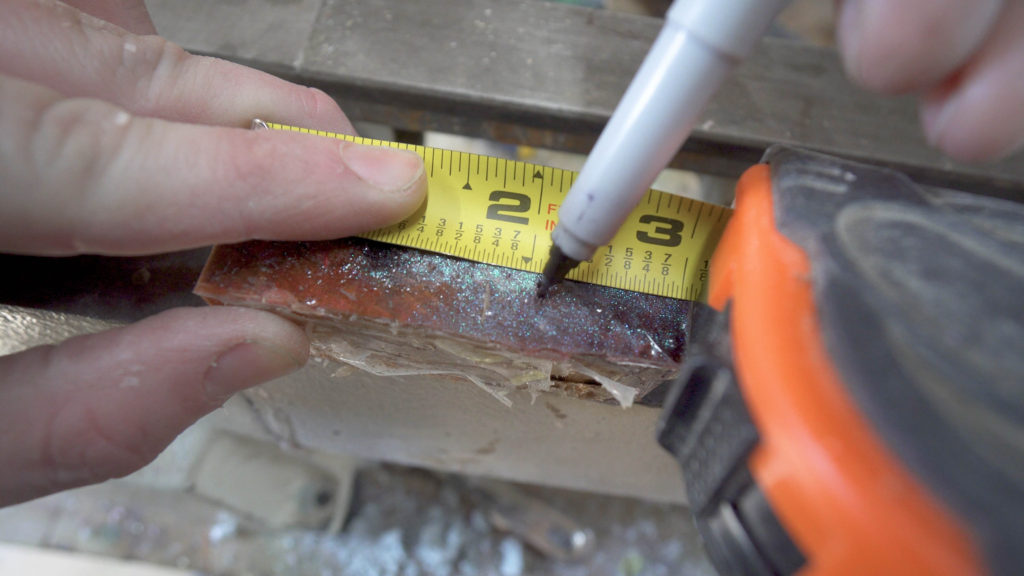
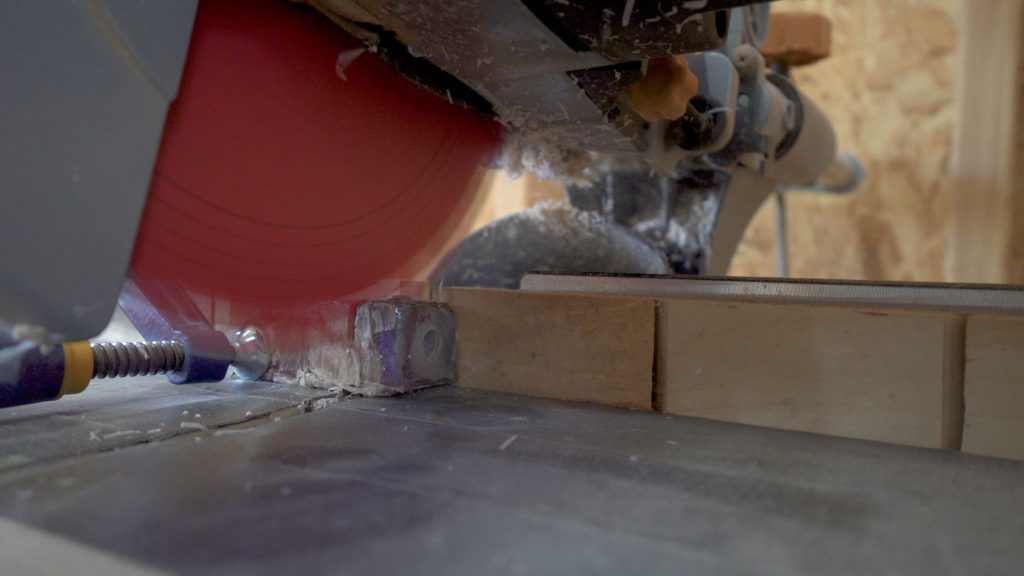
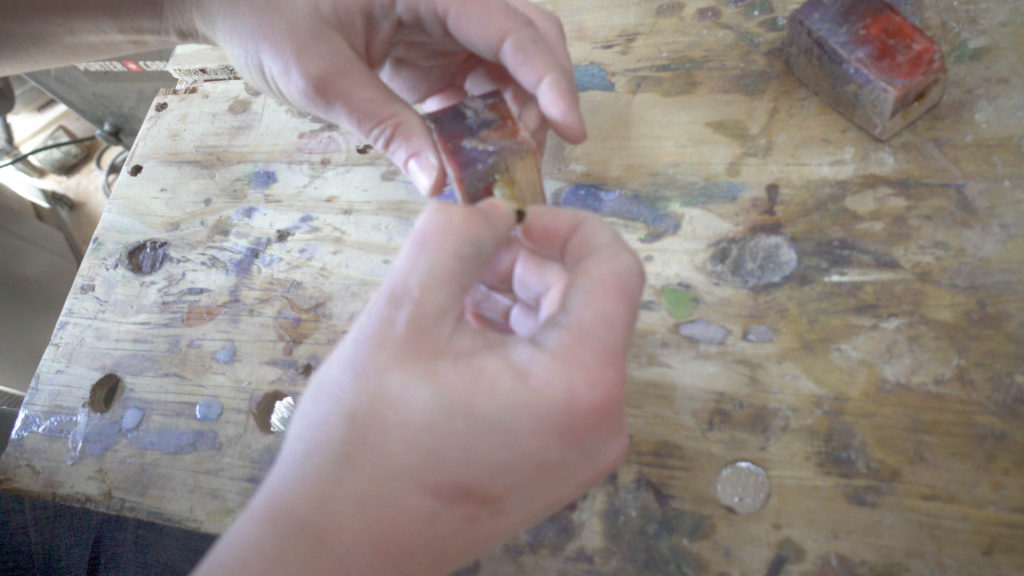
Now measure the length of the barrel for your pen kit. Depending on the pen kit you have the barrels may or may not be different lengths. Make sure to check this before you cut the blank to length. Also I like to cut the blank a tad bit longer than the barrel as once you ream the barrel flush it also remove the excess material. I would rather cut the blank a little long and not worry about the blank being to short after cutting.
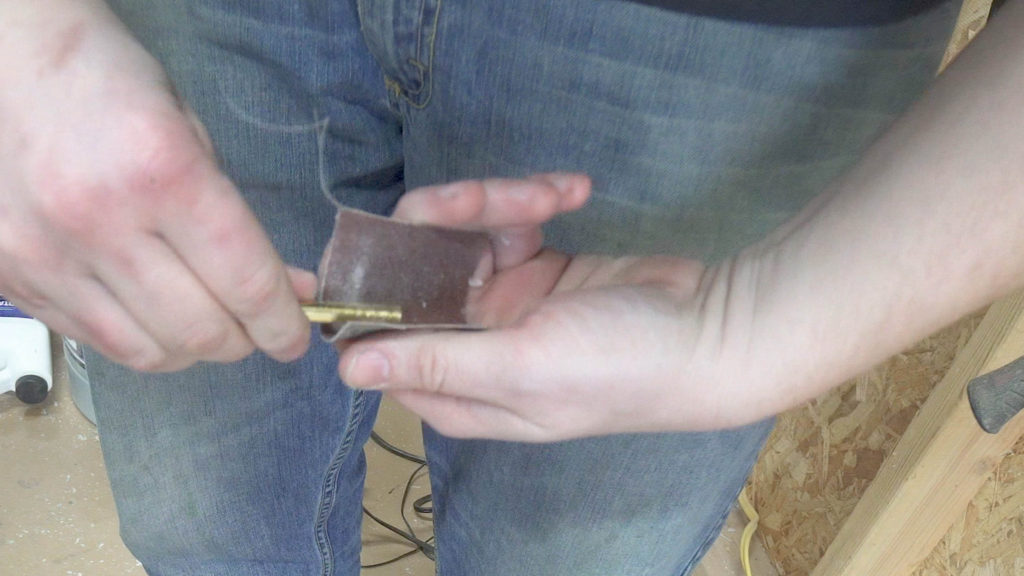
Before you place the barrel into the blank use a lower grit sand paper to scuff up the outer surface of the barrel. Scuffing the outer surface of the barrel will add surface area to the outer face and allow the glue or epoxy holding the barrel into place to hold much better.
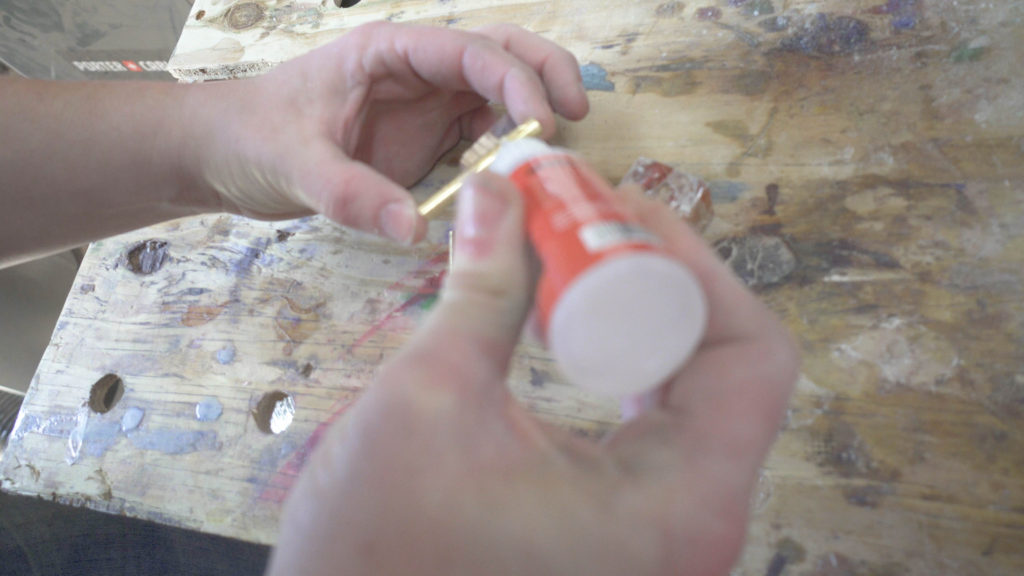
Once you have scuffed the barrel apply a small about of ca glue or epoxy if you prefer to the barrel. While doing this do not go all the way to the edge of the barrel with the adhesive this will help to keep from getting as much or any glue into the inside of the barrel when installing it into the blank.
While installing he barrel into the blank slowly rotate the blank as you insert the barrel. This will help to spread the adhesive around the inside of the blank and ensure the strongest bond.
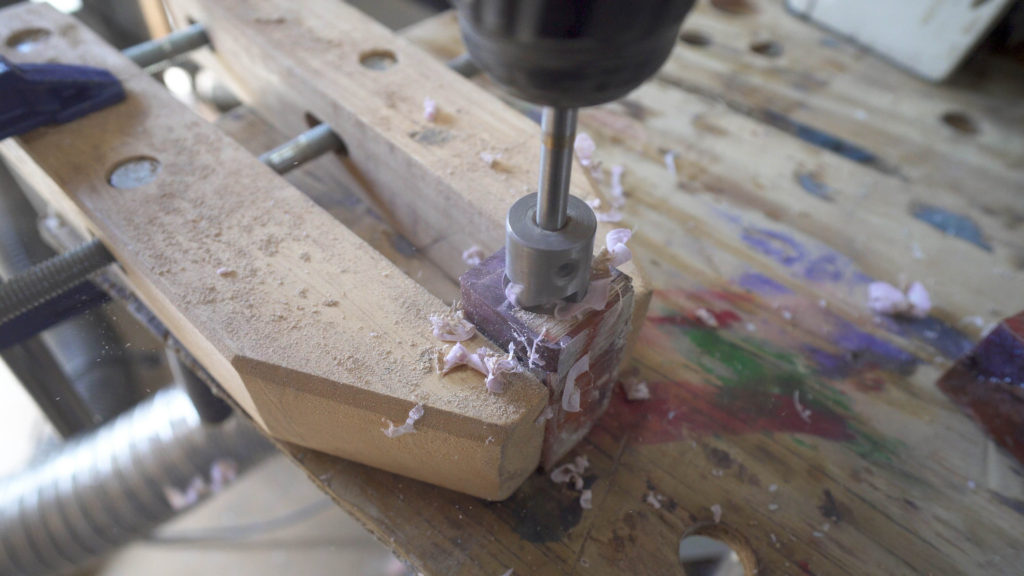
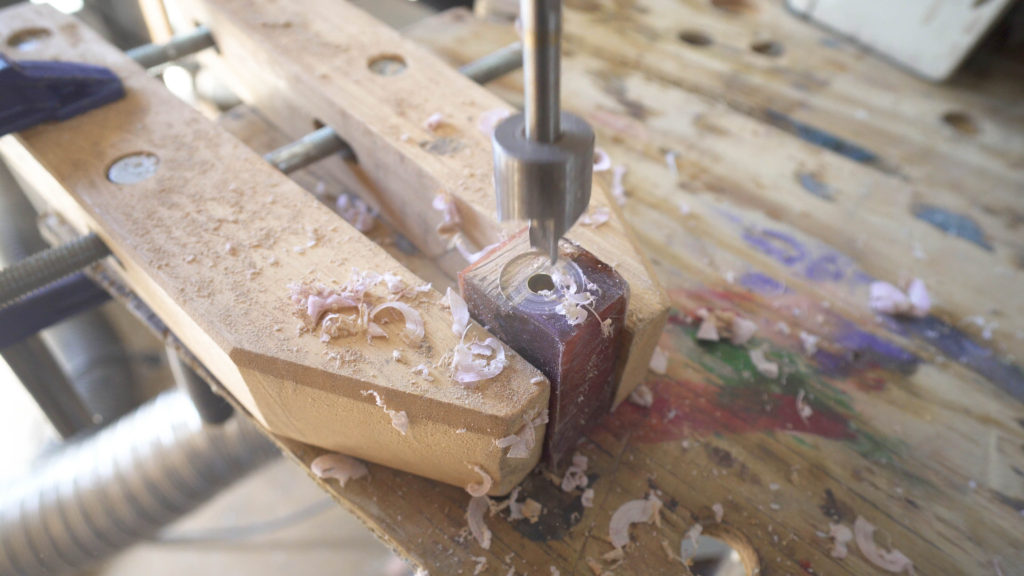
Let the glue on holding the barrels completely cure before moving on to flatten the ends of the barrel. Using a pen mill trimmer will flatten the top of the barrel or also remove any excess glue that had gotten into the barrel if any. This will insure proper installation of the pen components when the time comes. Having glue inside the barrel can cause the some of the components to not go into place when installing them with the pen press. Using a drill you only have to drill far enough to flatten the top edge of the barrel.
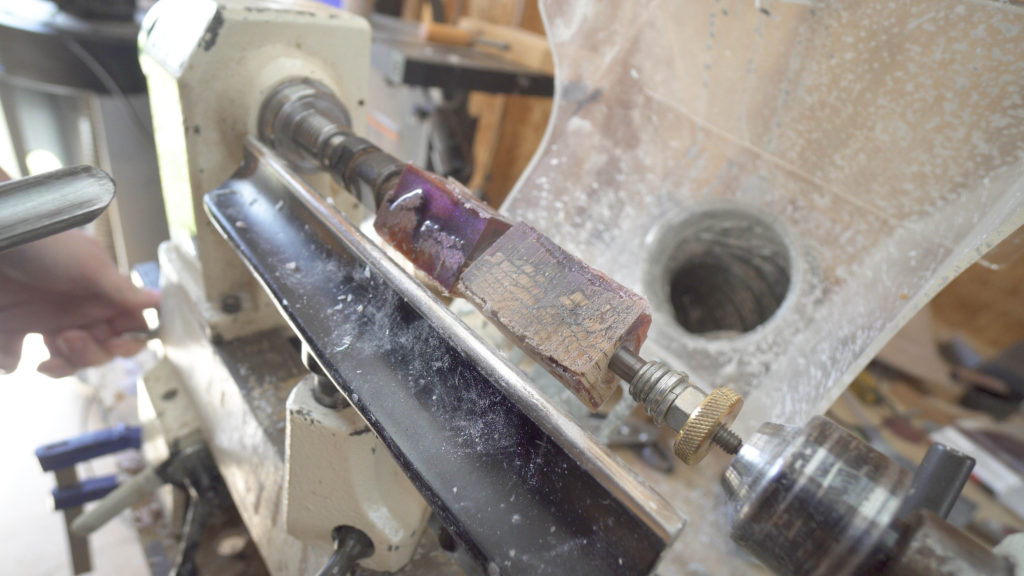
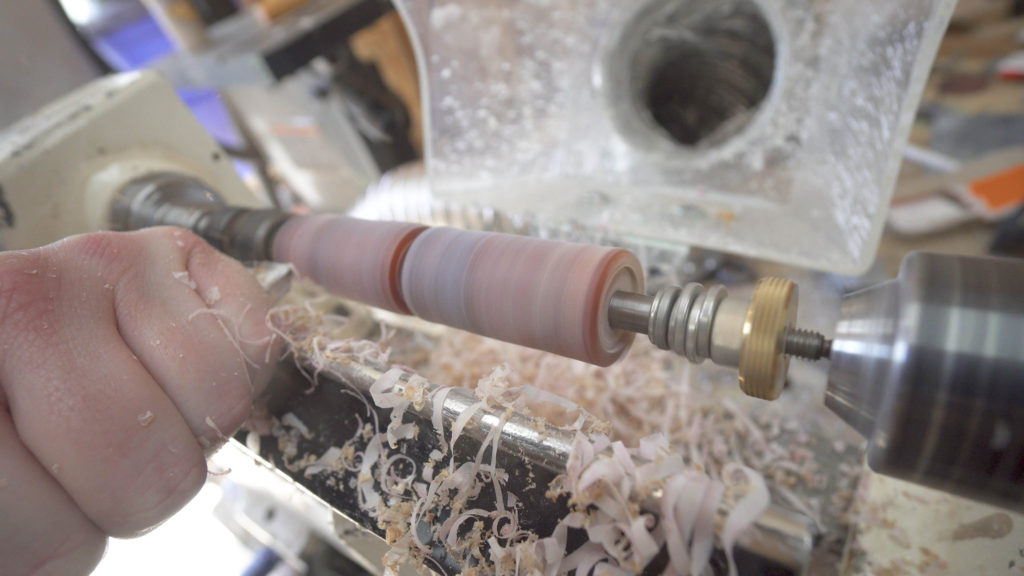
Place the blanks on to the pen mandrel on the lathe once the ends have been flattened. There are plenty of shapes and sizes you can turn the pen to it really is just a matter of preference. I decided I wanted a unique shape with wider areas to grip. This slimeline pen kit has a narrow size and with more bulk in the grip areas it fits better in my hand.
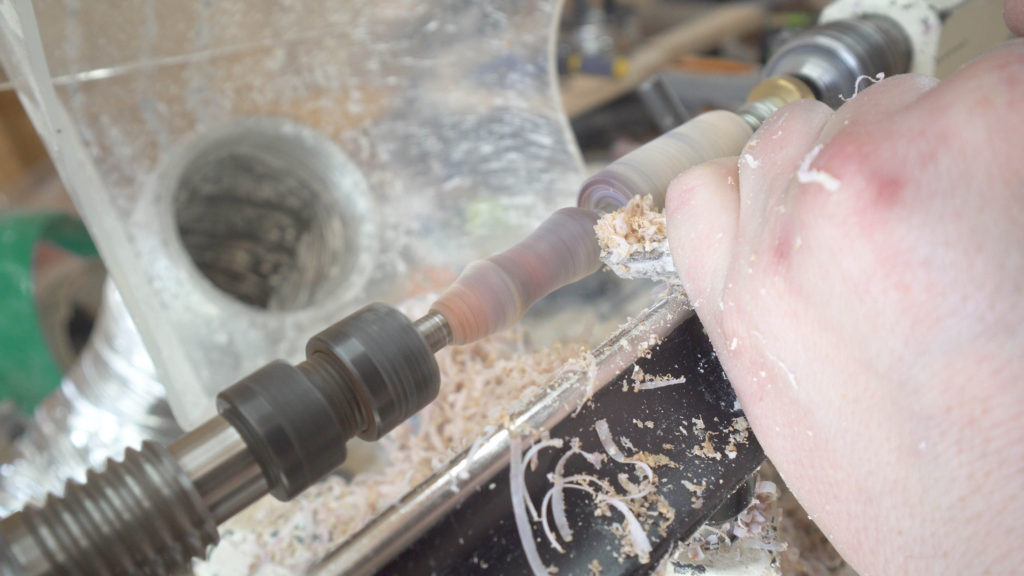
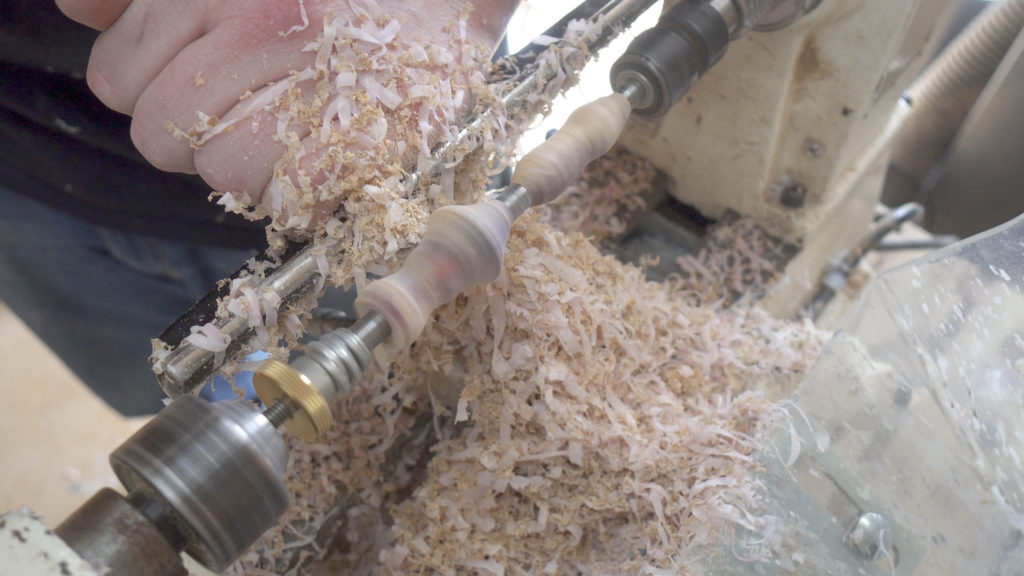
Using the mandrel bushing as a guide for the width of the ends of the blanks makes turning much easier. This takes the guess work out of trying to get a precision fit onto the pen components.
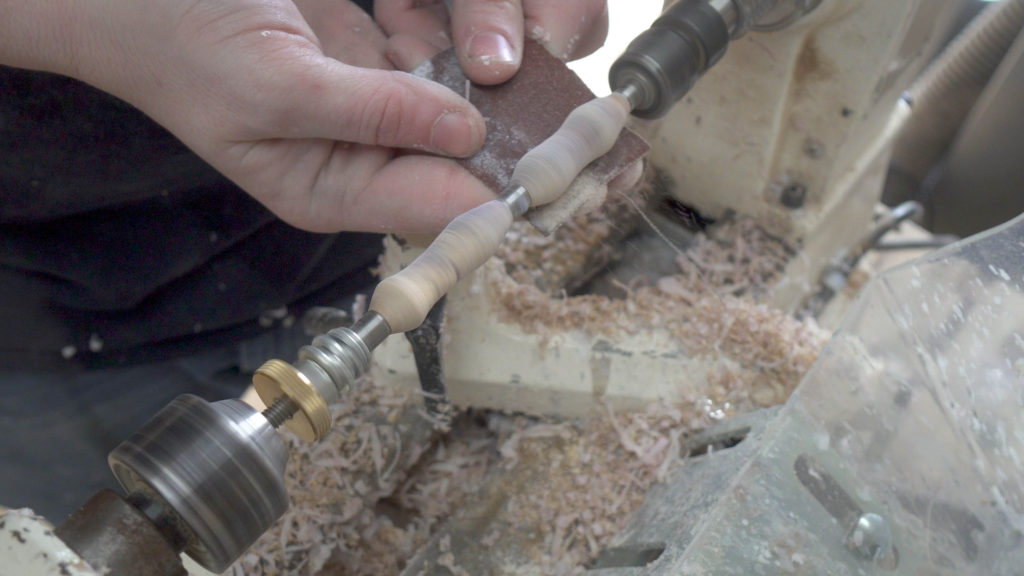
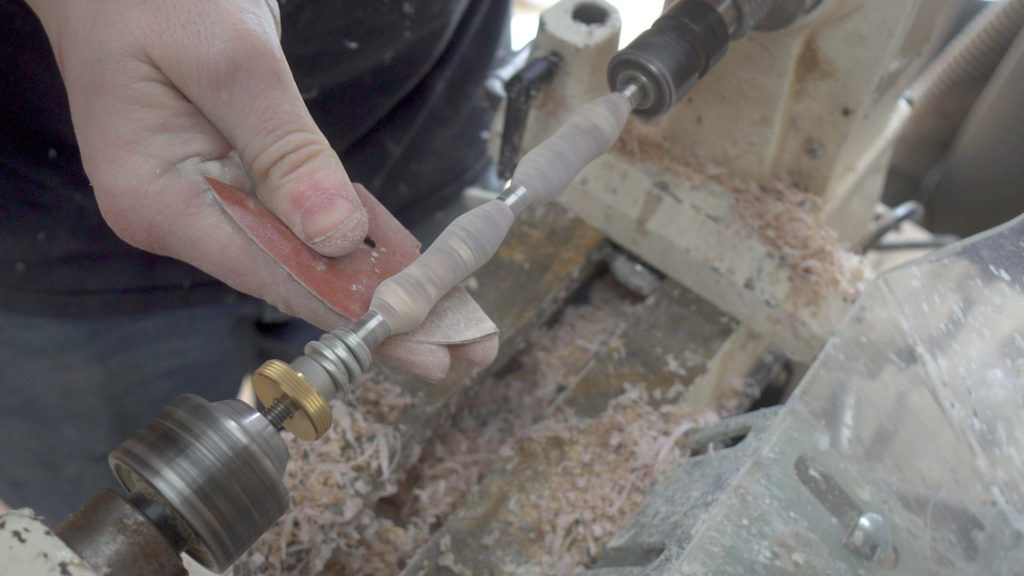
After shaping the blanks to the desired shape I wanted I started sanding with 80 grit and the lathe on a medium speed. Do not apply to much pressure as it will cause deep gouges into the pen witch can take a lot of sanding to clean up and remove. Progress from 80 grit up to around 600 grit before starting to wets sand.
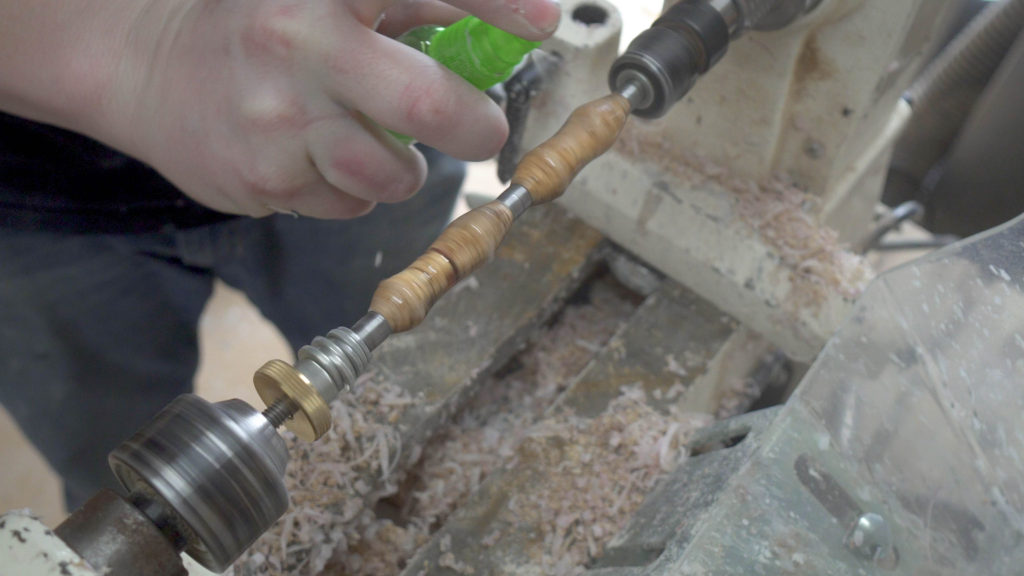
When wet sanding you do not need much water. On mistake people will make is to drench the material with a lot of water. This will cause the sand paper to glide on the water and not bite into the material. You should only use enough water to help clear out the debris from the paper as you sand. While wet sanding you should apply light pressure and feel a small amount of resistance on the paper. This means the sandpaper is doing its job and removing light amounts of material. After sanding to 1000 grit I applied a ca glue finish using Starbond Adhesives Thin Ca Glue. I will be doing a full video and article on the process later on.

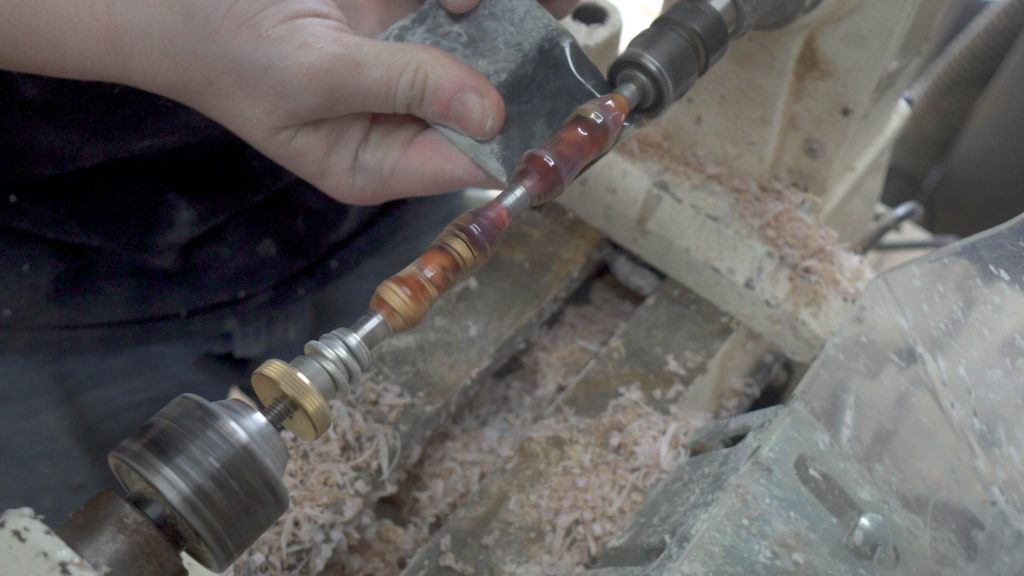
Sanding the finish is a similar process as wet sanding the material before hand. The same technique should be used but instead of starting at 80 grit and ending at 1000 grit you start the process of wet sanding with 1500 grit micro mesh and end with 12000 grit. This gives the pen a very smooth glossy finish after polishing.
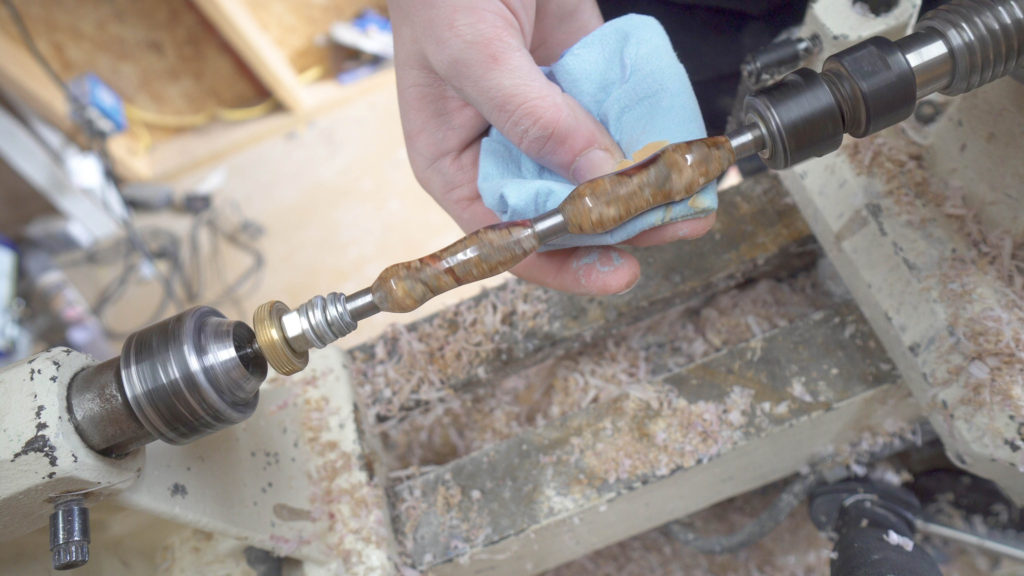
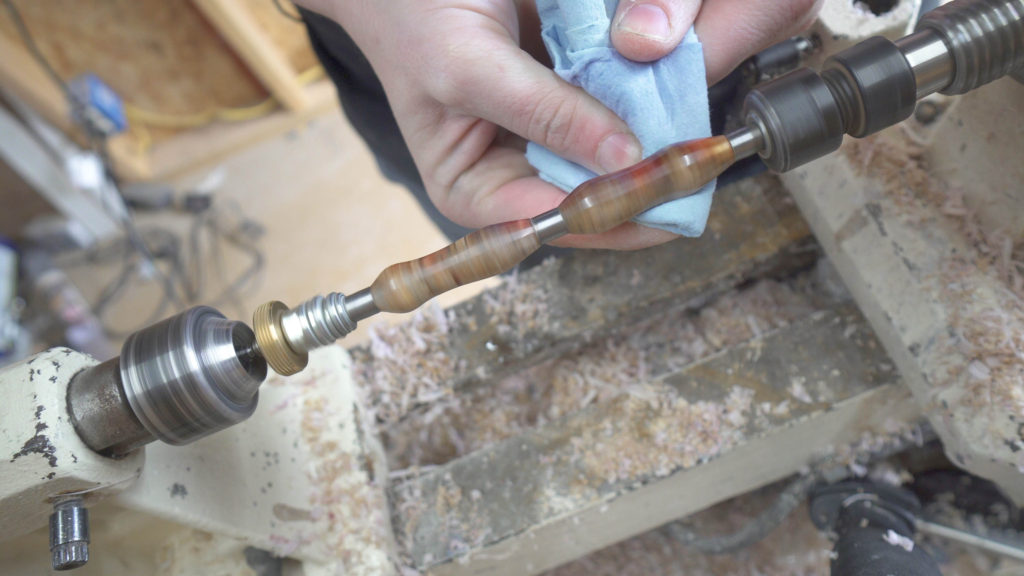
To polish I use EEE Ultra Shine Woodturners Finish . Start by applying a light coat of the paste by hand with the lathe off and rotating the work piece by hand. Then turn on the lathe at a slightly high speed and apply a firm pressure but be sure to not press to hard or hold the rag in one spot for to long as it will burn the finish and you will have to start over by removing and reapplying the finish. Once the pen is polished wipe off the excess with a clean rag.
To assemble the pen start by deciding what end of the blanks you would like to us as the tip and what end you would like to be the but cap. Also at this point you should be thinking of the alignment you would like the two pieces to have. In this case I wanted to two epoxy pieces to align with each other.
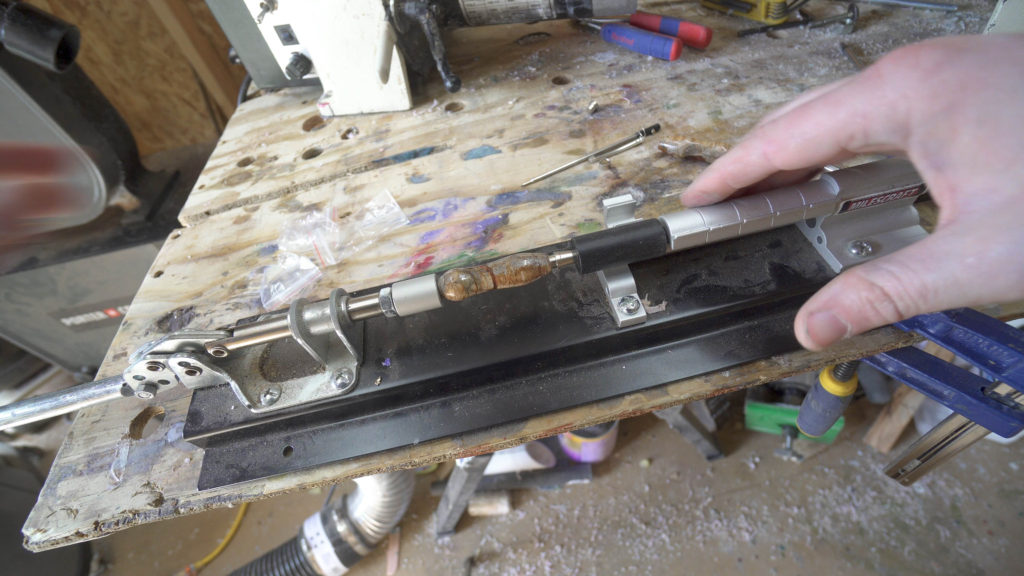
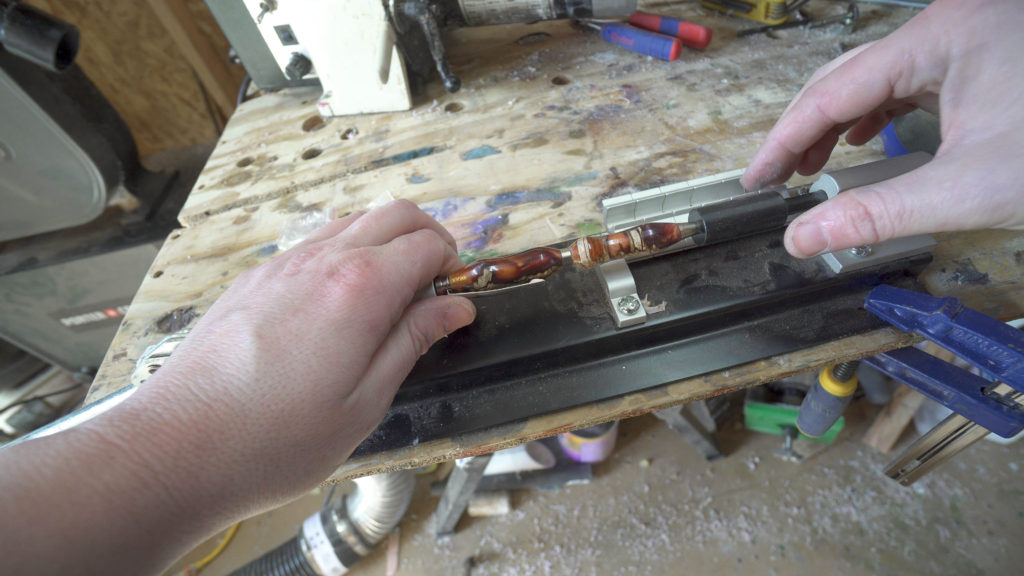
Start with installing the tip of the pen first. Place the tip into the pen barrel just enough to hold it and place the entire blank and tip into the press. Press the tip into place in the barrel and make sure it seated completely.
Next you install the transmission section of the pen. The brass lower section will go into the opposite end of the same barrel as the tip you just installed. There is a definitive line on the transmission piece right above the brass section. This is a installation guide press the transmission into place only up to that line. Making sure not to go past it.
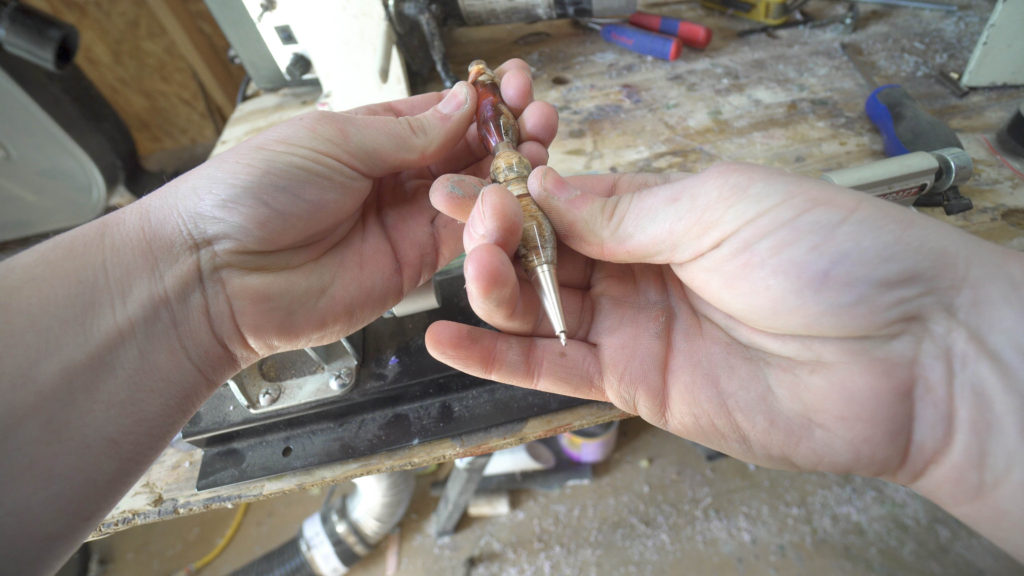
Once the transmission is in place install the pen cartridge and screw it into place inside the transmission. When it is in place turn the transmission section and inspect how far the cartridge tip protrudes from the tip make sure it is not to far or to little.

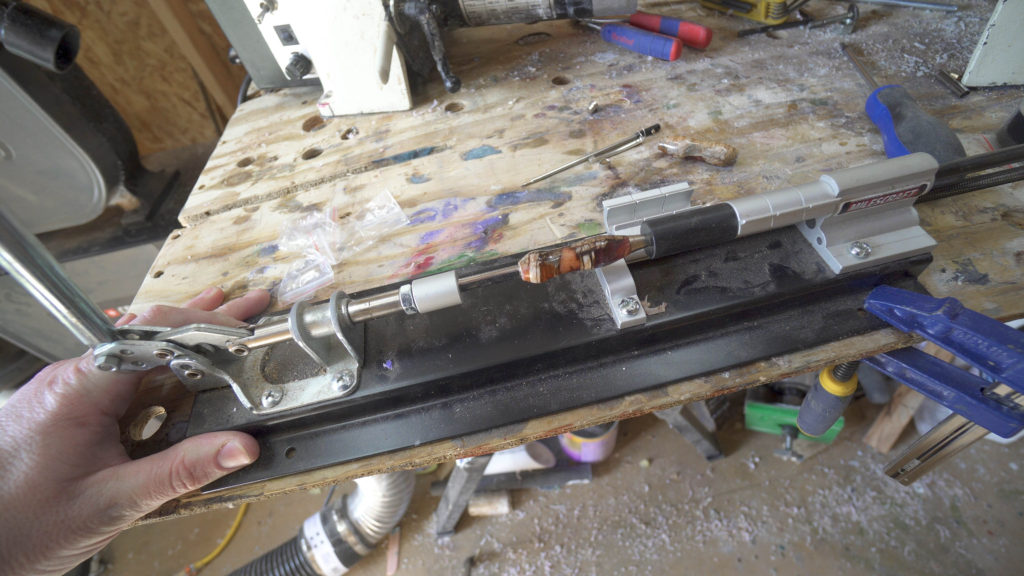
With the transmission and cartridge in place install the center ring and the second barrel onto the transmission and press them into place. This is were you achieve the final look of the pen. If there is a certain pattern or side you would like to line up on bot sections make sure to line them up before you press the section into place.
Now install the butt section and the pocket clip just like with the installation of the second section of the pen make sure to align the pocket clip where you would like it to be placed on the pen. Then press the butt-cap and pocket clip into place.
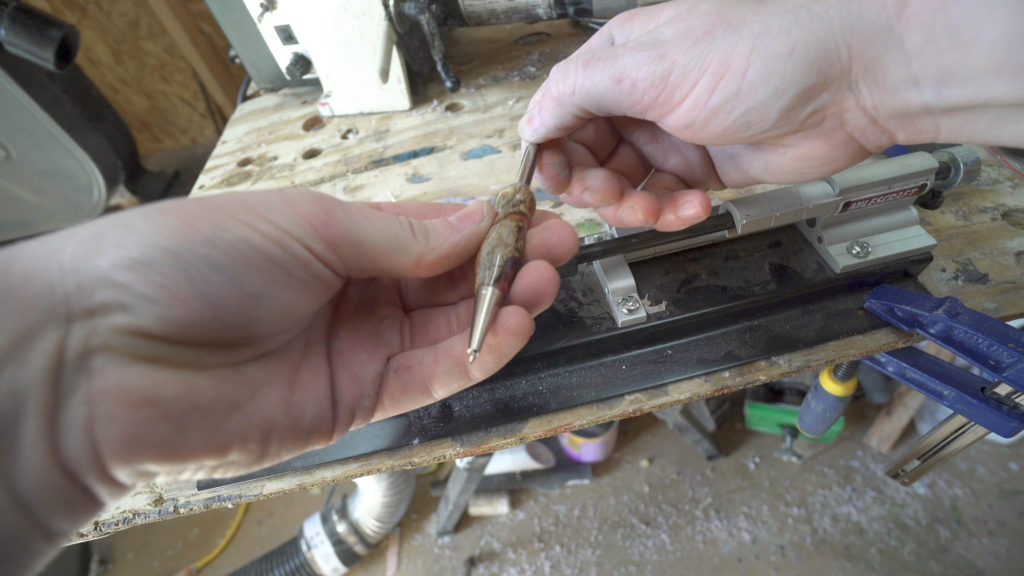
Now test the transmission and the action of the pen to ensure that is working properly.
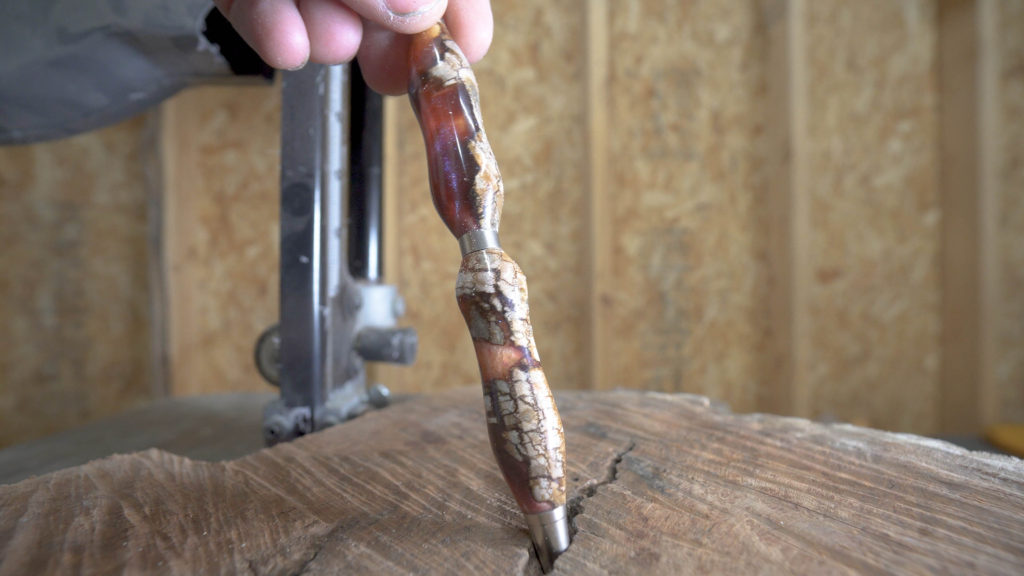
Now you are ready to lay some ink down. These pen projects are a whole lot of fun and do not be afraid to experiment with different shapes and materials and see what you can come up with. Being unique and making something you are proud of is the whole point.
Make sure to subscribe on Youtube and for daily videos and pictures follow me on Instagram @ jpaynewoodworking. Also to get more news, tips and to never miss out on all the new information coming out subscribe to the newsletter. Thank you and like always I will see you on the next one.
If you would like to win a custom pool cue or custom pen. Click the link below to enter into the Custom Cue raffle. First place prize will be a Custom Pool Cue , Second place prize is a Custom Vertex Pen and third place is Custom Slimline pen. Only 250 spots available and winners will be drawn and announced live on my Instagram and also posted to facebook and youtube. ENTER HERE:
https://jpaynewoodworking.com/product/raffle-win-a-custom-pool-cue/