 JPayne Woodworking Creative Craftsmanship
If you are like me and love trying new things or if you have been doing woodworking for any amount of time you have heard of Shou Sugi Ban.This is the Japanese invented process of burning wood. Not only does it look awesome it can also make the wood very very tough. Making it resistant to water and also to fire (though it will still burn, it does however require an extremely high amount of heat). It can also be used as a process to bring out the wood grains in some types of woods. Especially those species of wood that have a very wide and pronounced gain pattern. I was asked if I could make a cool desk with this finish. So me being me I wanted to take it a step beyond that. We decided to also throw in some tapered legs and through mortise and tenon with tusk wedges. So this would be some things that would challenge me as I have never used these techniques.
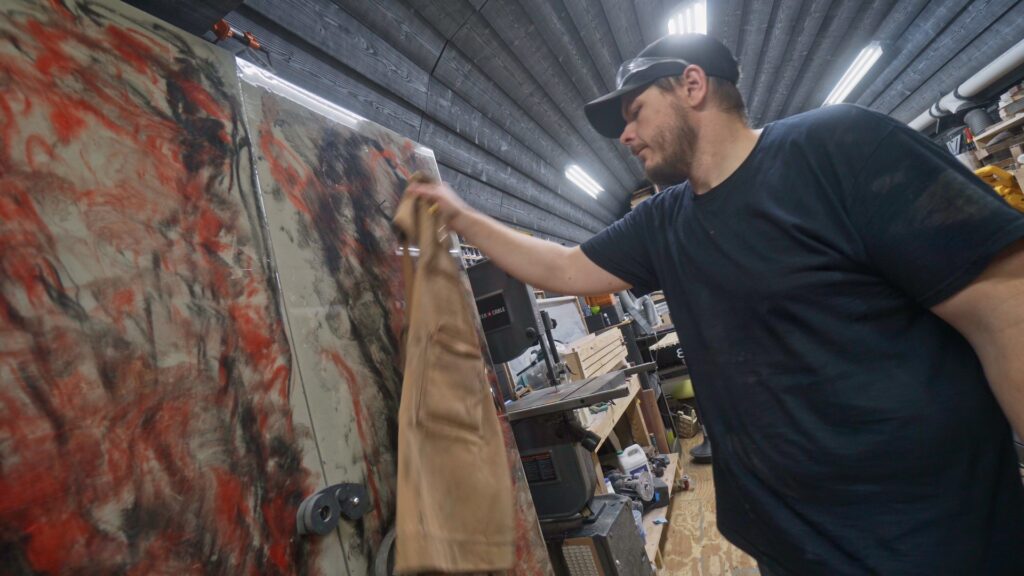
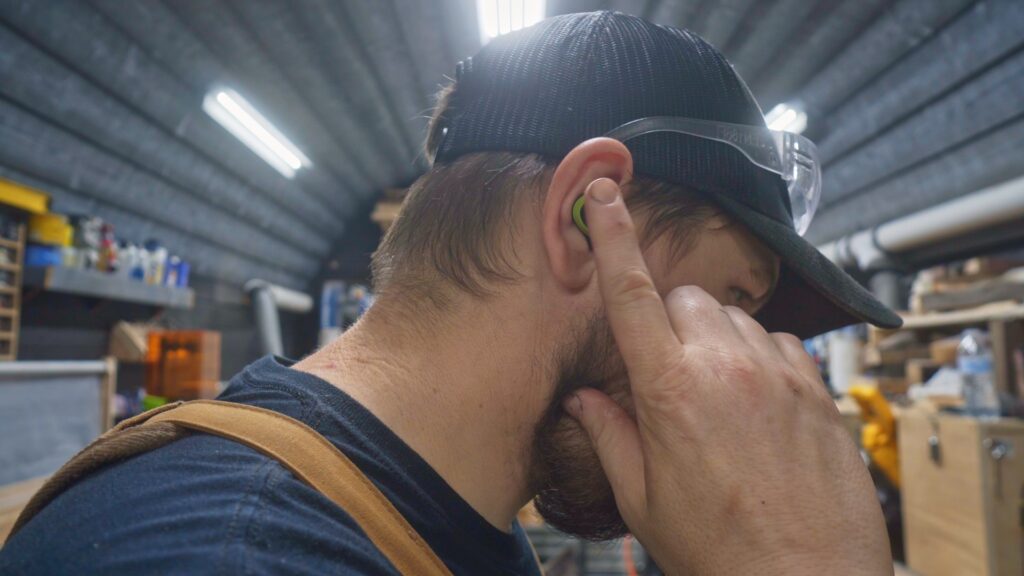
So it was time to head to the shop and get to making some sawdust. I also want to point out that I am using the new IsoTunes FREE. The IsoTunes FREE are the newest version of the IsoTunes line that are in my opinion awesome!!! I have had multiple versions of their headphones but I am blown away by these. I will be doing a full review of the IsoTunes FREE If you are needing some awesome hearing protection as well as bluetooth headphones the IsoTunes FREE are great with awesome battery life and meet OSHA requirements.Click on their name here in the article and go check them out. You will get some great hearing protection as well as showing your support for the channel and letting them know we are a great partner to have.
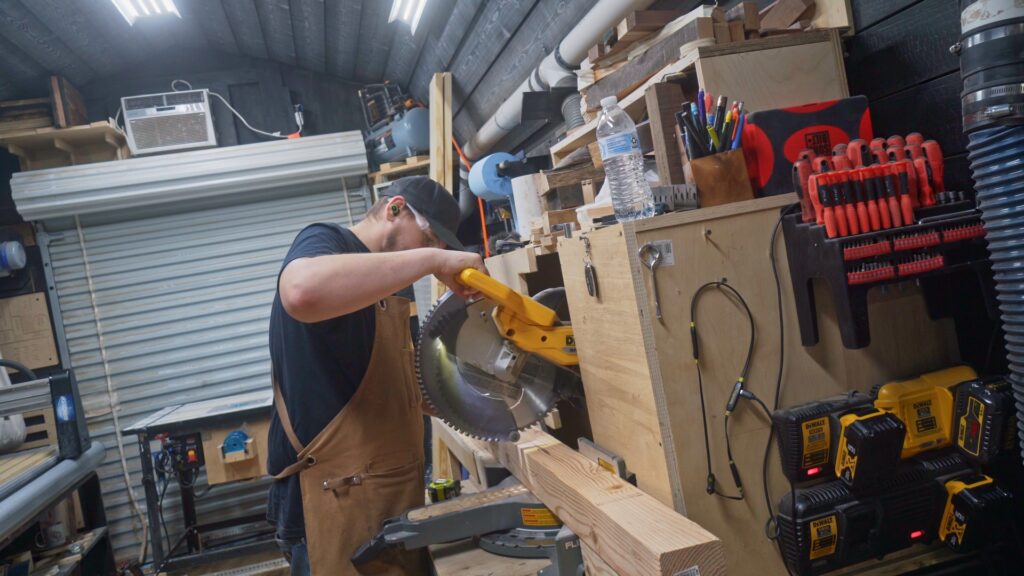
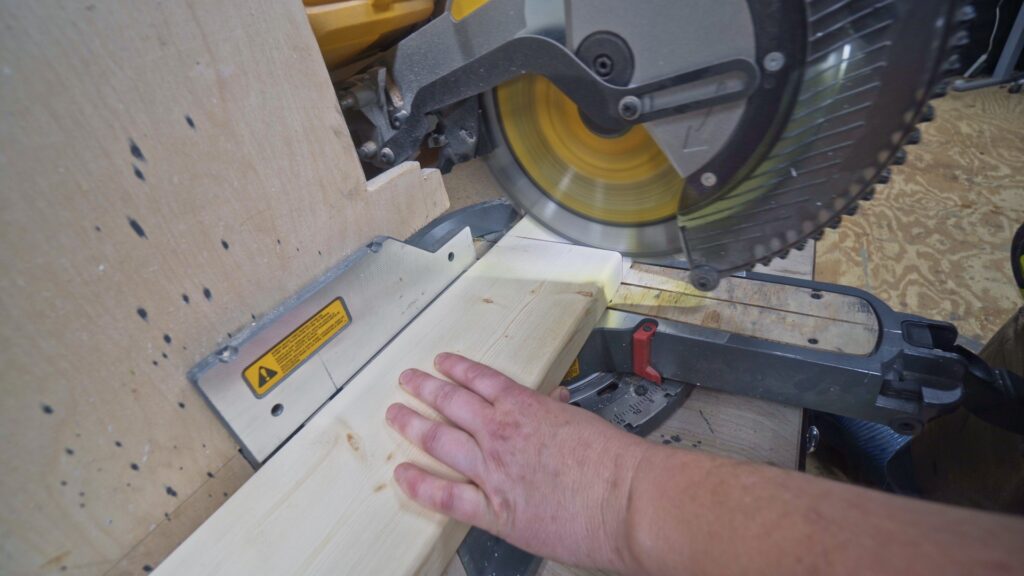
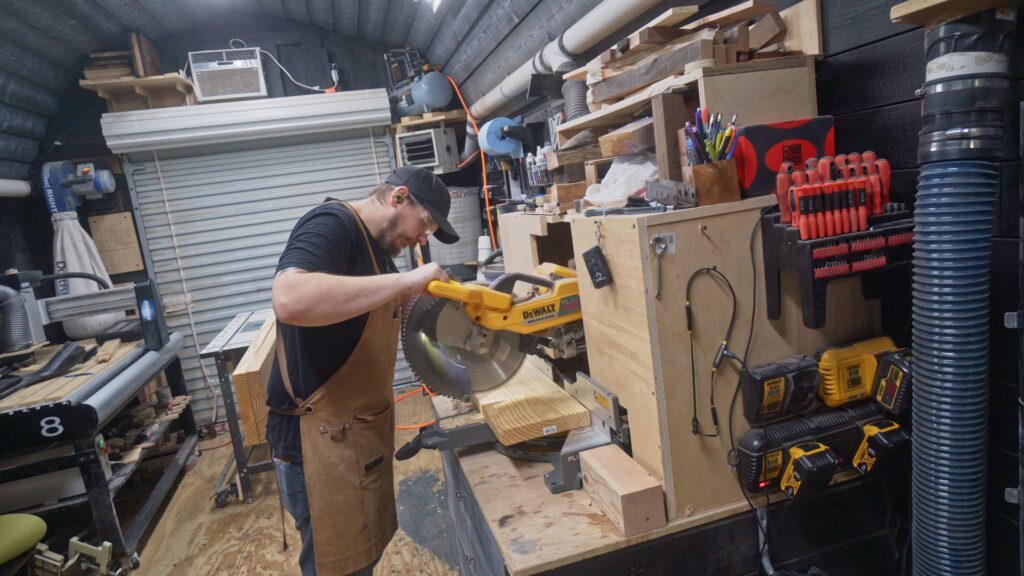
I started with the legs. In the initial thought I was going to glue up sections of the wood to get the size posts I needed. After thinking about it for some time on what would be the best way to do this I decided to finally just use 4×4 posts. This would make for a much stronger leg with no gluing of any parts as well as make getting to a perfectly square 2.5 inch leg blank pretty easy. I Cut the legs to length on the Miter saw cutting each leg to 28.5 inches long.

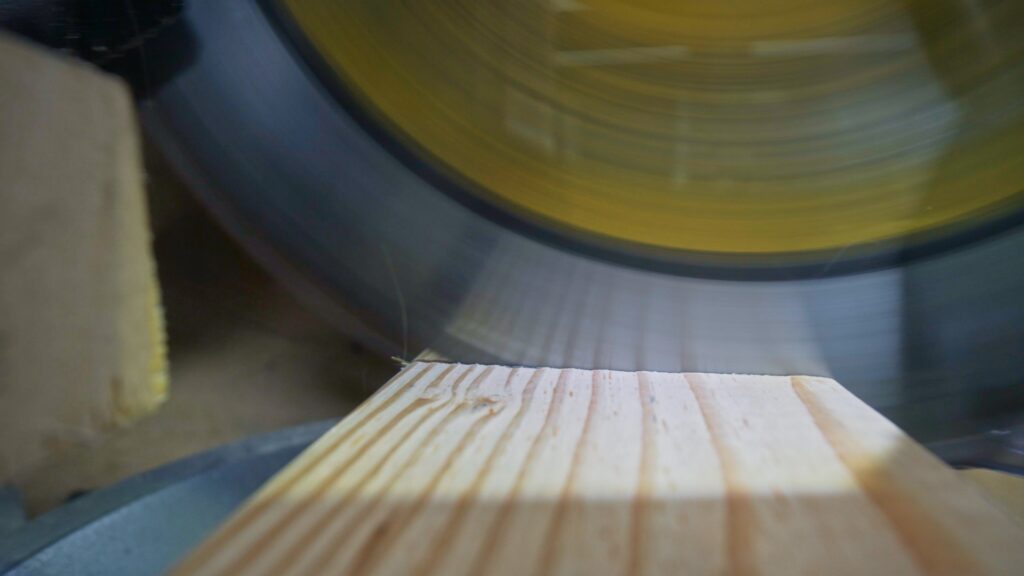
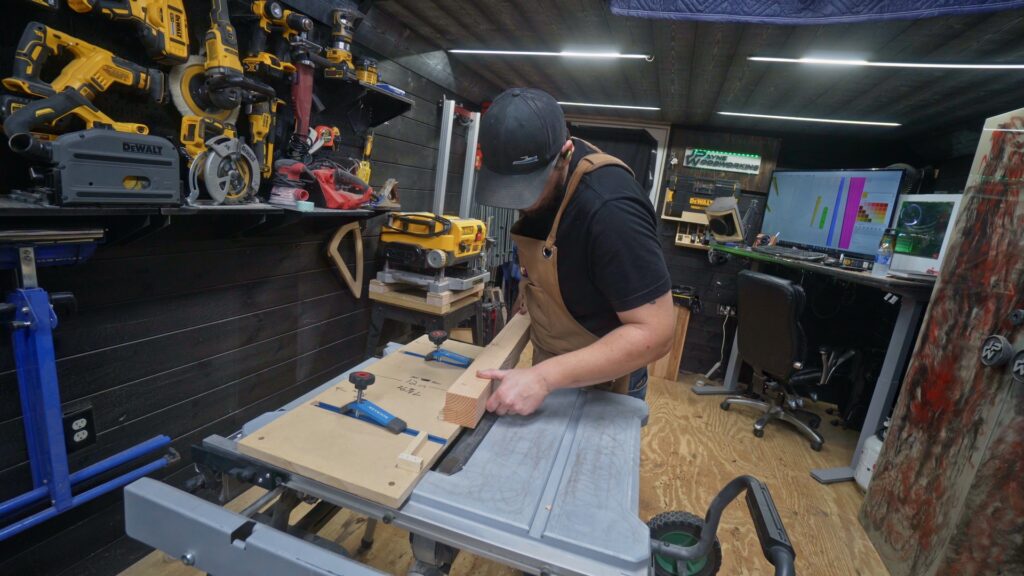
Once the legs were to the proper length. I took time to the Table saw to get them cut to a rough size. My table saw is a contractor style saw. While it can cut the 4×4 post in one pass I tend not to do this. This is only because it cuts much better with multiple shallower passes. Or flipping the board over and and cutting from the opposite side. If you have ever done this before you know it is a great way to get tall boards cut to width but it can cause a small ridge if there is any flex in the table saw blade at all.

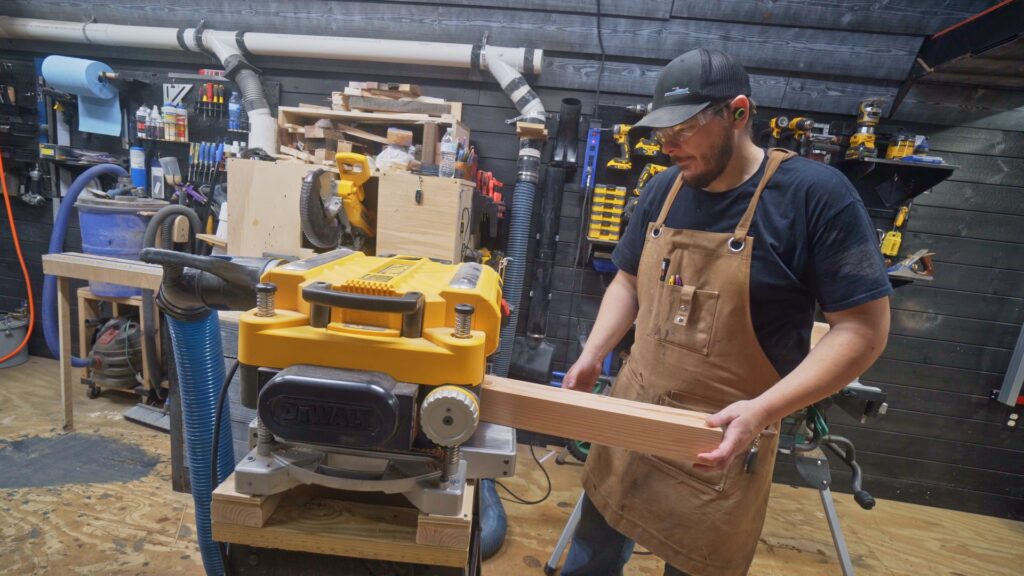
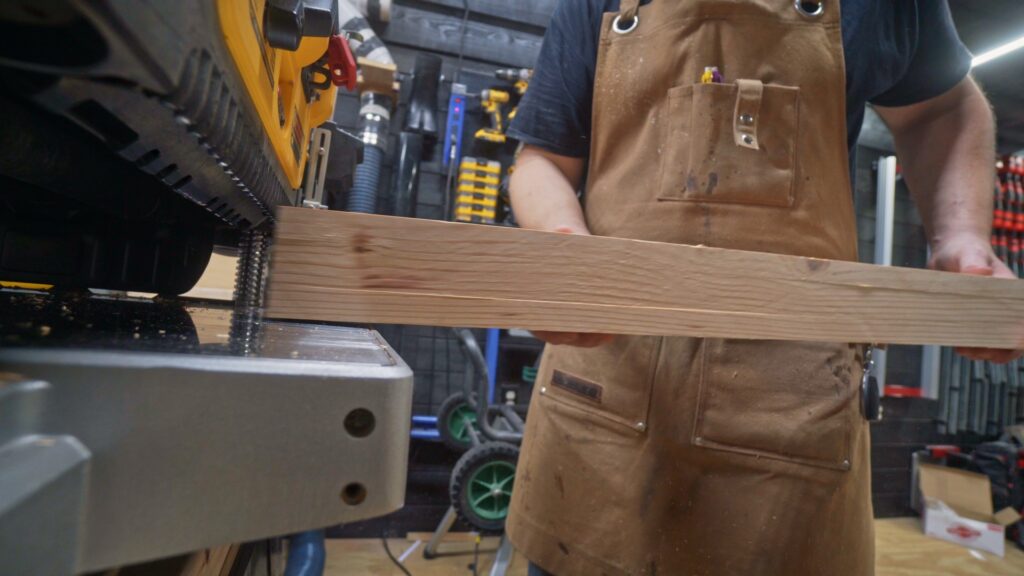
For this reason I use the planer to get a precise size on the blanks. Not only does this make it easy to remove any of the ridges or high spots on the board it will allow for passes of each one of the legs at the same size. This will ensure that every one of the legs are the exact same size. For this application the legs would be 2.5 inches square.
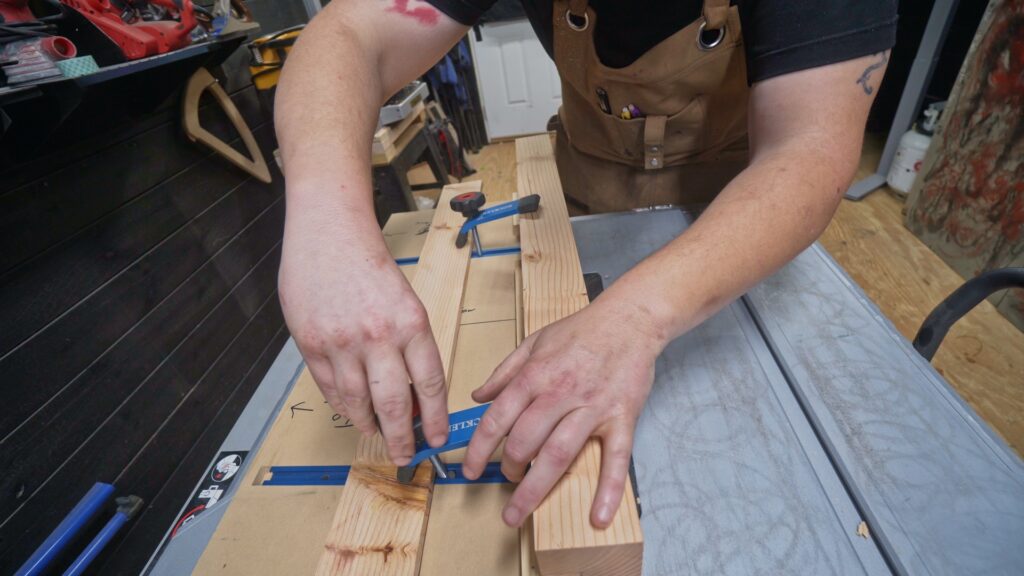
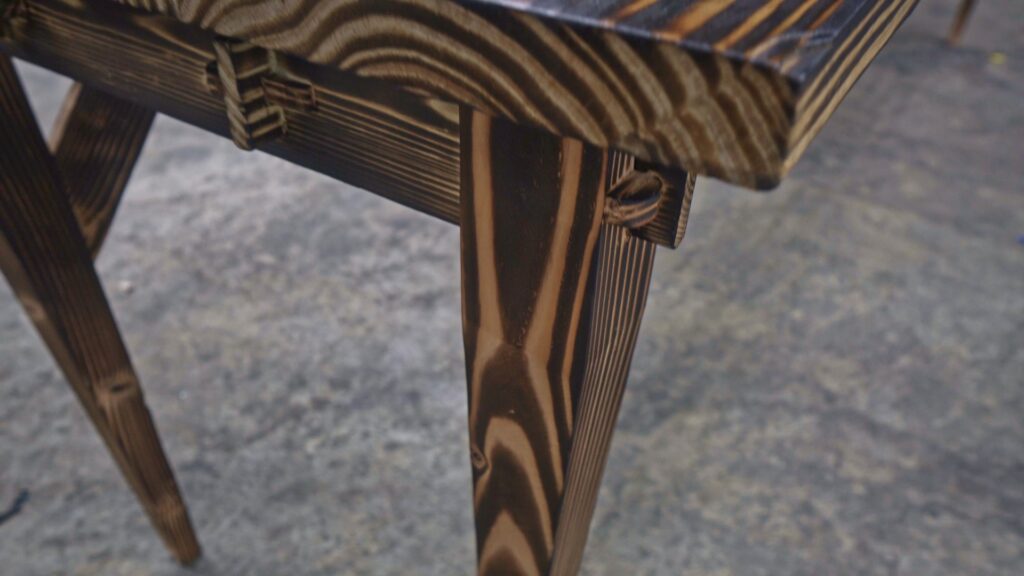
To cut the taper into the legs I created a quick jig using my jointer jig. This would allow me to get a perfect repeatable taper on two sides of each leg. To make the jig I used some straight edge scraps and clamped one of the legs into place with the marking on the ends of the legs to ensure that the taper would be exactly what I was looking for. I then held the leg in place with the Rockler Woodworking Clamps. I then used the Brad Nailer to place and hold the guides into place.
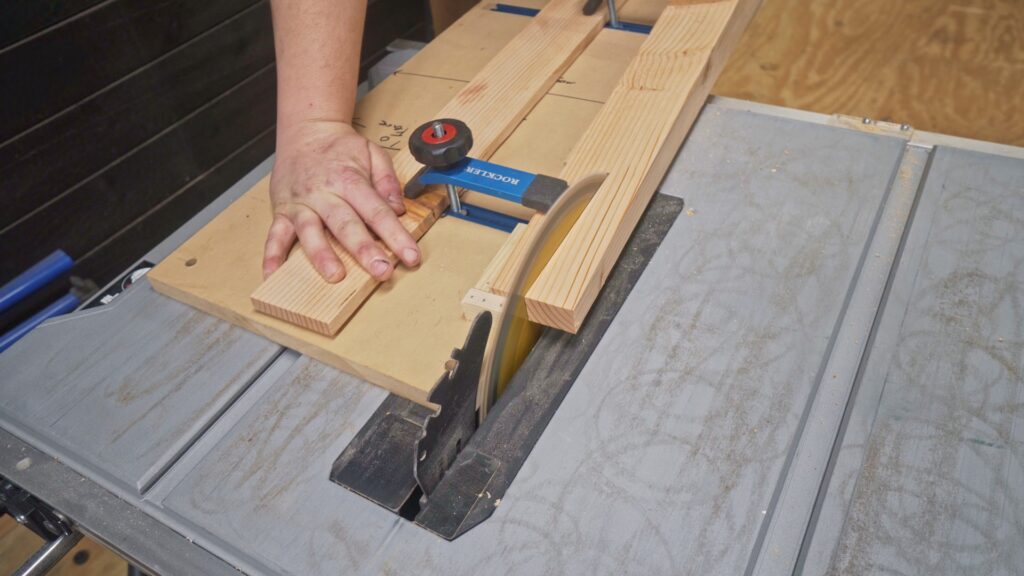
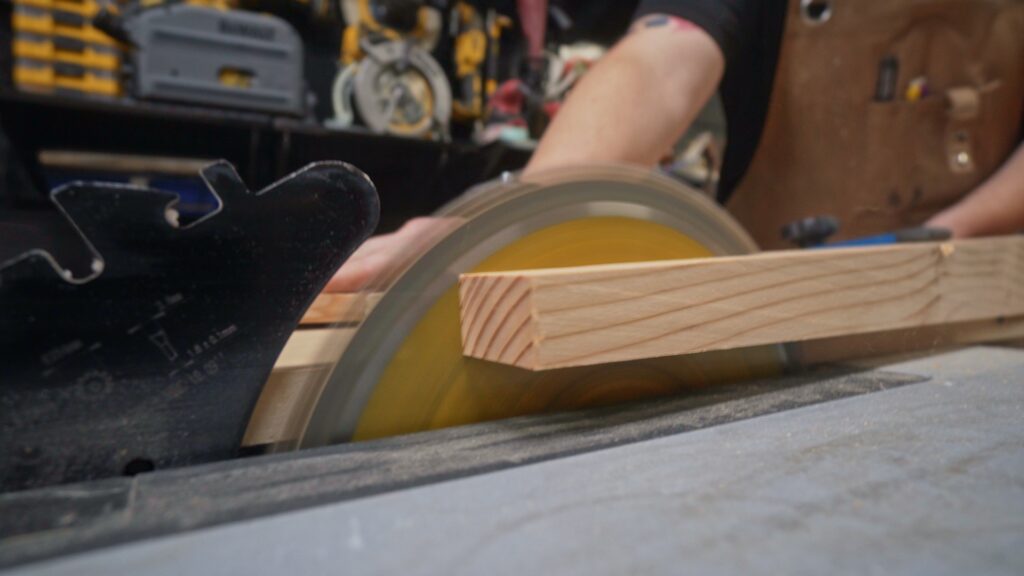
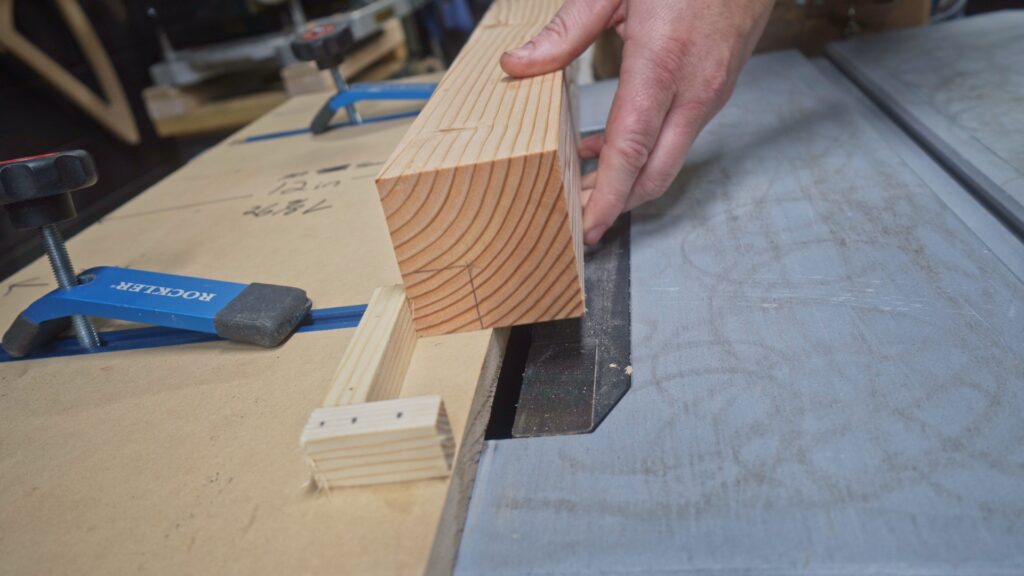
After running a test cut to ensure that the taper would be perfect I could start cutting the taper into the legs. On this jig I have it designed to run along the miter slot on the Table saw. This makes these cuts precise and also repeatable. I will say though I don’t usually like to cut with the blade of the saw so high but the blade must be at the height needed to cut all the way through the thickest part of the leg. Once the first cut is made the leg is then rotated 90 degrees and the second taper is cut.
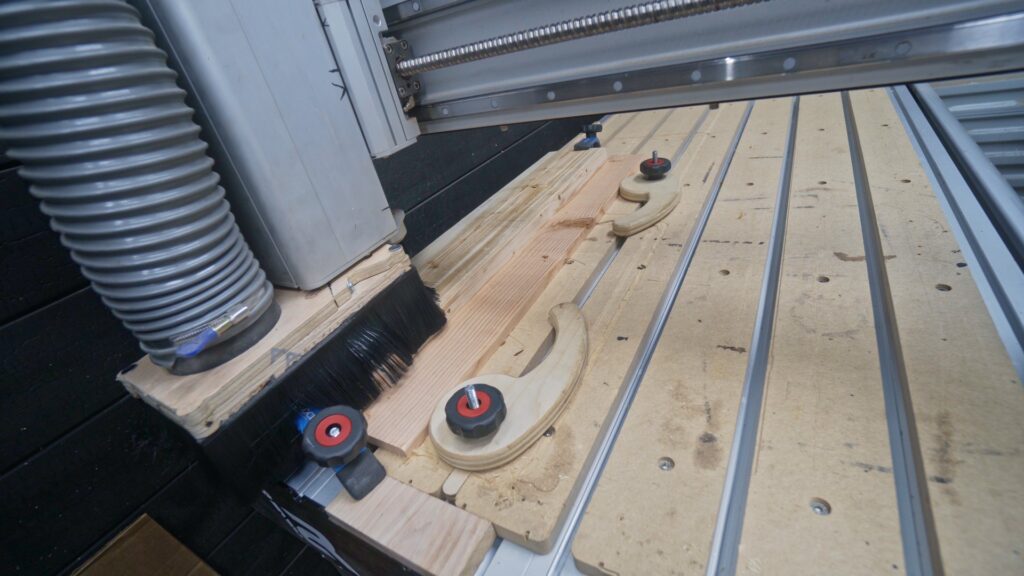
I could then set the leg to the side and I would be coming back to them in just a bit. It was now time to start on the short spanners that would connect the two legs to each other on each end of the table. I wanted to get these made first so that I could use the what would be the trough tenon on each spanner to precisely fit the mortises that would be used for them. While I could have used the table saw to make the tenons like you will see me do later on for the long braces I wanted to to use the CNC if this worked correctly it would give me two exactly matching pieces with all of the corresponding holes and tenons perfectly aligned. So I moved over the the i2R-8 UCCNC. Remember if you want to get into cnc woodworking or just want one to play around with or even build a business with check out the i2R-8 UCCNC if you purchase one use code JPAYNE10 and save up to $200 on the i2R-8 UCCNC . This would be a two sided path which means that one side of the piece would be cut and then the board would be flipped along the Y axis referencing from the same face and then cut from the other side as well. This allows me to get the tenon to be exactly in the center of the board. Also it would give the proper spacing of the tenon from the edge of the board all the way around.
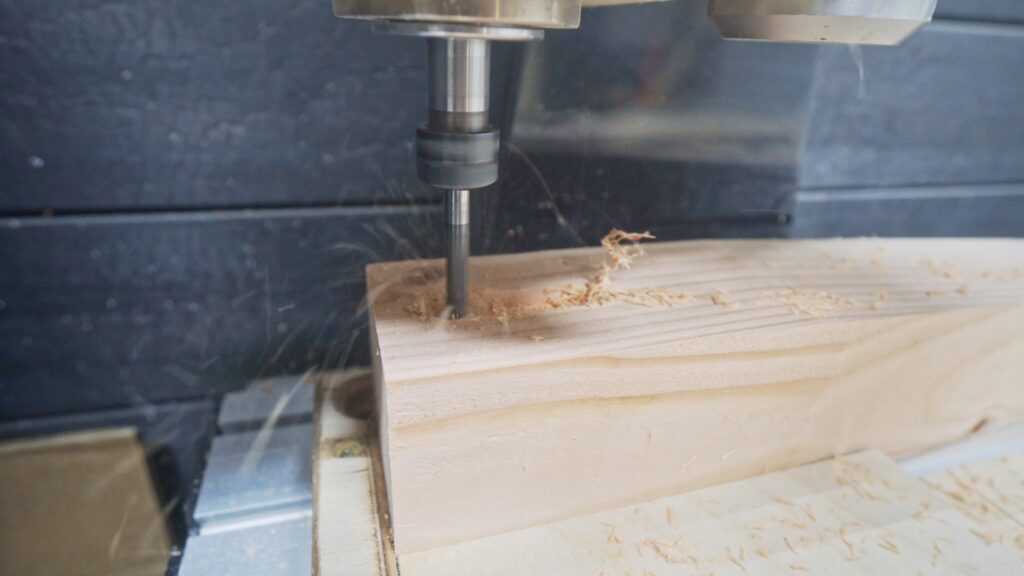
Once both of the short connecting pieces were cut and cleaned up I could then go back to the legs. I used the cnc again to cut the mortise pockets out on each one of the legs. Yes you can do them with a drill press and chisel and that is a great way of doing things but I do like using the i2R-8 UCCNC for things like this not only is it perfectly precise and repeatable but it also lets me learn new things and ways to make things.
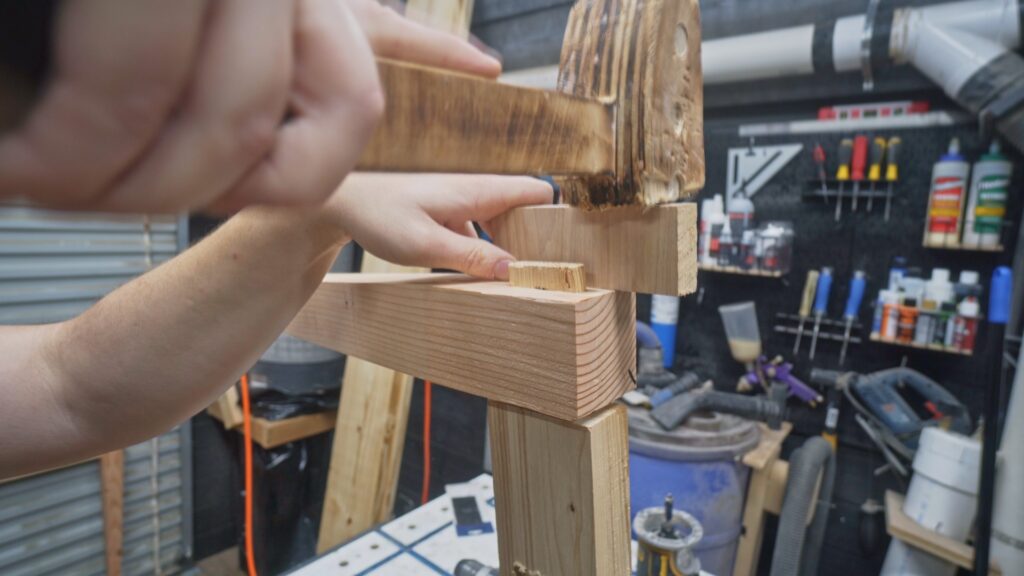
After the mortise pockets were cut I went ahead and assembled the leg assemblies. I I did not put in the wedges as of yet but this allowed me to adjust any tolerances that needed to be adjusted to make the legs bet even better. They should fit together snugly with very little to almost no wiggle room. This process seemed to work extremely well. Not only does it fit great with a perfect tolerance but the mortise and tenons are extremely precise and they all line up with each other perfectly.

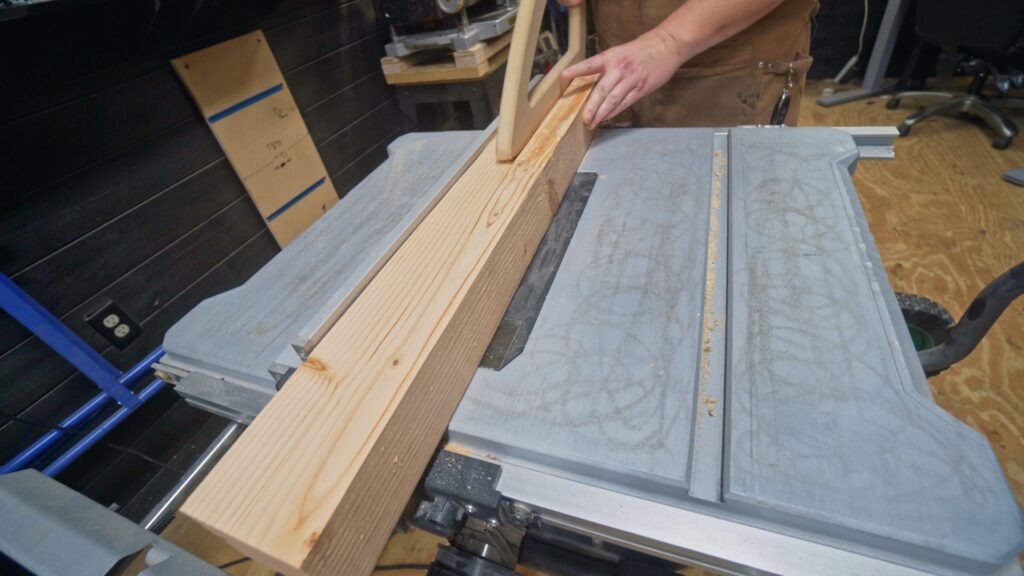
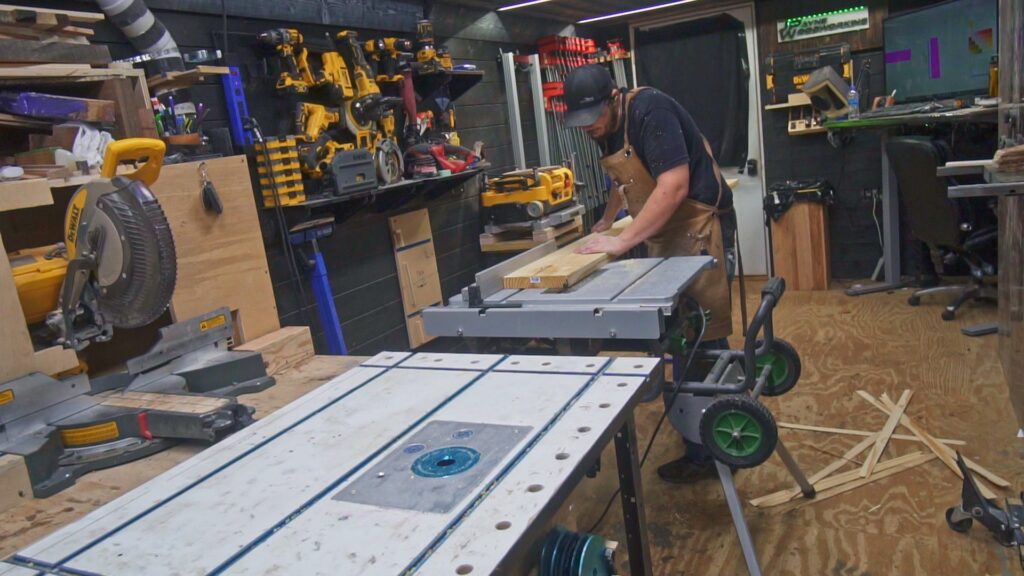
I then moved back to the table saw to get the long braces cut to width and prepare them for the tenons. Make sure if you are ripping longer boards like these to width by yourself make sure to use a roller guide to help support the lumber.
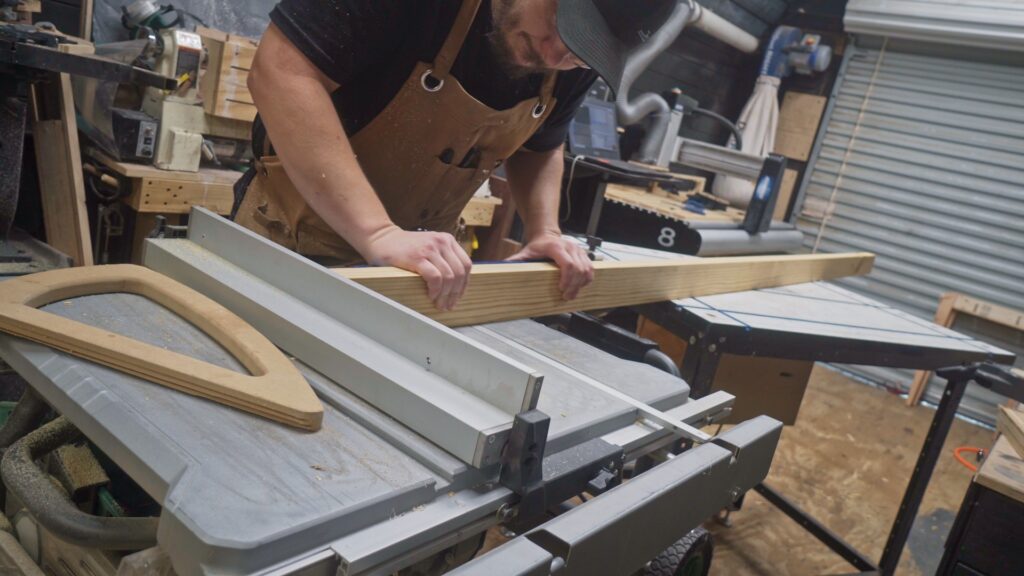
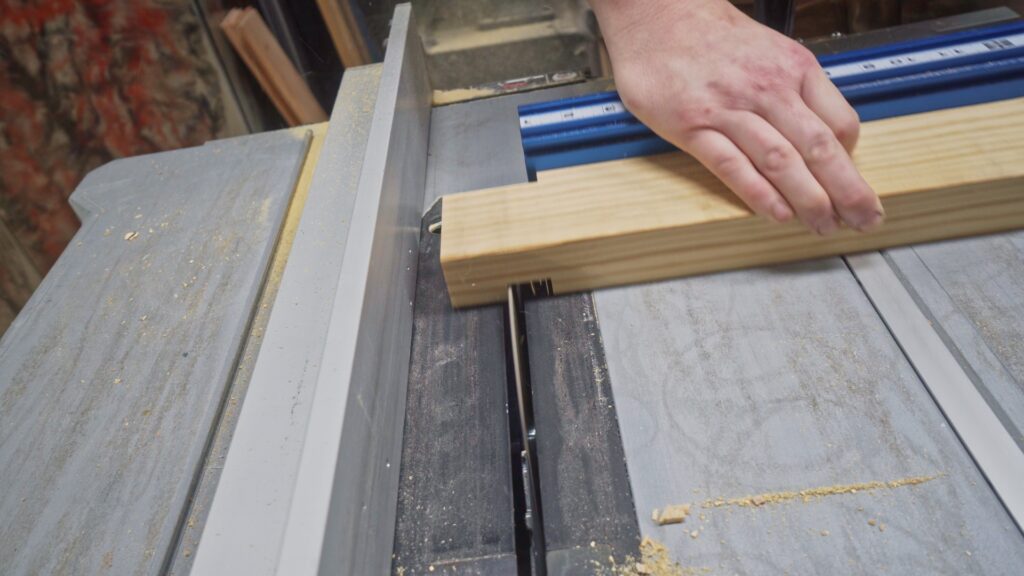
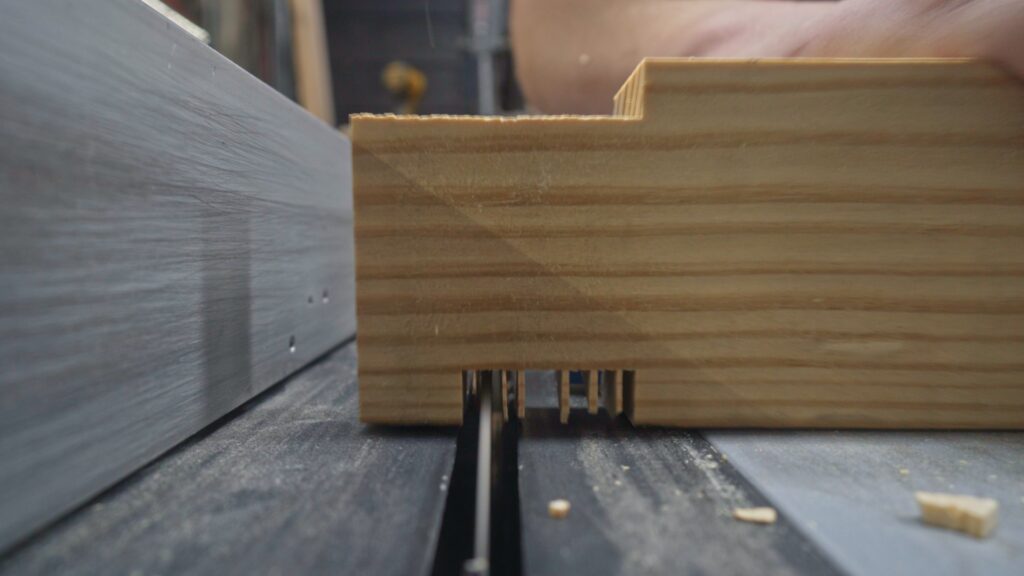
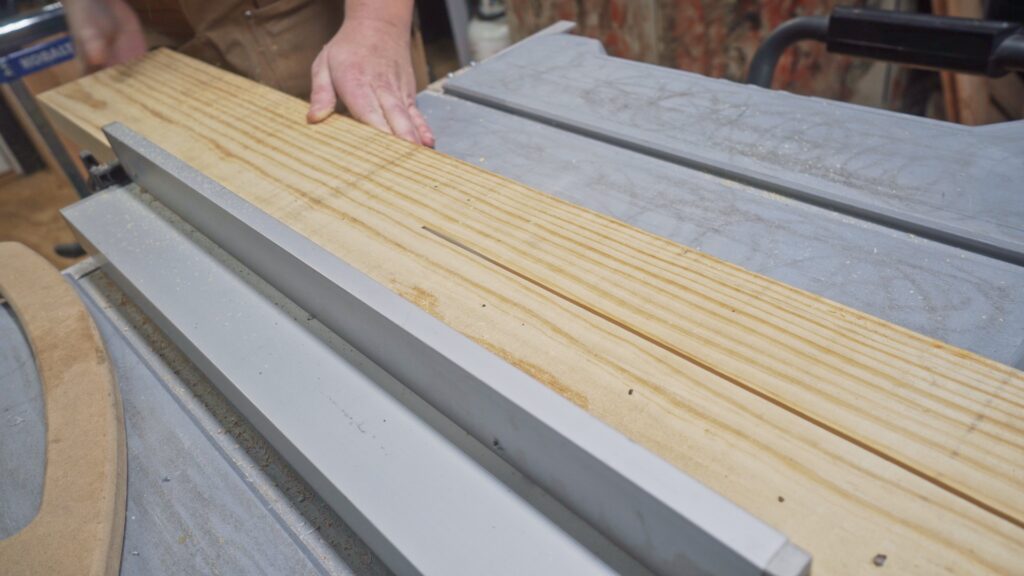
This particular table is long, being over 8 foot long the braces that would run the length of the table are too long to use the i2R-8 UCCNC like with the short braces between the legs. So for this process I used the table saw. Now you can use a dado blade but I did not for this application. You will however need to use a crosscut sled or Miter Gauge. Trying to make these cuts with a fence alone would be dangerous as you are likely to not only get a kick back but also you can not ensure that the base of the cuts of the tenon are square with the tenon. Cutting multiple passes then using the highest point of the blade to smooth off the tenon seemed to work really well. Do not rush this process if you are using the is technique it works really well but you will need to be careful like with any process using the table saw it is a tool that is not to be taken lightly and can be dangerous if you are not careful.
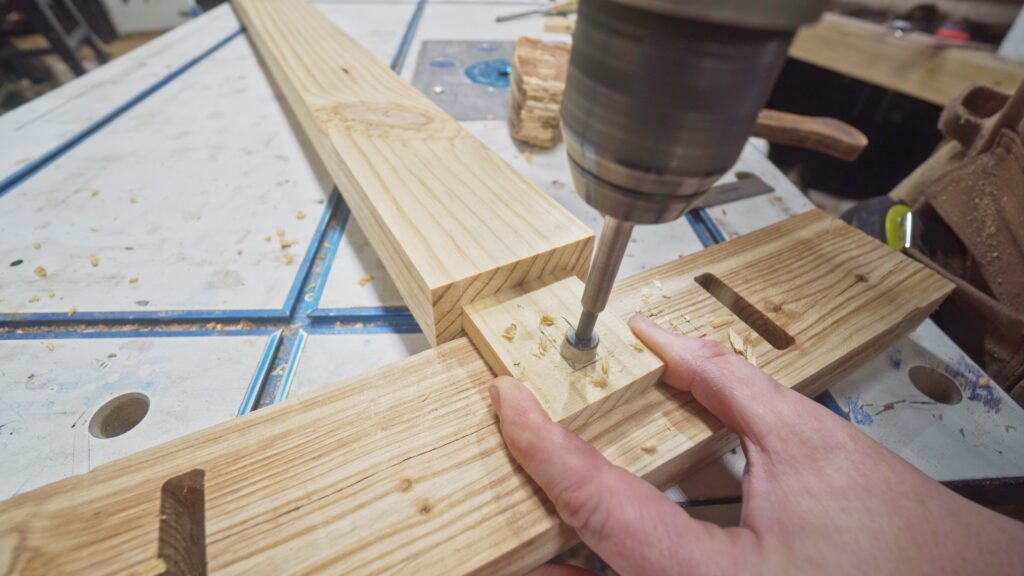
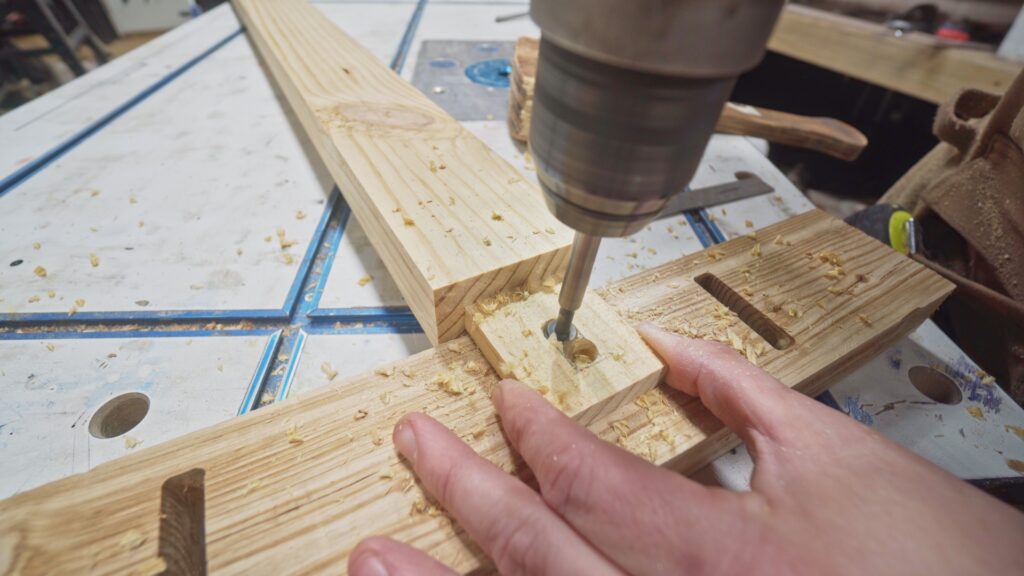
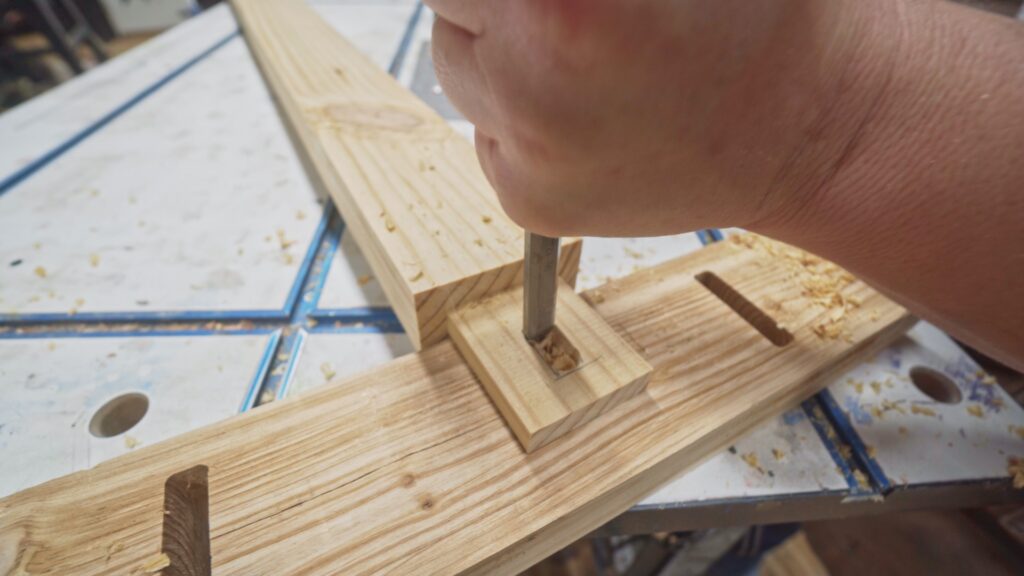
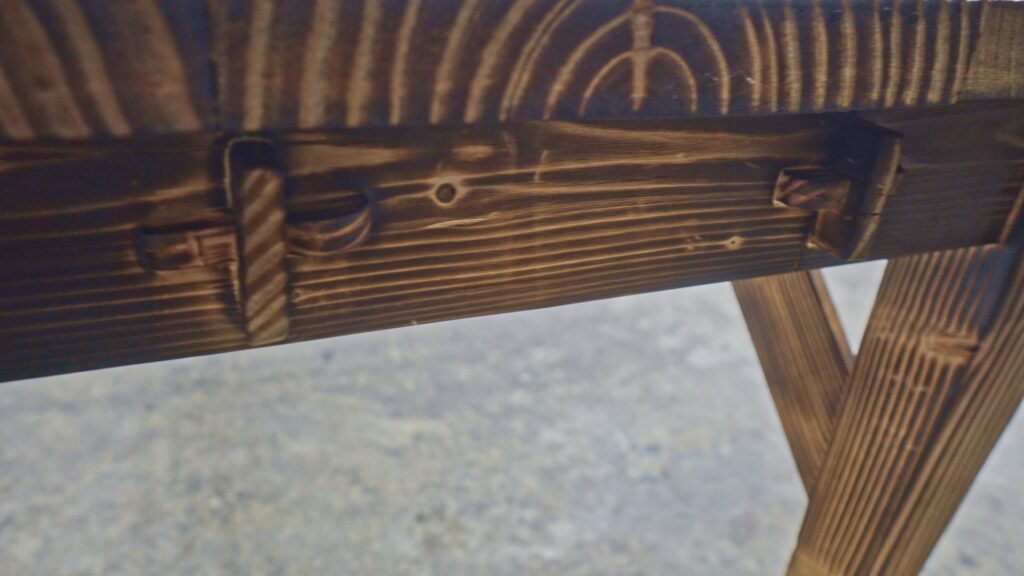
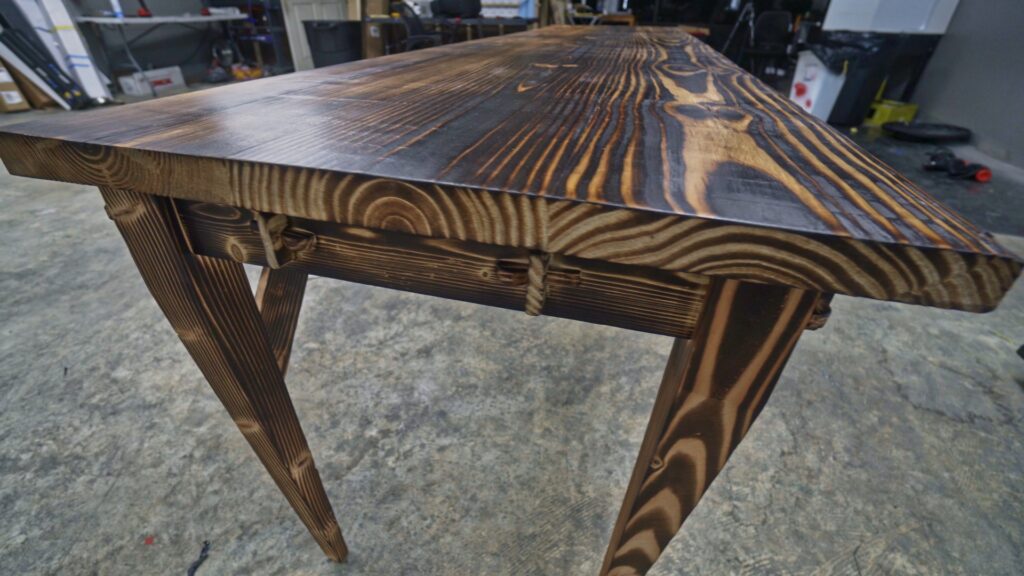
After the tenons were cut on all for ends of the braces I then moved on to cutting the wedge mortise. This is the pocket though the tenon that will allow for a tusk wedge to get tapped into place and hold the braces in place and to keep the joint tight over time. When these are done properly the joint will not require any metal or glue fasteners in the base of the table. After marking out where the mortise would be located I then used the proper sized bit to drill two holes into the marked area. I then used a chisel to clean out the rest of the pocket. This worked very well and was quite an easy process just take your time and remove small amount of material at a time. You can always cut away more material but it is very difficult to add more back.

Once all of this was done I was able to completely assemble the base of the table. The tenons were cut and then slowly trimmed to fit perfectly into the mortise pocket just like with the tenons through the legs where the tenon is a tight fit but not so tight as it will cause damage. Once the tenons are in place I could then place the wedges into place in the tenon. I used the i2R-8 UCCNC to cut out the wedges with a small slope and aesthetic ball on the end. This will not only give the wedges a great look but also makes tapping the wedge into place much easier. When tapping the wedge into place make sure to not force the wedge if it is not properly fitting as it can break the end of the tenon.

With the wedges in place and the entire base assembled I could start sanding and preparing the base for the Shou Sui Ban burn. For this I sanded the entire base to 220 grit. Making sure to knock down any sharp edges as they would burn quicker that the rest of the wood.
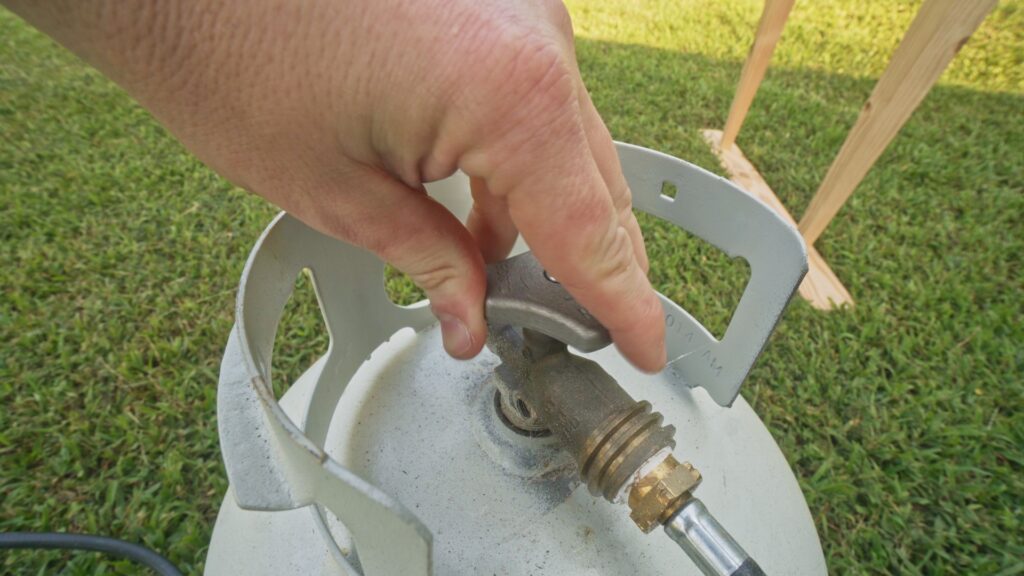

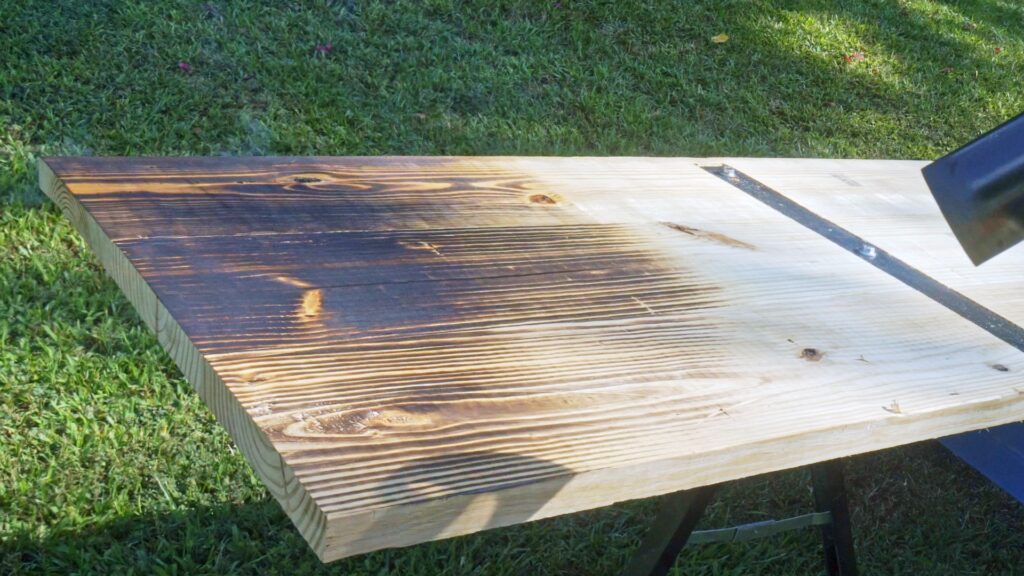
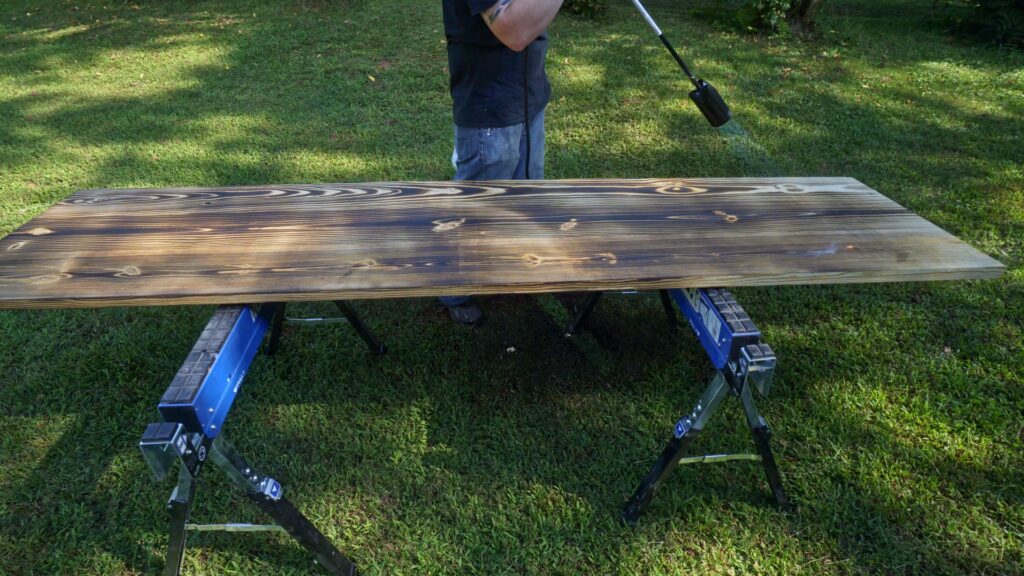
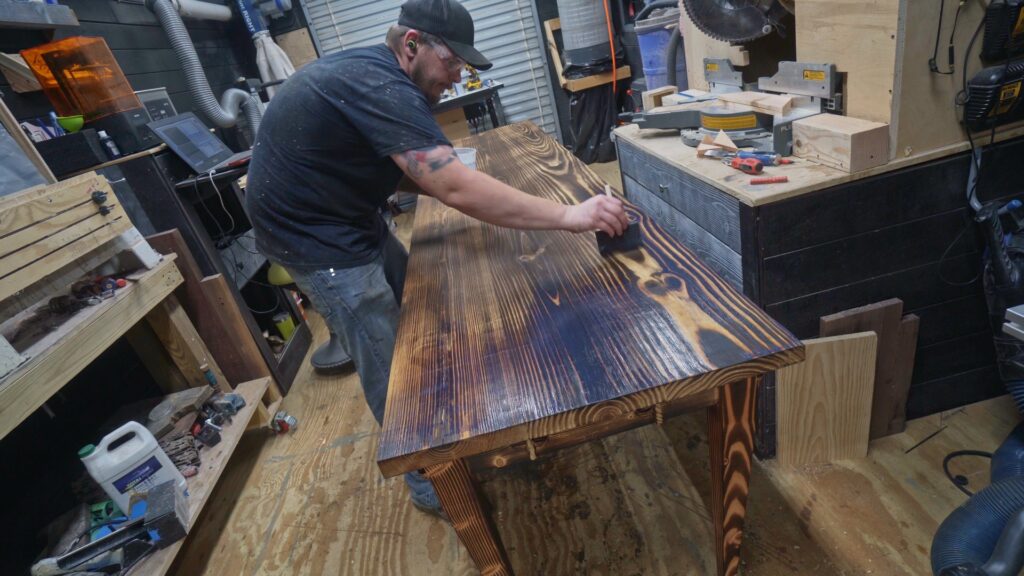
Now I could get to the fun part playing with the torch. You can do this with a smaller hand held torch but it is much more difficult to get the burn pattern to be a consistent color. So for larger burns like this I highly suggest you use a large torch.
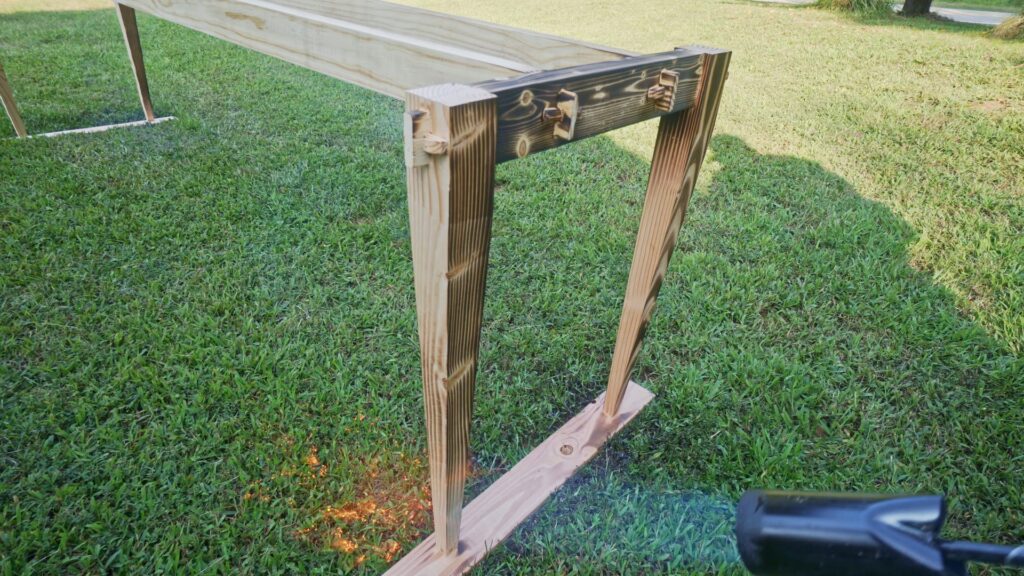
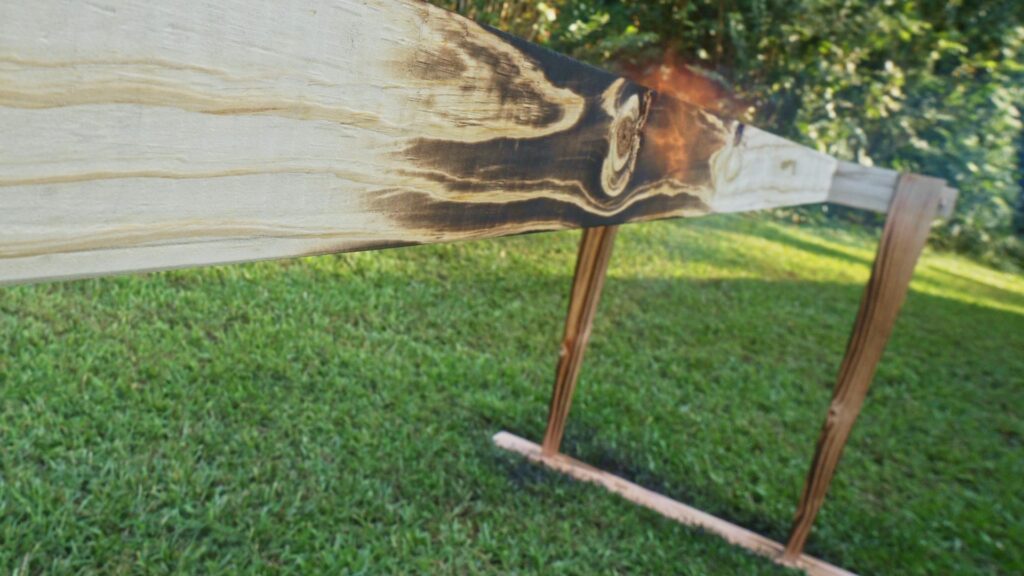
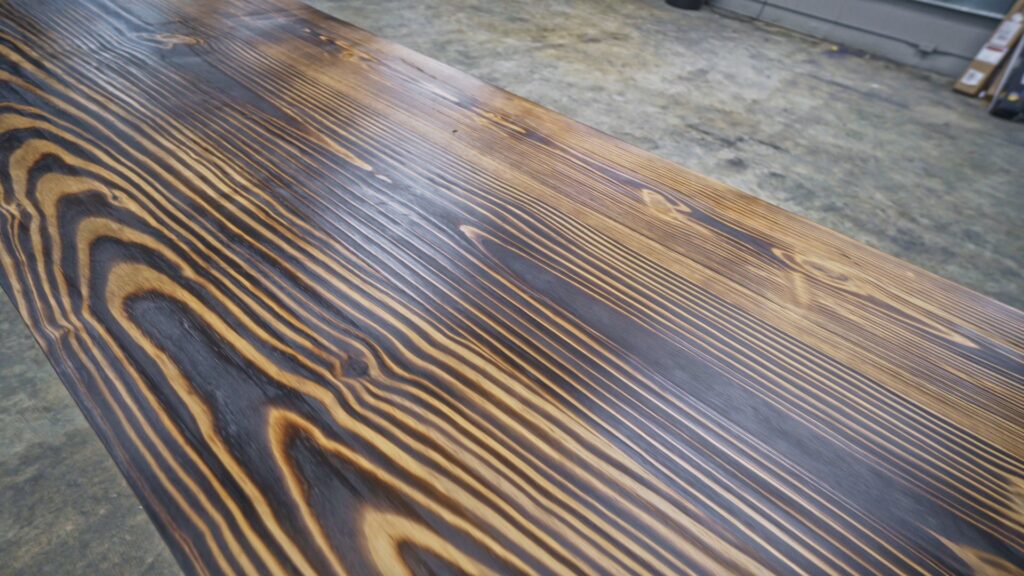
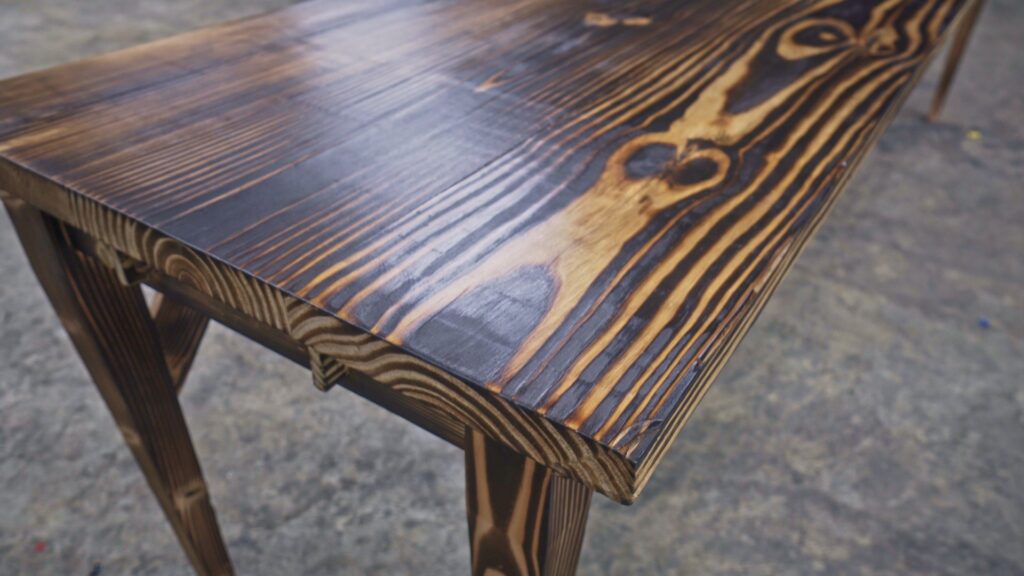
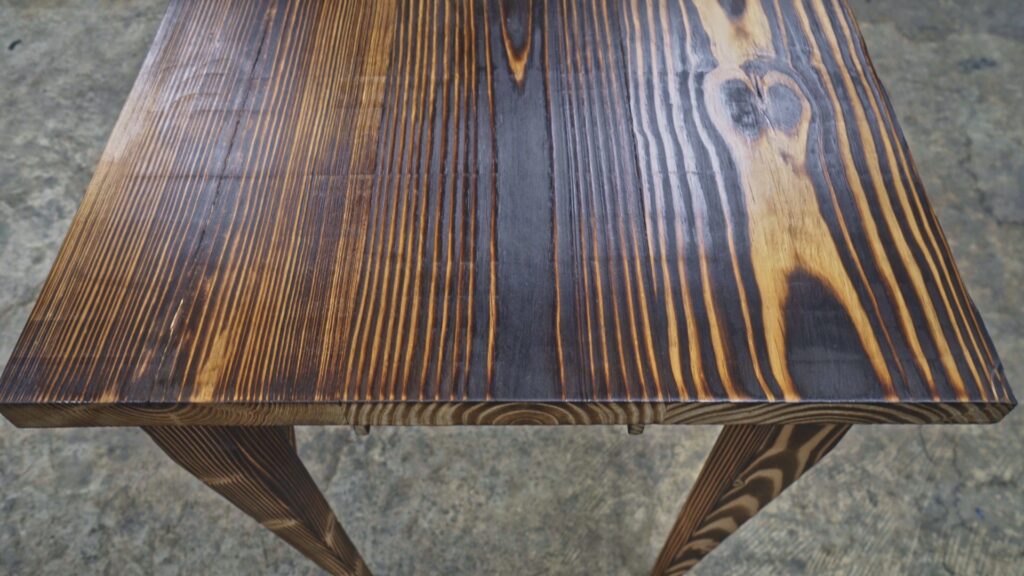
When you are doing a burning process like this you need to decide beforehand what level of charring you would like the wood to be at. You can lightly burn the wood just to bring out the grains and patterns in the wood or you can fully burn the wood to leave a black color and scale pattern in the burned area. I wanted to just darken all of the patterns of the wood to see the wavy patterns in the wood grain and give it a really cool look. After burning I try to give the wood time to rest as it will want to move and settle under the heat and the grains will relax some after the wood cools back down.
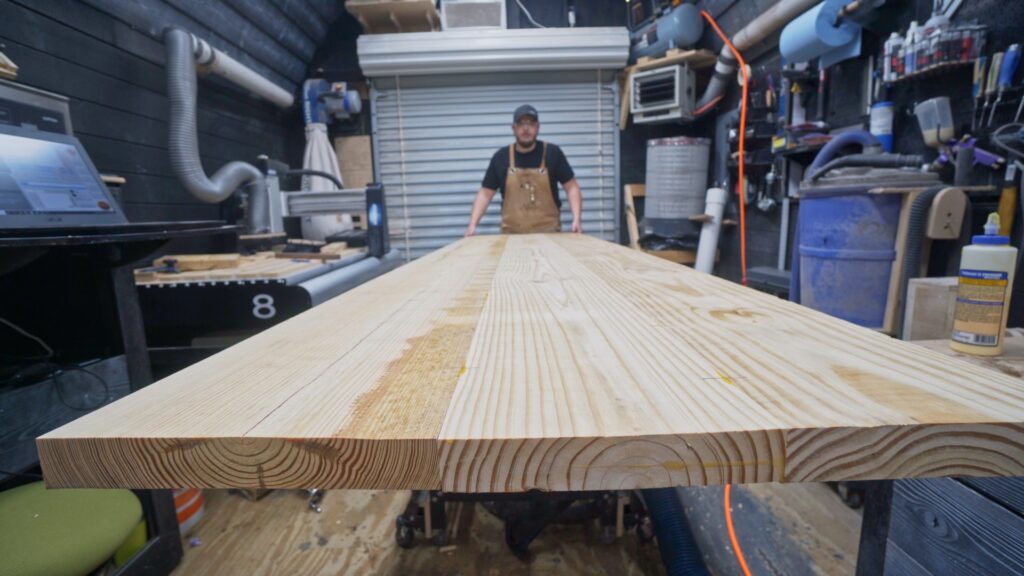
With the base charred and pretty much ready for finishing I moved on to make the top. I am not going into a long description on how I made the top as it is panel making. I will leave a link thought to making the Walnut Farmhouse Table that I made. It has a much more detailed layout of the process of making a table top panel. I did use the same types of wood as used in the base to ensure that the burn patterns will look similar in color and pattern.
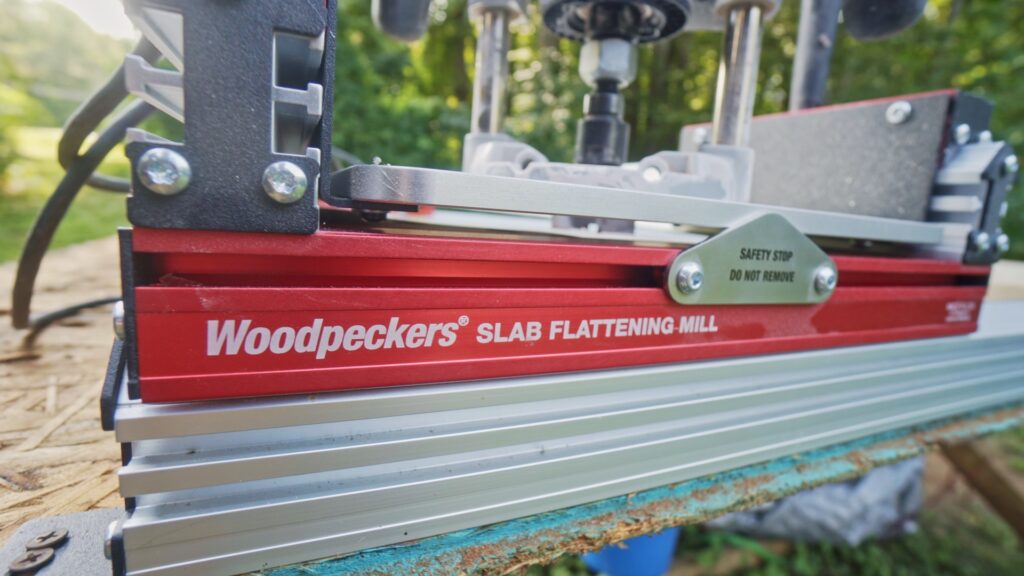
I then moved on to flattening the finished panel. I would be using the Woodpeckers Router Sled.
I will be doing a full video review of the sled and let me just say it works great. I used a torsion box style sled for a while and this is so much nice of a set up.

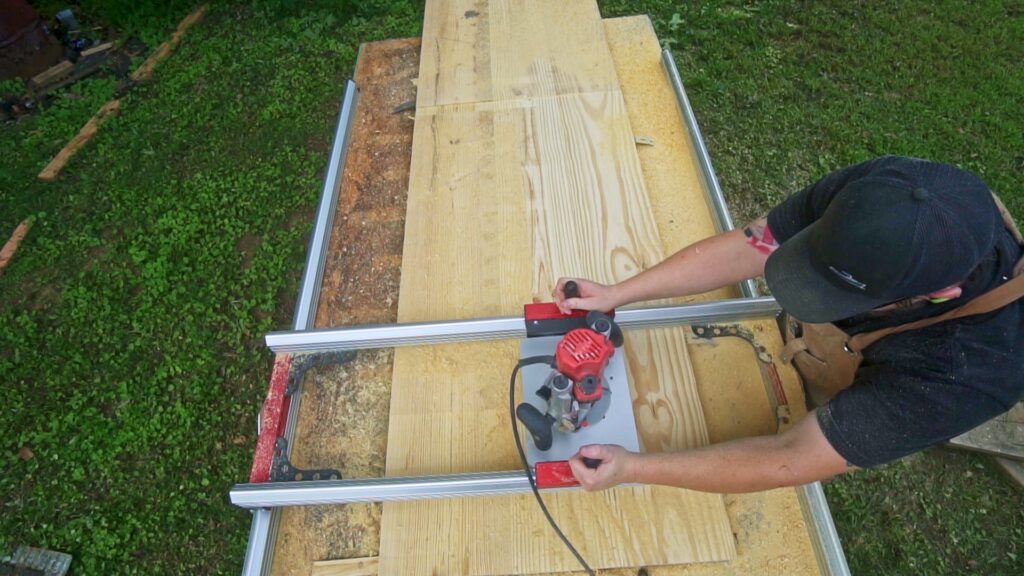
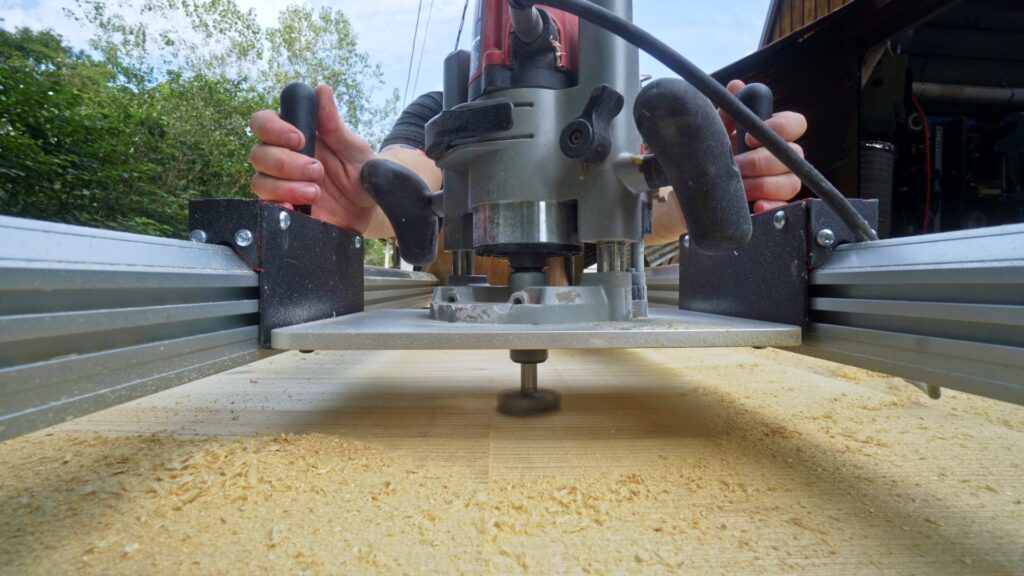
The length of the table top was a bit of a challenge as it was too long to flatten the entire table top without moving it on the flattening table. Another thing you will notice on the direction of the cuts is that for most of the panel I used a lengthwise cutting pattern. This is to cut the wood with the grain of the wood. It leads to a much cleaner cut for this panel and also if there are any small trim issues on the router it will be much easier to sand flat with the cuts following the grain of the wood.
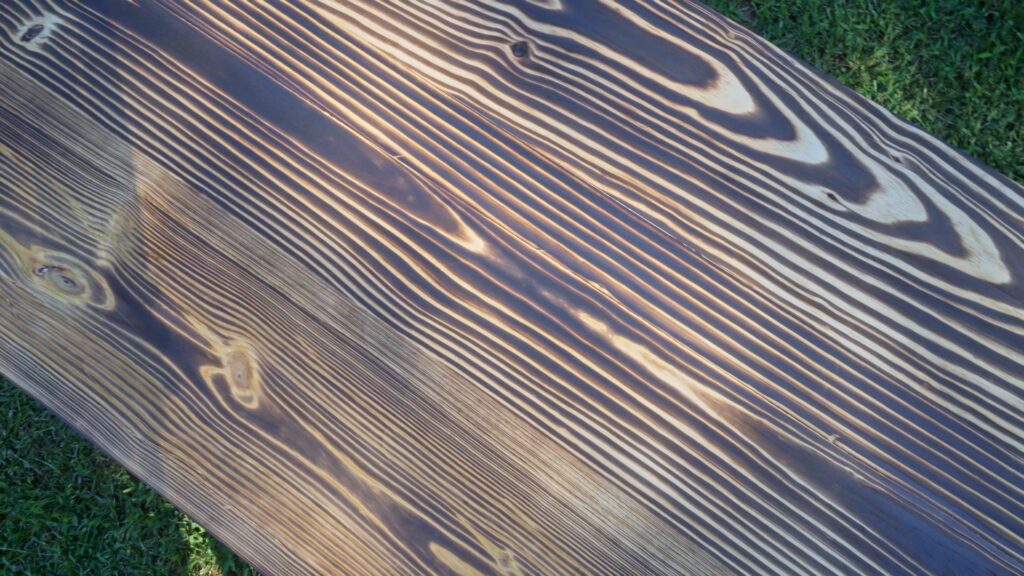
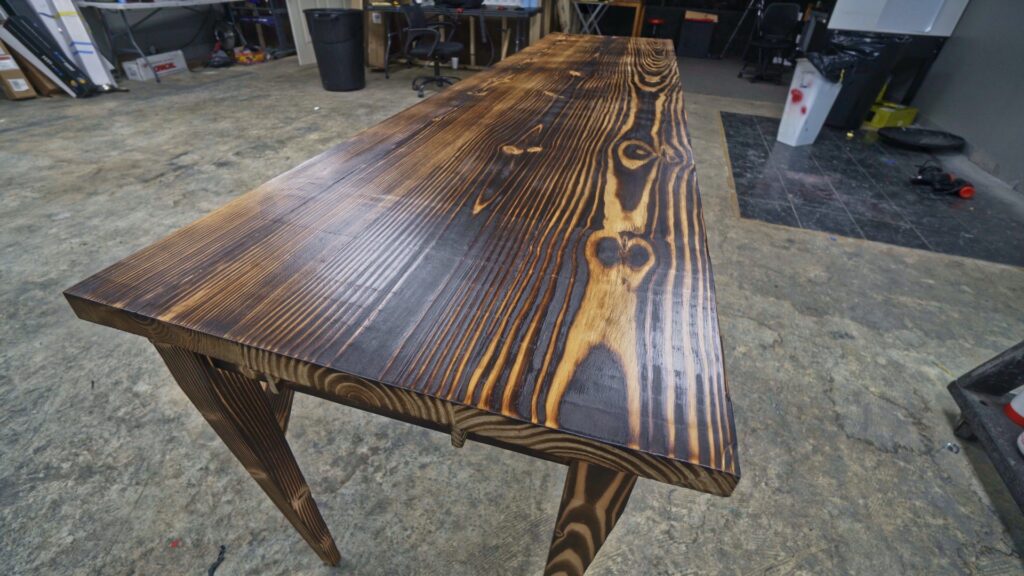
After installing the C- channel into the bottom of the table top I moved on to burning the top to really pop the grains of the wood and give the table its very unique look. This is by far the funnest part of the build. It is so much fun using a massive ball of flame to burn the wood and seeing the patterns of the grains come out. If you are doing a larger table like this you will definitely need a c-channel in the bottom. The burning process can make the top want to contract and without the steel c-channel the top would likely cup or warp. This is another reason you should give the wood plenty of time to cool off and the grains of the wood to relax so that if there is any warping you can take the steps to correct it. After the wood grains have been allowed to cool I used a nylon brush to brush off the residue left over from burning the wood. This step was also taken on the base as well.
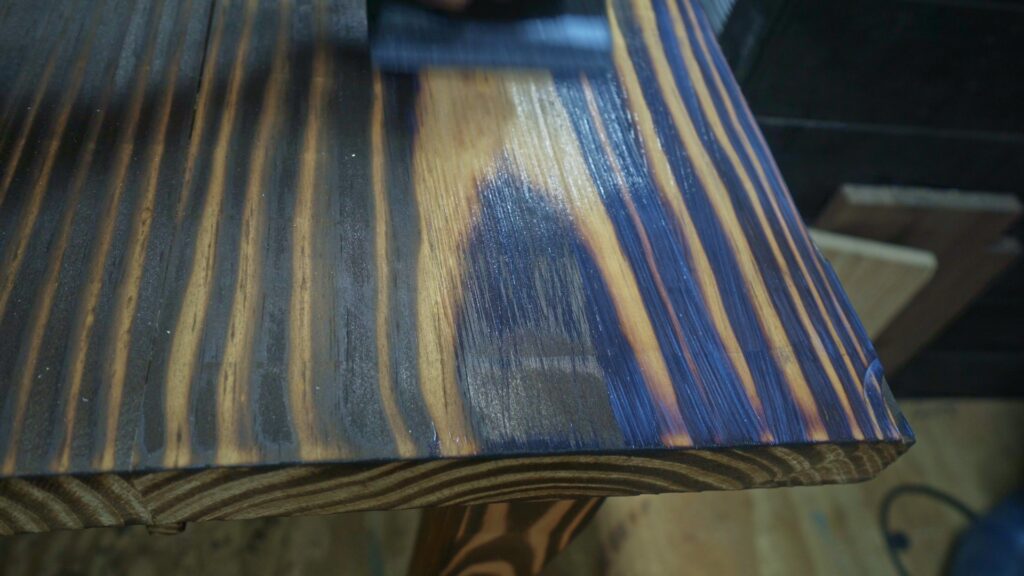
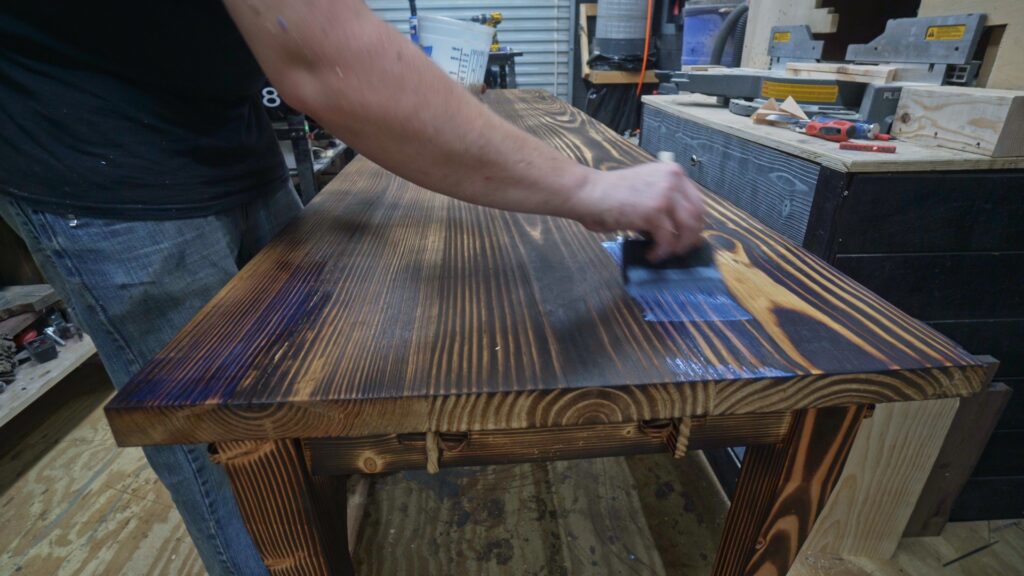
To finish the table I use a polyurethane finish. I did this mainly because of the strength and durability of the finish it will last such a long time and when you add in the natural preservation of the wood by burning it this table would last forever. Give each coat a couple of hours to completely dry before adding the next coat. And allow the finial coat to fully cure before you use the table top.
This was one project that pushed me just a bit as I had never done many of these techniques. The through tenons with tusk wedges and the large area of Shou Sui Ban made for some pretty large learning curves. That being said I had a blast making it. I really enjoy getting to do project with aspects that I need to learn more on while creating. What is something you have worked on lately that has pushed your abilities?

Thank you guys for sticking around and if you want to show your support then feel free to click any of the links in this article and make sure to go subscribe on YouTube. If you want more pictures and videos go check out the @jpaynewoodworking instagram page and follow Jpayne Woodworking on facebook. You can also sign up for the newsletter here on Jpaynewoodworking.com to get notifications on when new articles, products, videos and more are up for you to enjoy. Thank you guys for everything and I hope you have enjoyed it. I will see you on the next one.
