 JPayne Woodworking Creative Craftsmanship
Hey guys hope you are all having a great day. This article is a little late but better late than never In my opinion. No matter if you are just getting into woodworking or if you are a professional you have looked into or seen a farmhouse style table. Possibly one of the more popular and recognizable style of furniture and table out around now. One thing about the farmhouse style is that you usually see them done in woods like pine or fur or even cedar. They are meant to be a bit rustic looking and look as if they have been used or have some age to them. There are also a ton of ways to do the bases from simple straight 4×4 legs to more complex X style or even pedestal bases.
Well like almost everything I make I like adding my own twist to a project and really enjoy trying to combine styles and process. For this project I was asked to make a farmhouse table but they wanted it to be a bit higher end looking. Not completely rustic or distressed but have a nice mix of the two.
I came up with what I thought would be a great mix of the two. I started off with some fur 4×4 posts. These would make up the bases they would look great and be very strong. This table and matching bench is meant to be a forever set. This to me means that they will last forever. I wanted to make something that could be passed down from through the generations.
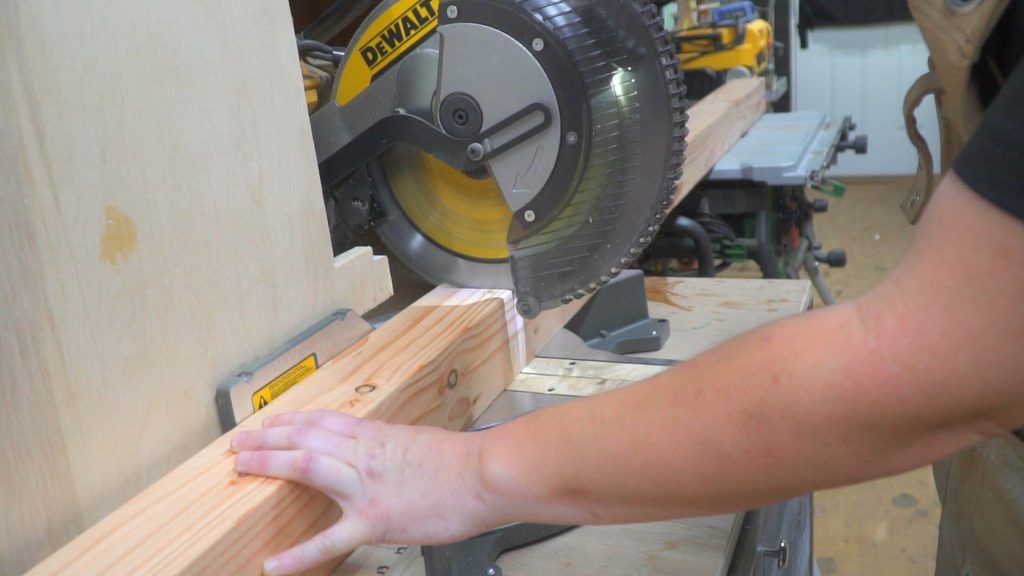
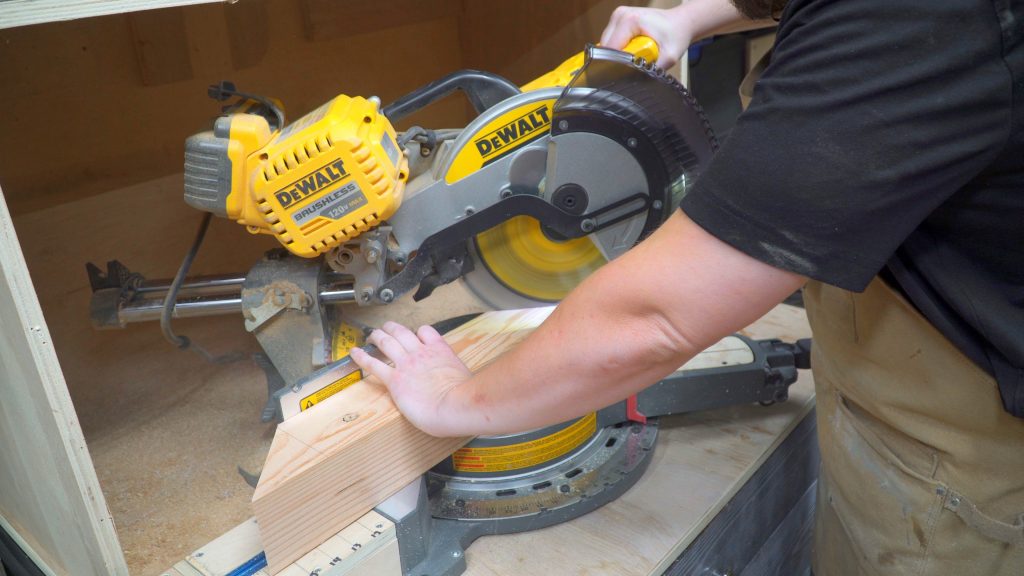
I used the Dewalt Miter Saw to cut the 4x4s to the desired lengths. This will be a bit different for each table depending on your desired finished height. I wanted to the table to be 30 to the top and the bench to be 18. I also had to take into account the cross boards on top and bottom as well as the wooden feet that would be used. Remember measure twice and cut once this is also where programs like sketch up come in handy so much as you know exactly what lengths will achieve your desired height.
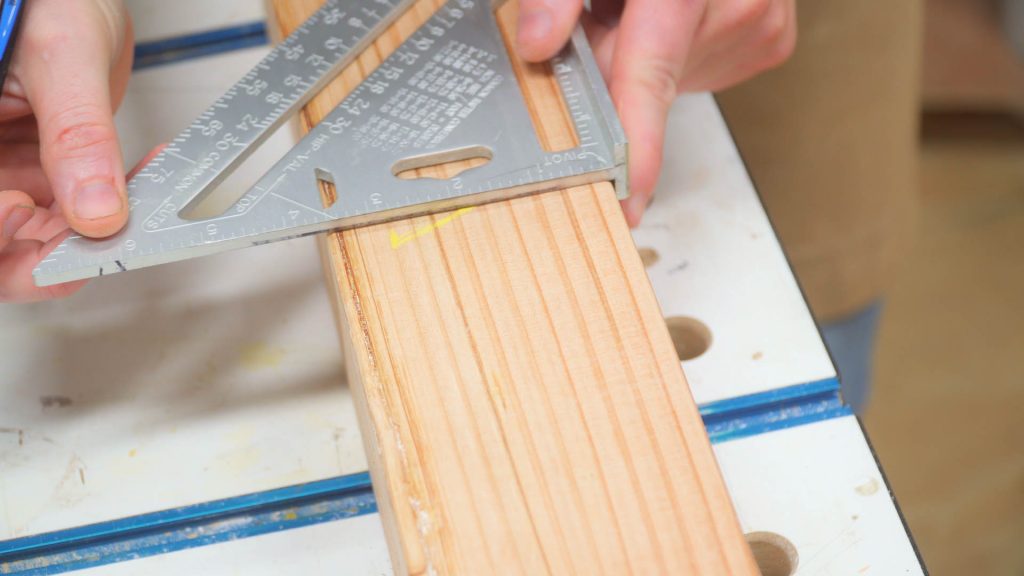
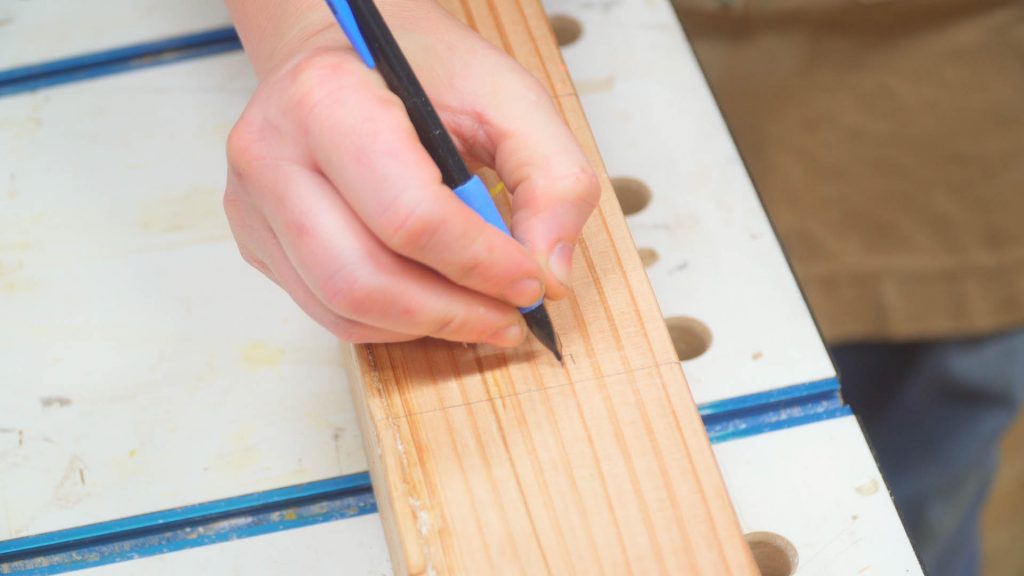
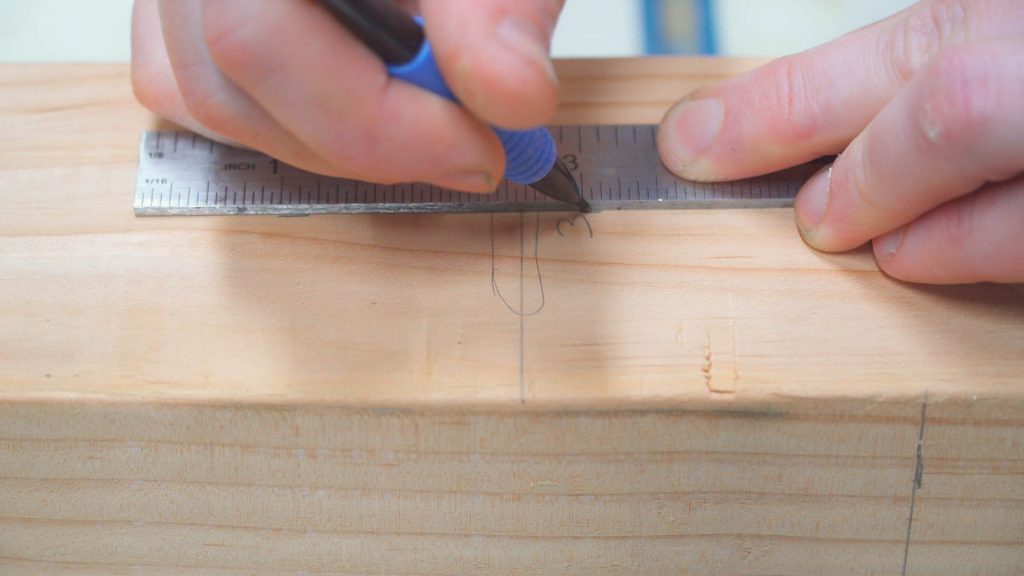
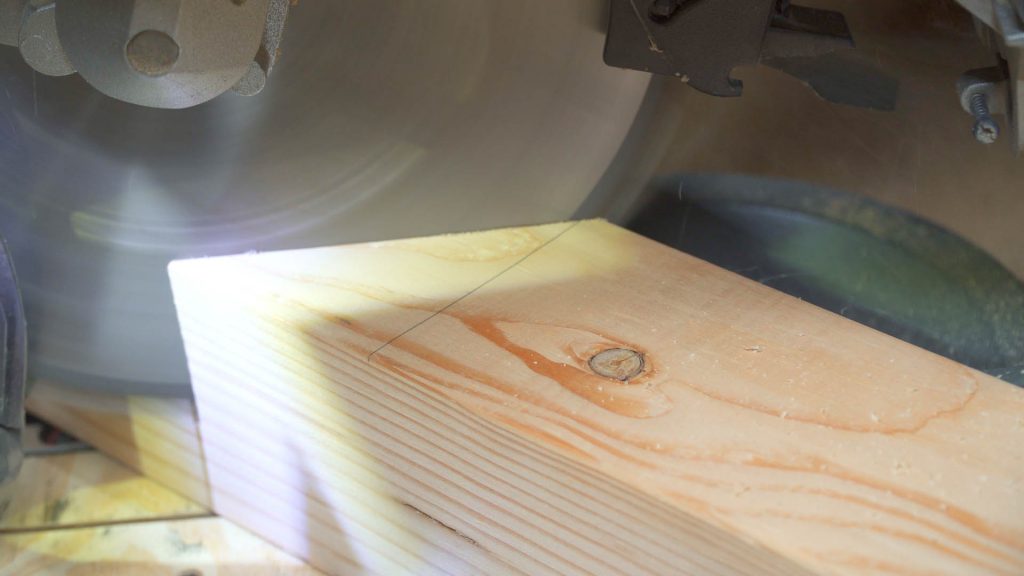
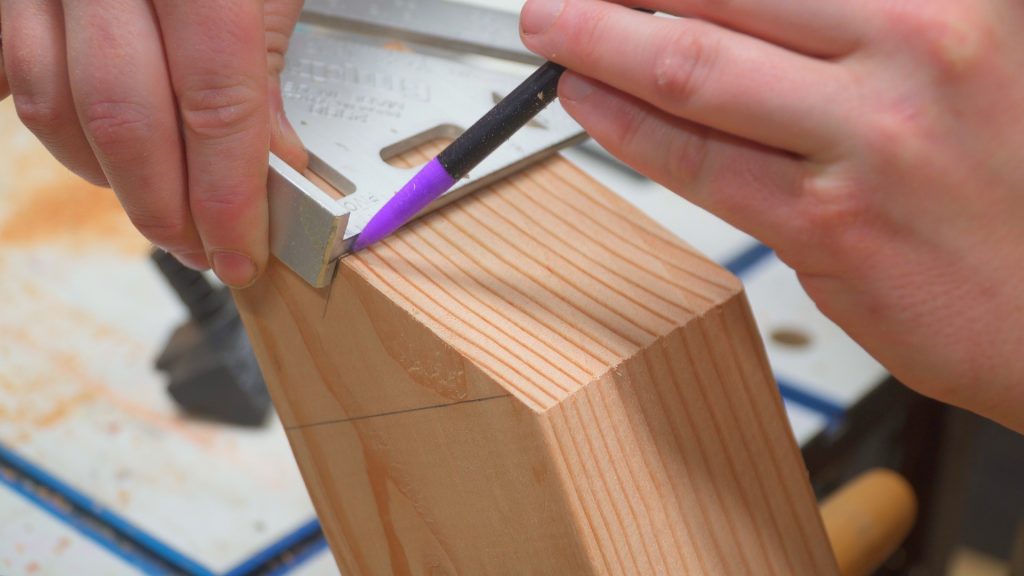
To create the finished shape and add strength I decided to use a floating tenon method to make the bases. I stared off by marking out the exact placement for the tenon.
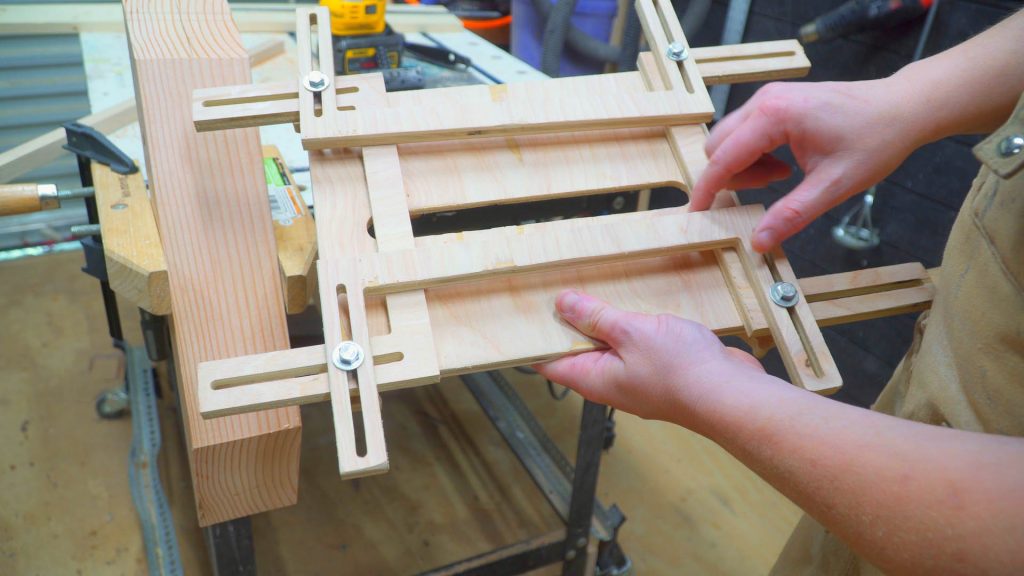
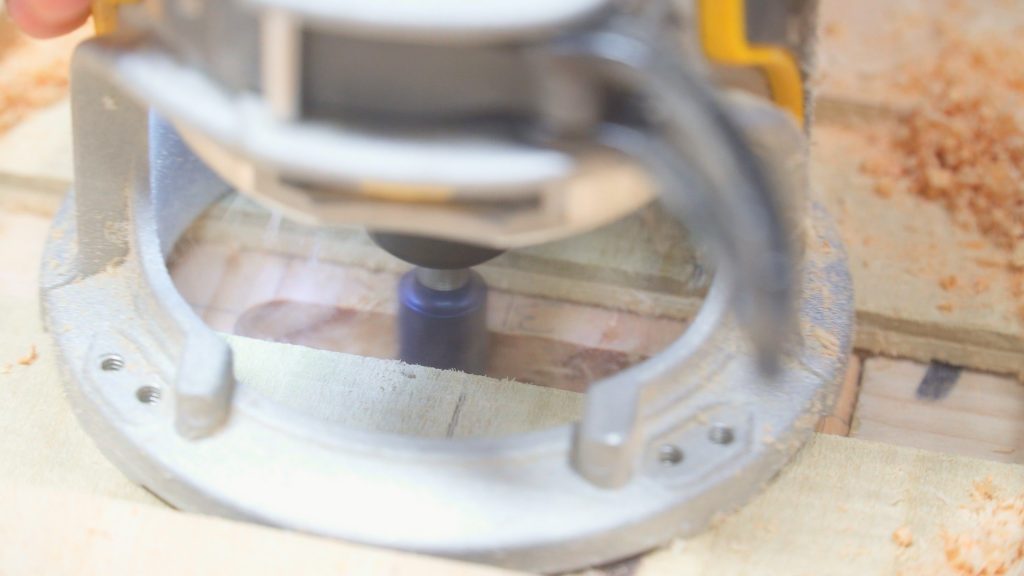
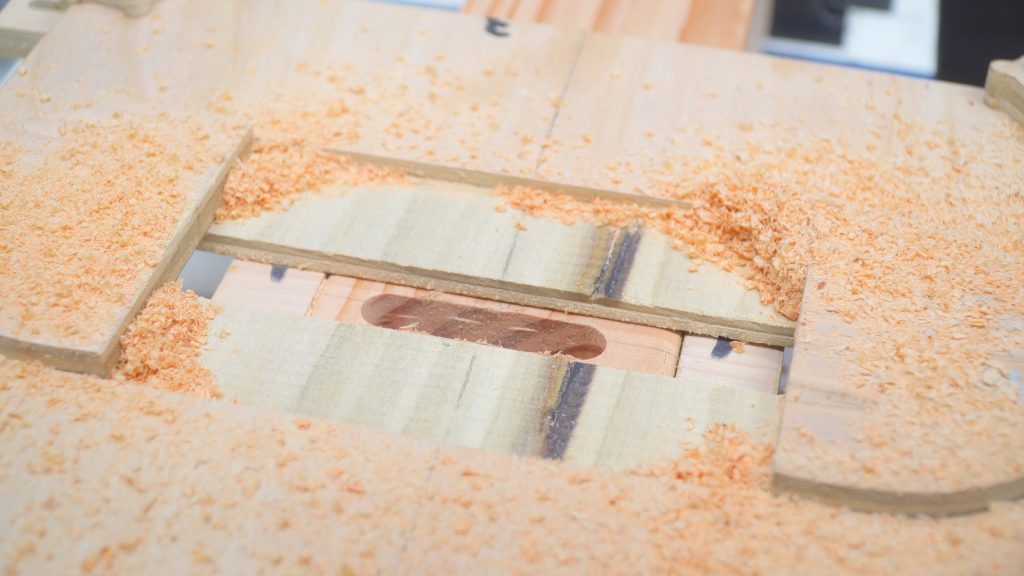
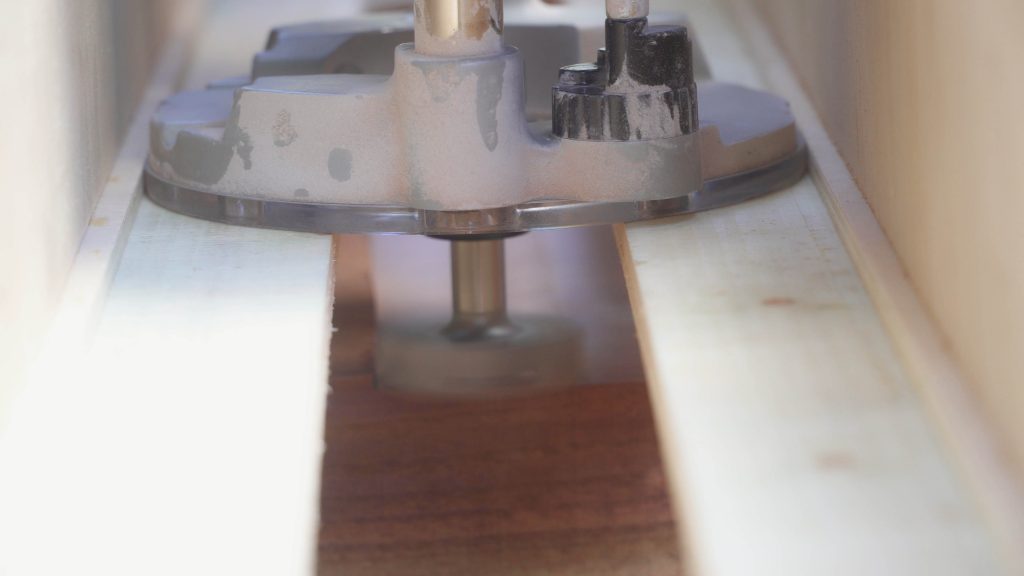
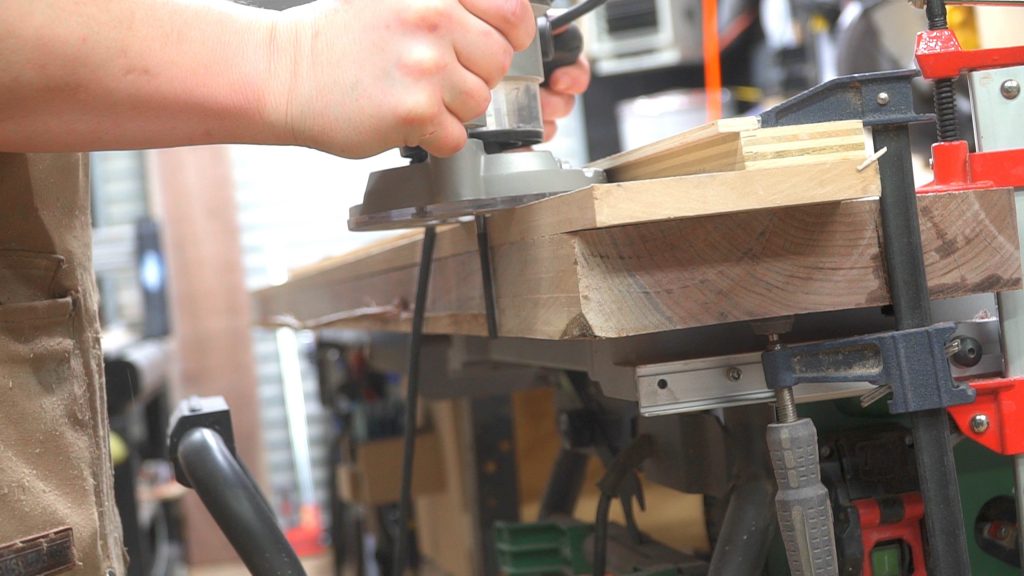
I then used the tenon jig that I designed. This jig is a bit different then most as it is designed to fit perfectly with the 5 in base of my Dewalt Trim Router. This jig uses spacers to restrict the side to side movement of the router and creating perfectly sized mortis slot for the floating tenon.
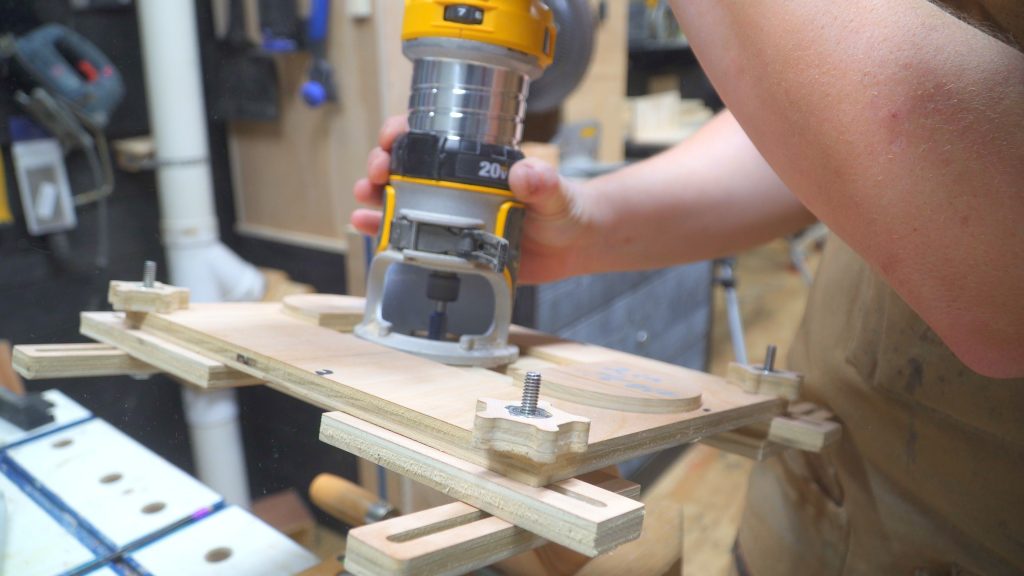
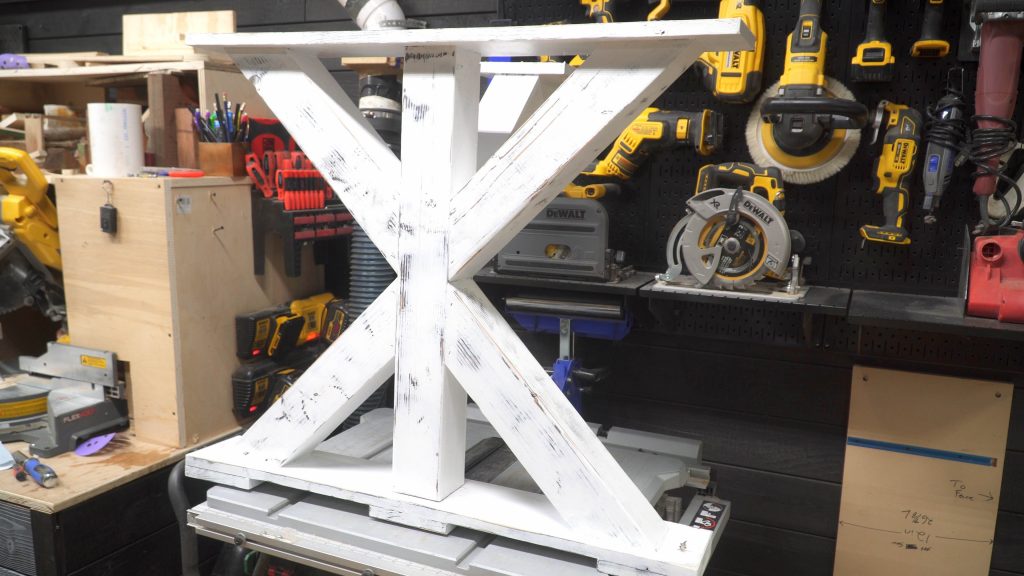
A great benefit of the design of the router jig is also that it can be positioned on the angled ends of the 4×4 posts to allow for the mortis slot to easily and quickly be cut perfectly into the endgrain of the angled posts. This can also be achieved with things like dowels and or dominos. But as i do not have a domino and dowels can easily get out of alignment I was very happy with going in this direction. Once the glue was completely dry I then added the top and bottom cross braces and feet.
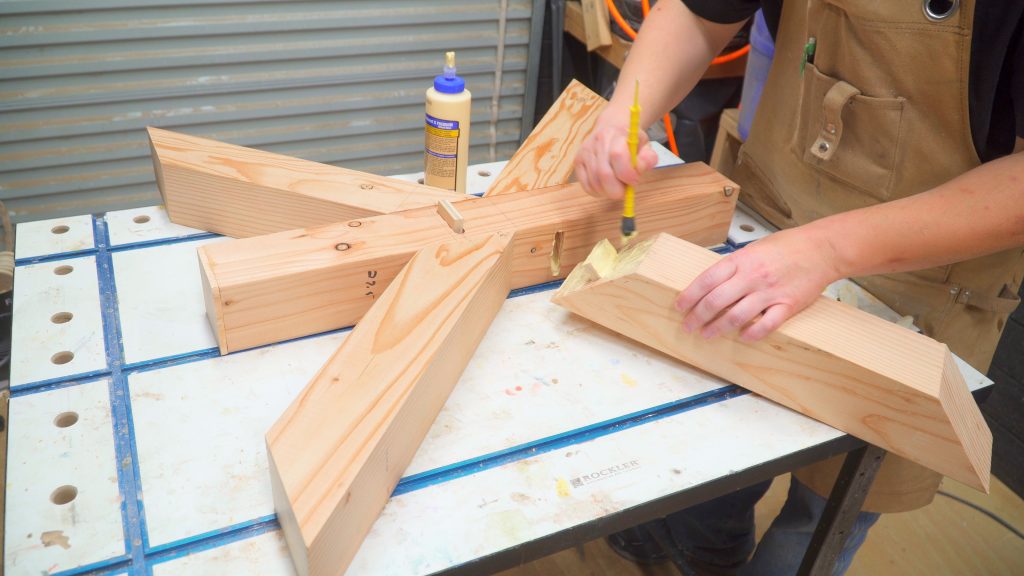

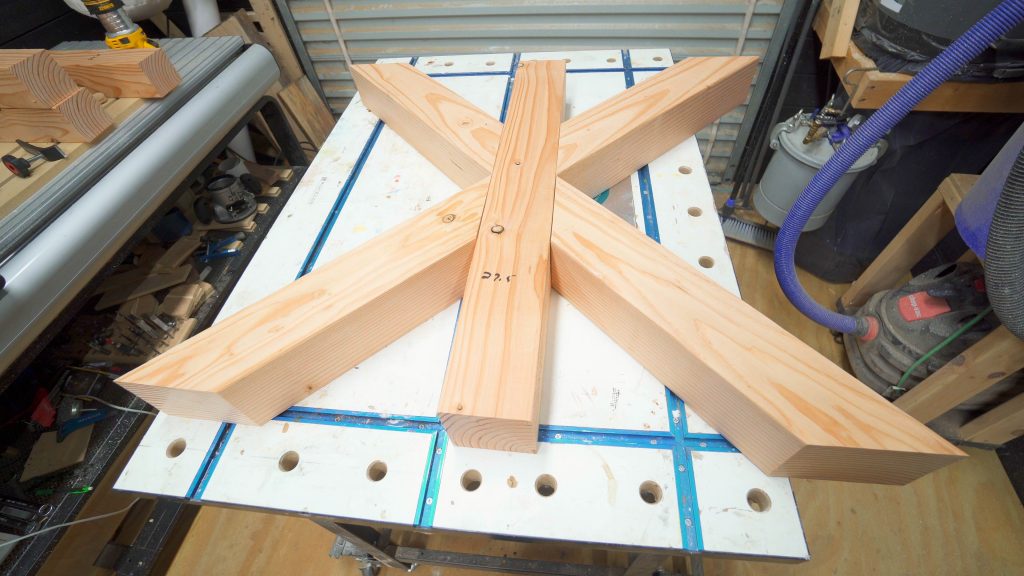
Once all of the mortis slots had been cut I was able to glue up the bases. The floating tenons made assembly very easy as the placement was perfect and I used some simple triangular cut sections of the post from scap to add pressure evenly to the joints of the bases as the glue dried.
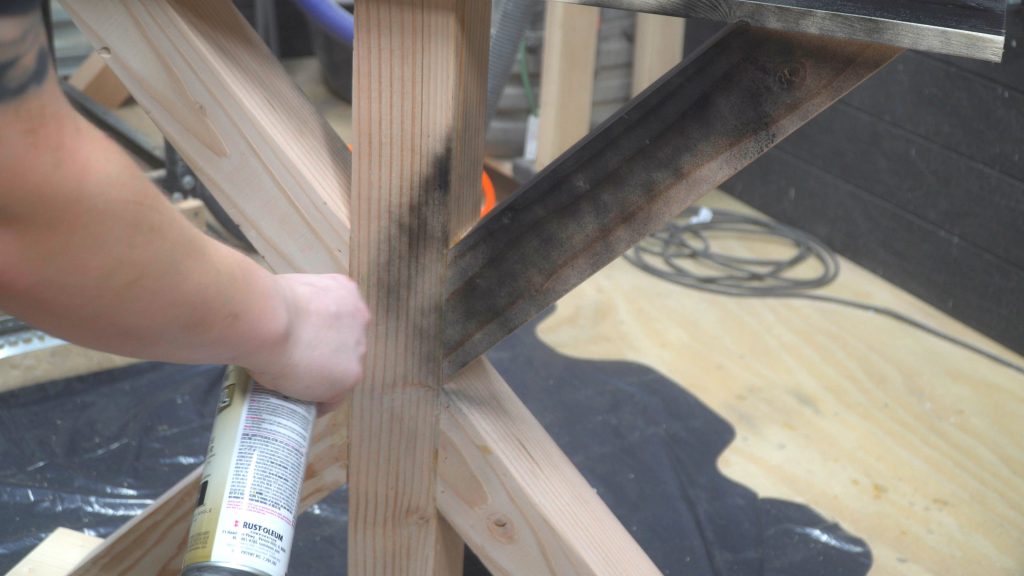
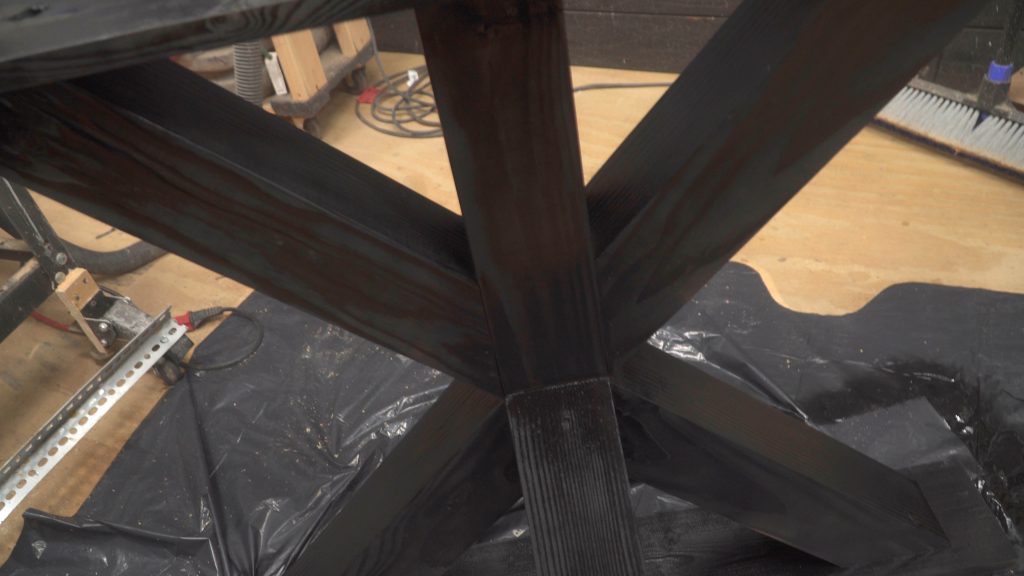
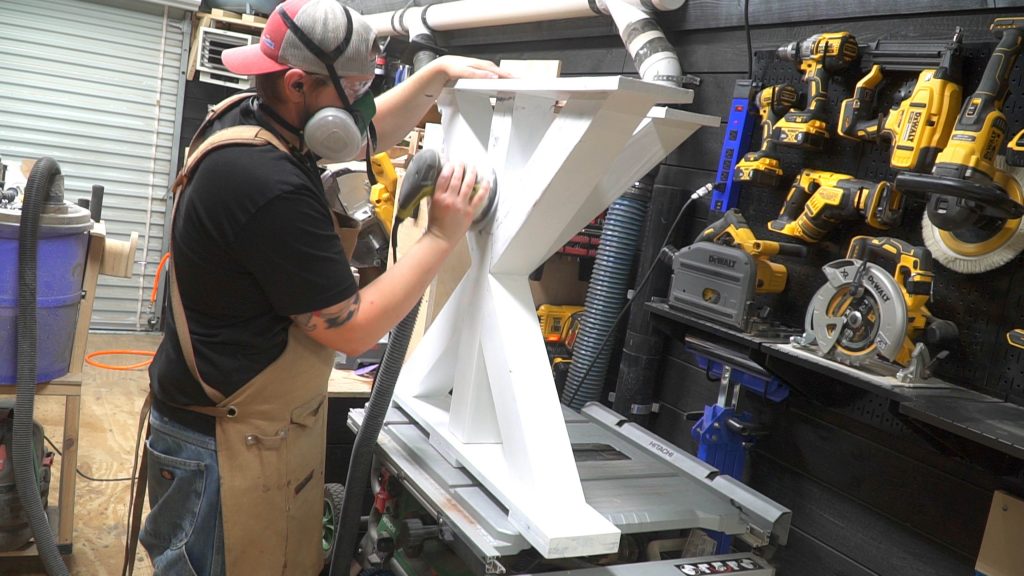
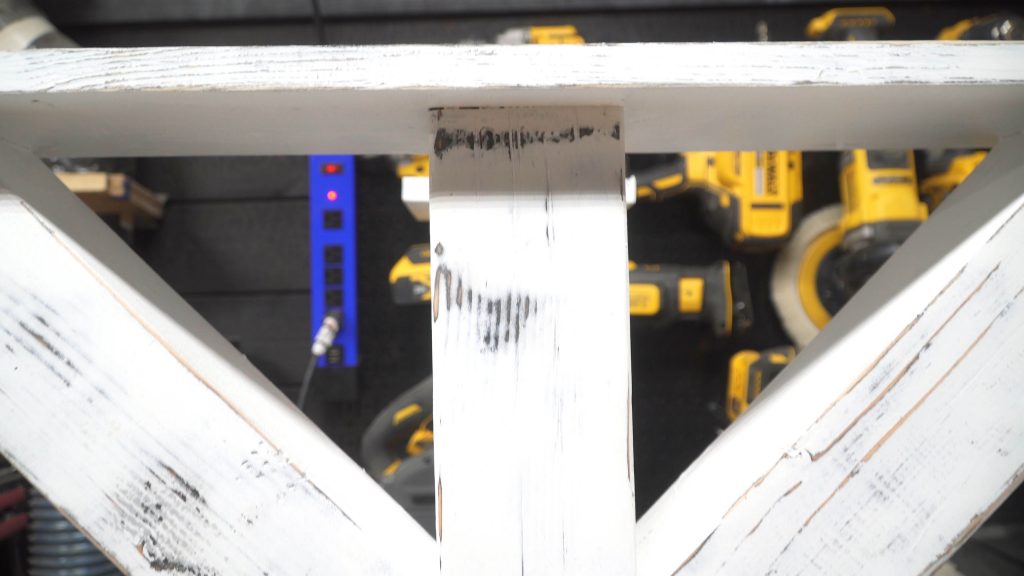
Once all of the bases were assembled I could move on to distressing them.This is actually a very simple process. Simply put you will be layering multiple colors in this case 2 black and white and then removing random sections of the colors to give the illusion of a distressed or aged base. You can do this not only with whatever colors you would like but also more than just 2 colors. I used some simple quick drying black spray paint to completely coat each of the bases. Make sure to completely coat the wood as any non painted spots might show through the top layers. Also make sure to give the paint time to completely dry.
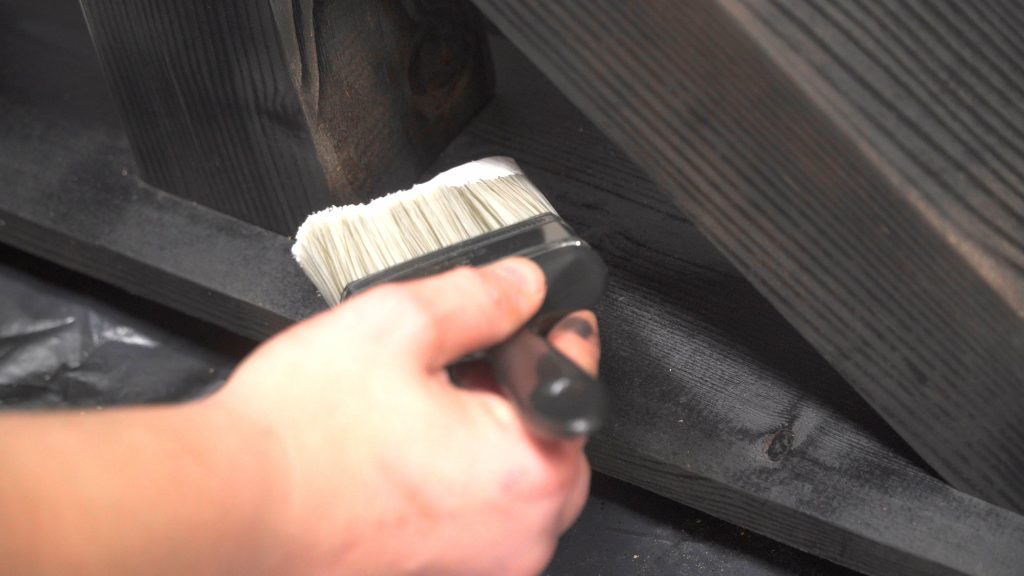
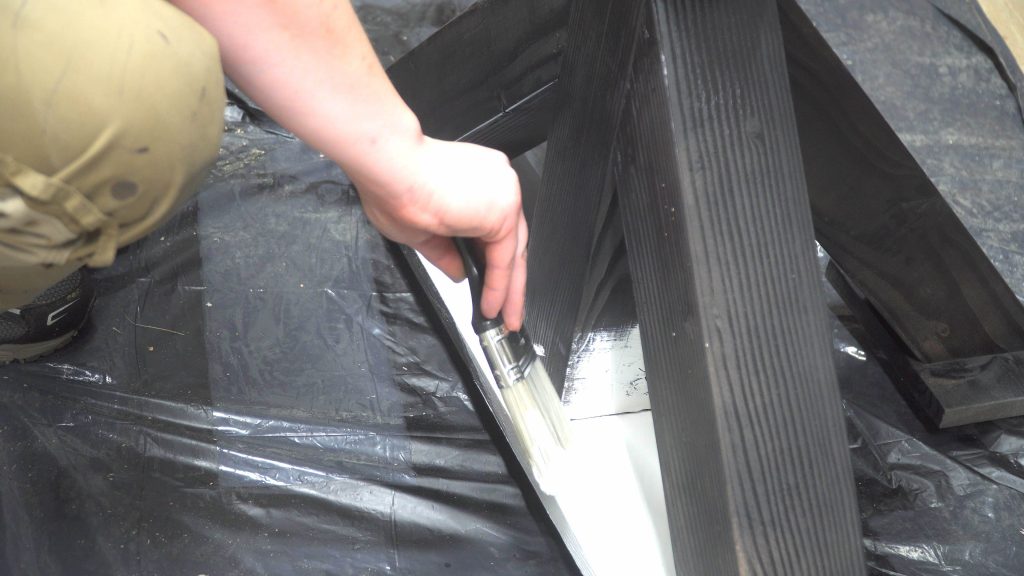
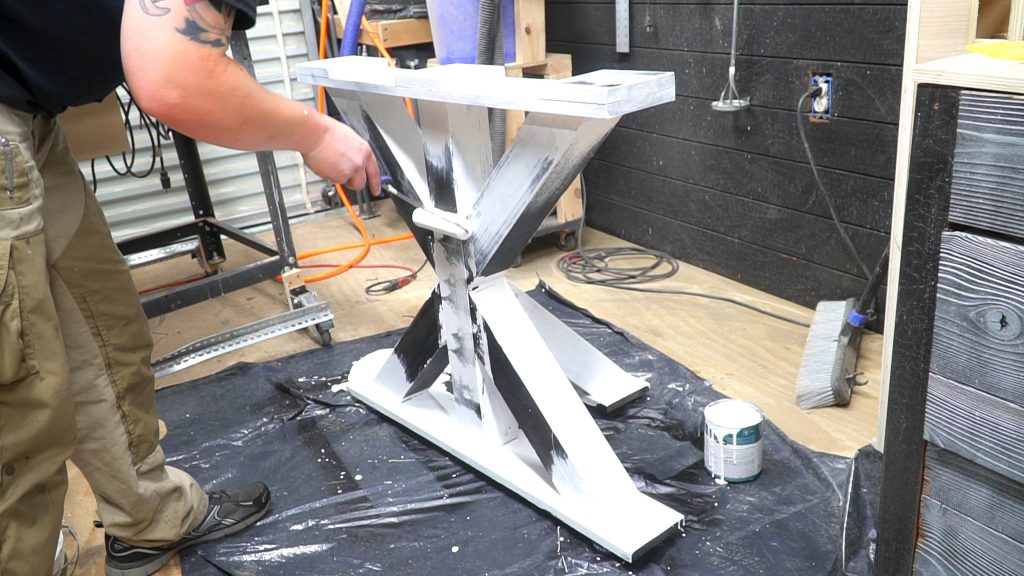
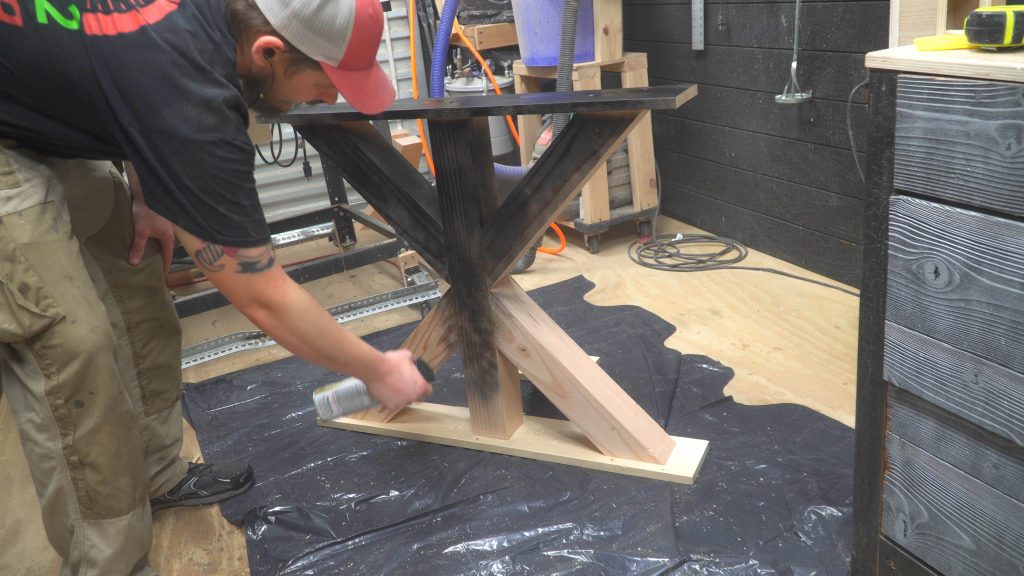
I then coated the bases entirely with white paint. For this application I used a paint and primer in one paint. Using a smaller brush to get the corners coated and a roller to cover the larger flat areas. Don’t rush this part, make sure you have full coverage and allow the paint to completely dry. This is very very important if you try to move on to sanding too quickly at this point it could cause problems with how the distressed finish comes out.
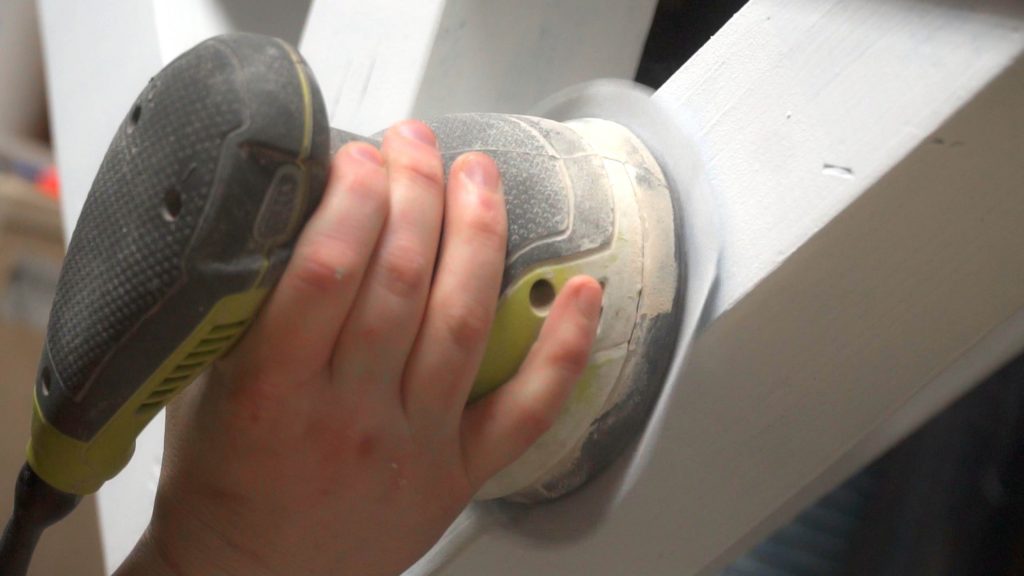
I found it easiest to start the sanding process of distressing with 220 grit. You can start with a much lower grit but remember this will remove much more material a lot quicker. If you are going for a more weathered look this might be beneficial. For this particular build I wanted the bases to look distressed but not extremely. Only enough to give them a mildly weather look.
If you are going with this type of look I also suggest using multiple grits of sandpaper. This will not only give a more weathered look but also add more of a random look to it. This helps to make the weathering of distressing look more natural. As if the paint has been randomly eroded by wind or water. At this point you can apply a poly clear coat if desired. I would recommend the final clear coat if you are doing a very weathered look. As the more wood that is exposed the more you might want to protect the wood from actual wear.
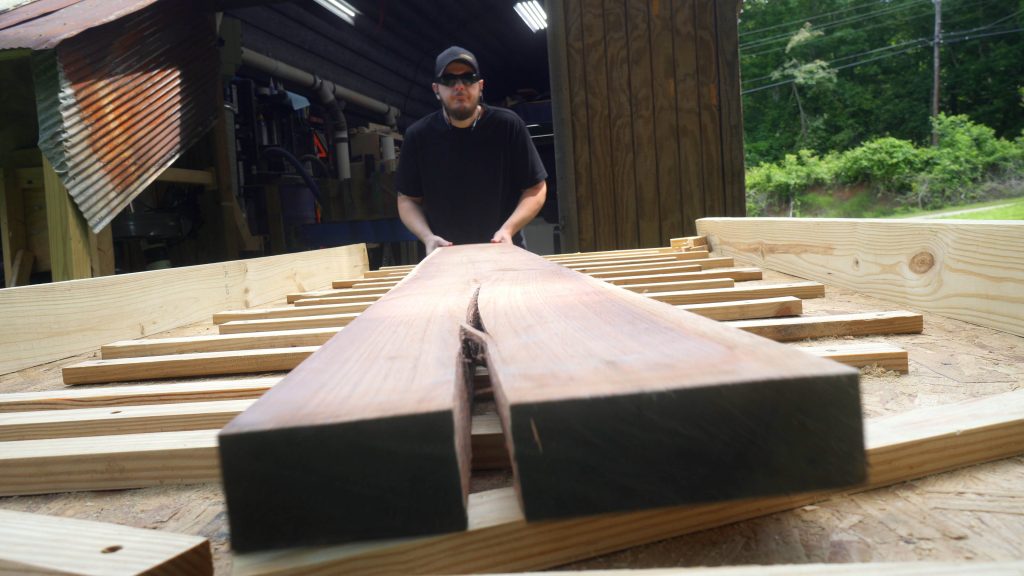
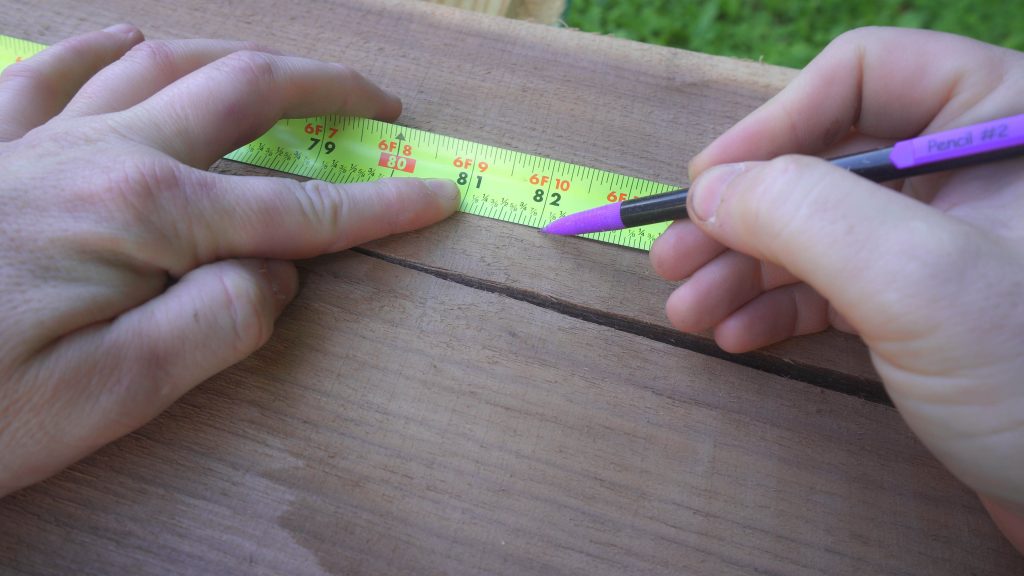
For the top I was going to be using some awesome looking walnut. I need to start by cutting the board to a rough length a couple of inches longer than needed for the finished table in this case the finished table would be 80 inches long.
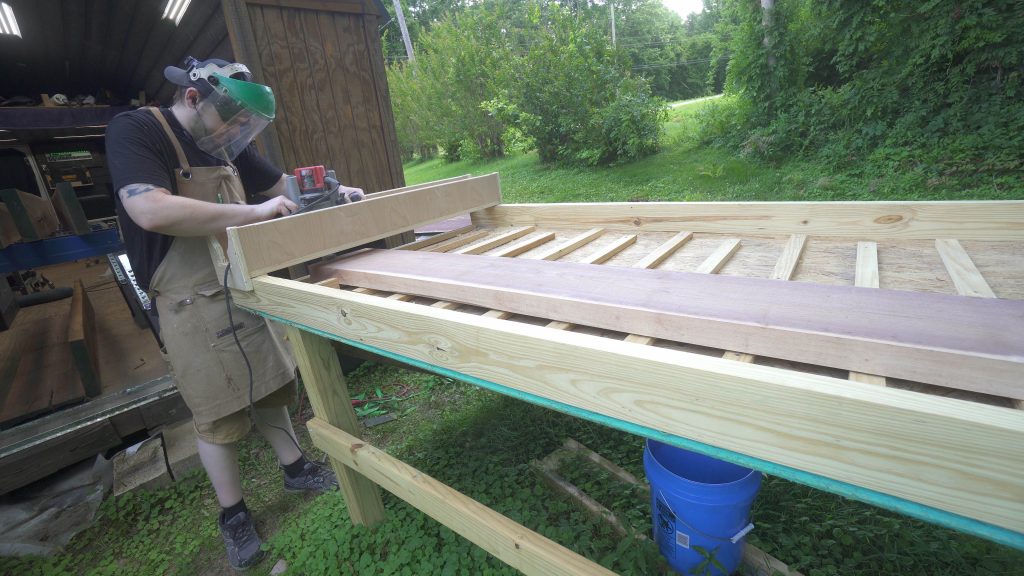
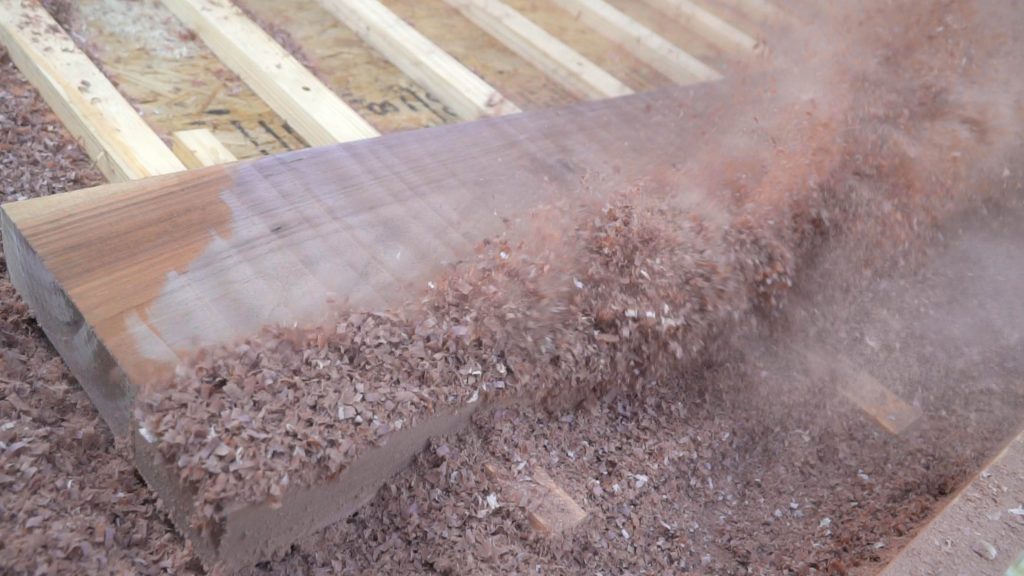
Once the board was to rough length I could move on to using the router plane to flatten one side of each board. This is to give a flat reference face to do the rest of the panel creation from. Without the better and more accurate the reference face the better the panel will turnout. This process was then repeated on each board for the top.
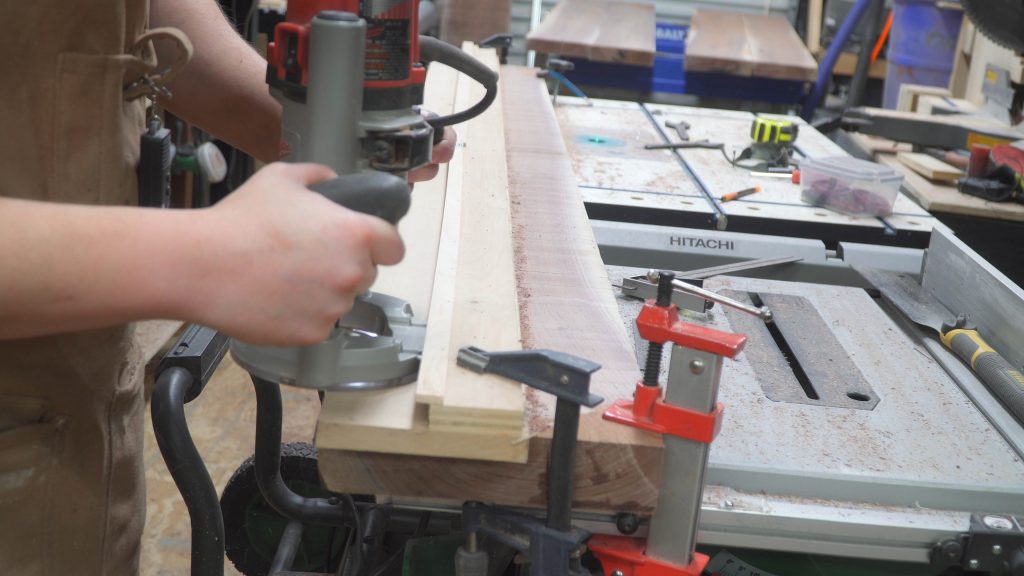
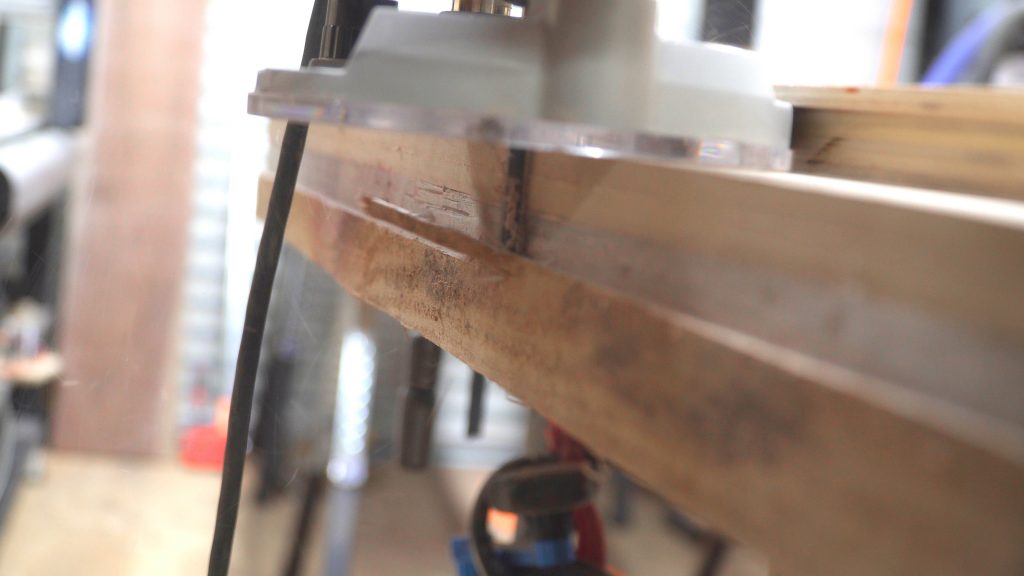
With a nice flat reference surface on each board I moved onto jointing each board. If you have a good jointer it will do the job but I honestly do not. So for this process I decided to throw together a quick router guide. This not only gives me a perfectly straight reference line for the cut but also using a piece of stable mdf or plywood for the base will give the router a flat smooth surface to ride giving the edge a perfectly perpendicular edge. This will help to ensure a tight glue line. This repeated on every edge that will be glued.
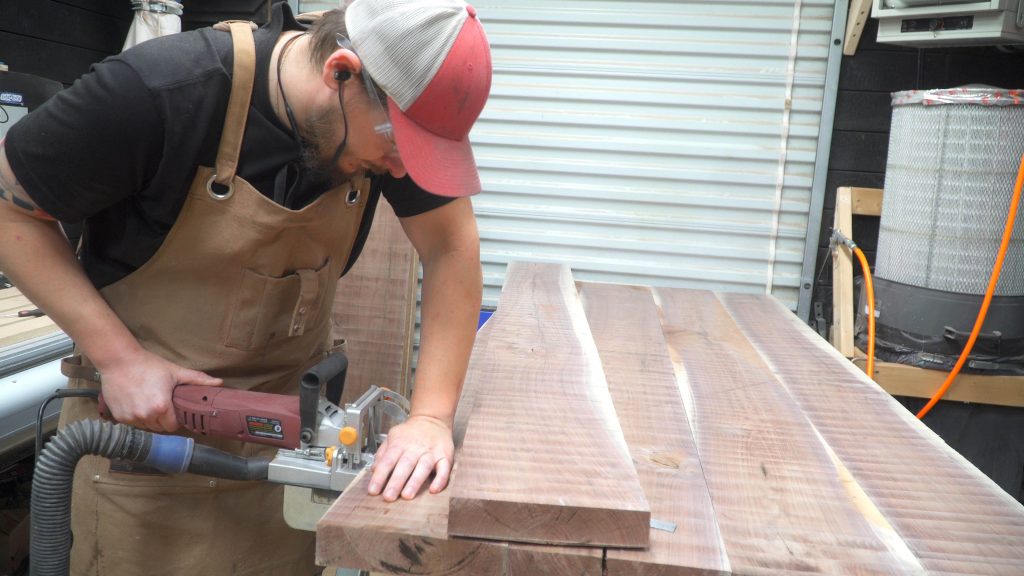
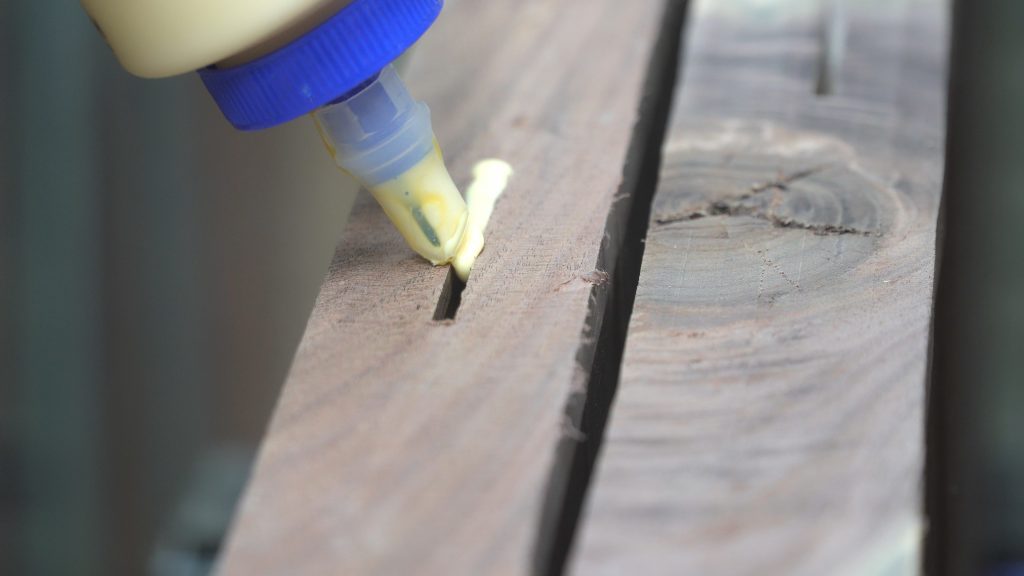
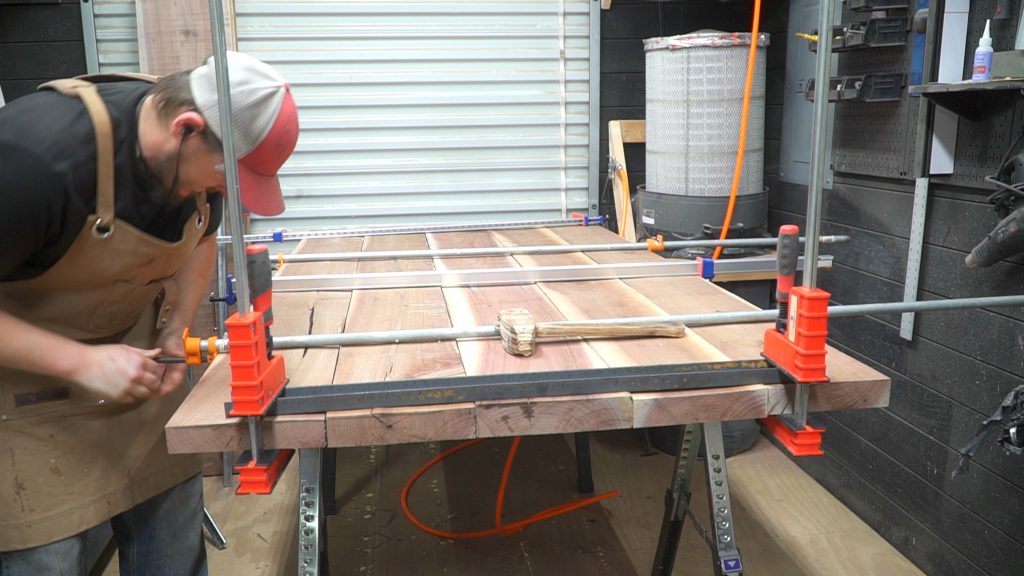
For the glue up and alignment I used biscuits for the alignment with each seam having 6 to 8 biscuits in each seam. Make sure to do a test fit up before actually applying the glue and it might even be a good idea to have a helping hand to align the slots and biscuits and apply glue. I was running like a chicken with my head cut off to get the boards glued up before the glue would start to set mainly due to the size of the panel. I also use a section of the c channel that would be used later on as well to ensure the panel stayed flat while the glue cured.
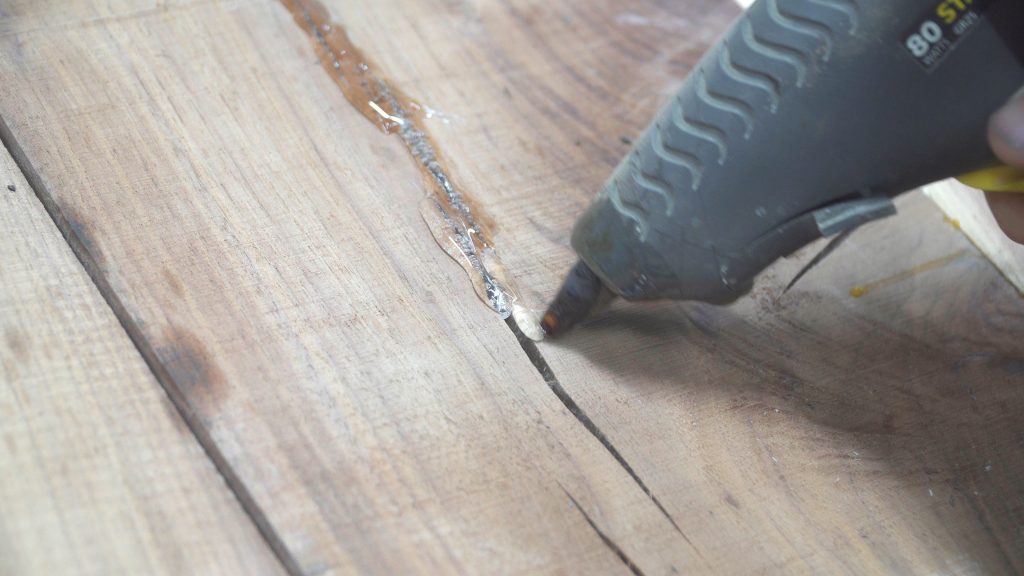
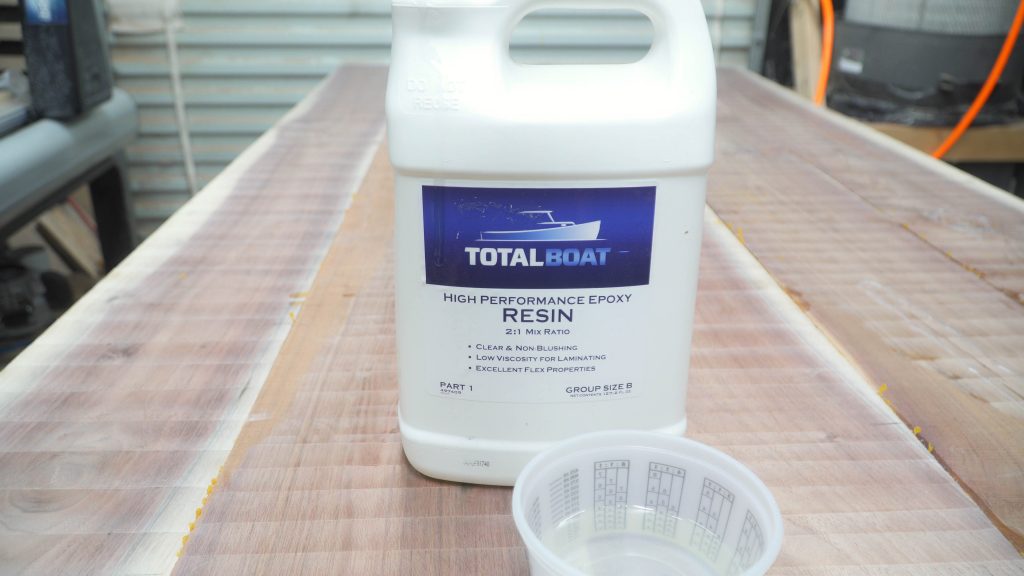
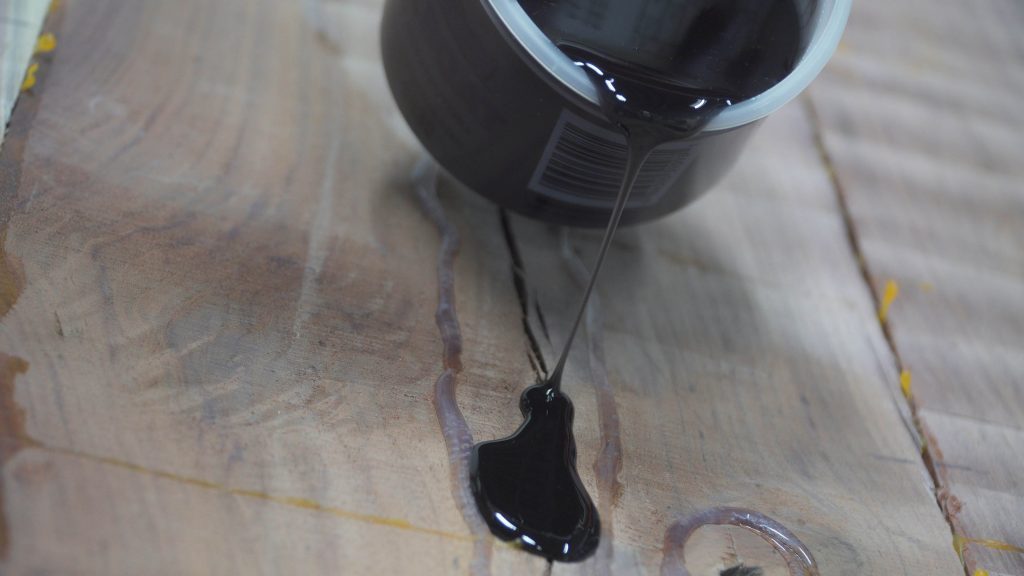
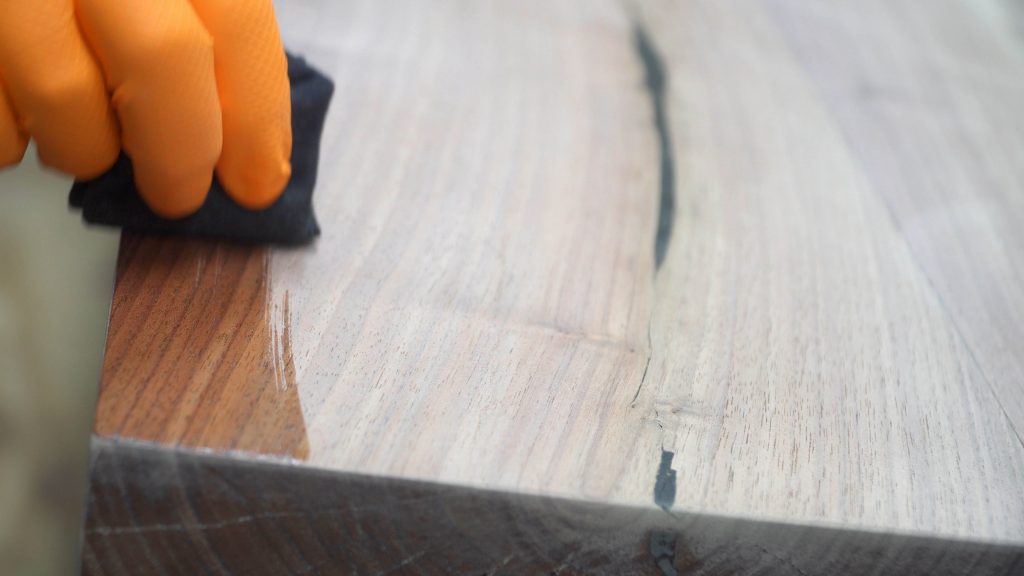
For this table there were a few small spots of checking and cracking in the walnut. For this I used some Total Boat Epoxy and some Black Diamond Pigments to add some black epoxy to the cracks this will stabilize them preventing any future damage or movement and also it looks great in my opinion. To do this I took a different approach to the process first off i did not tape the cracks I used hot glue on them to seal them bottom side of the panel stoping any leaks from happening when the epoxy is added. Keep in mind though this will be removed once the panel is flattened. I then mixed some high performance Total Boat Epoxy and Black Diamond Pigments and pourded the epoxy into the cracks and checking from the other side.

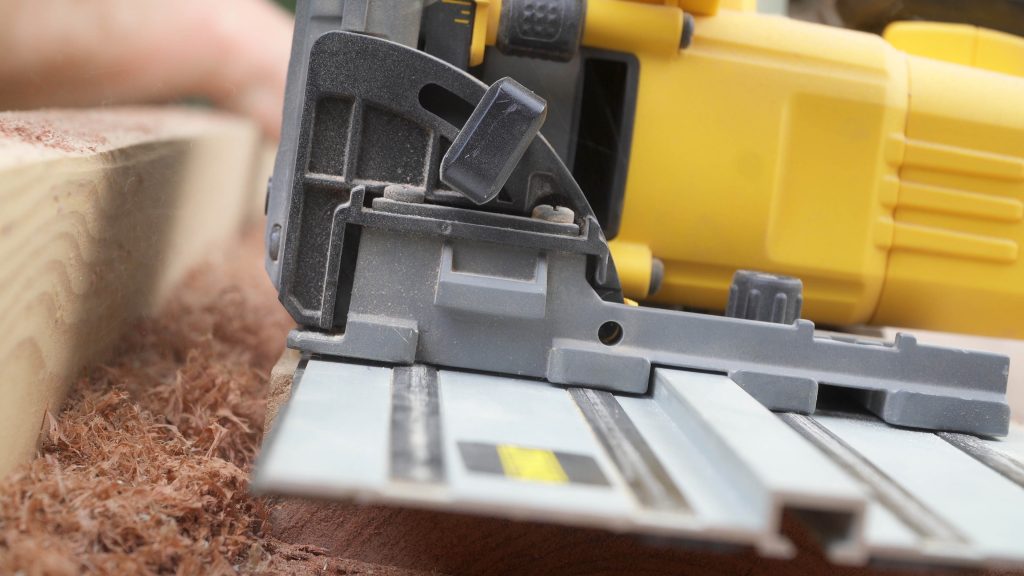
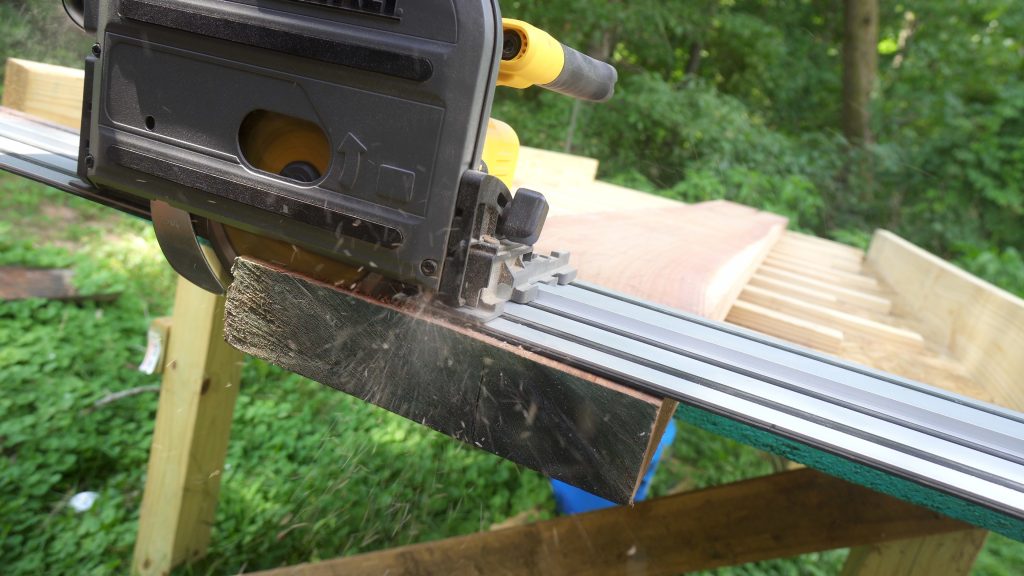
I let the epoxy completely cure before moving the panel out the the flattening table. There I used the router plane jig to flatten the table completely on both sides. I wanted to keep as much of the thickness as I could so I make multiple light passes to flatten each side. I then use the Dewalt Track Saw to cut the panel to the final dimensions. For this table it was 40 inches wide and 80 inches long.

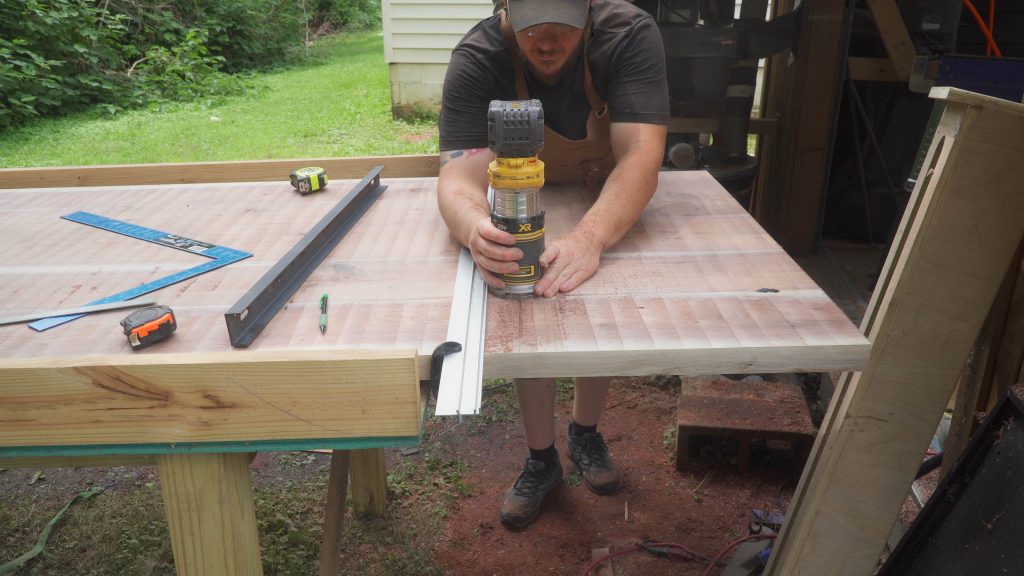
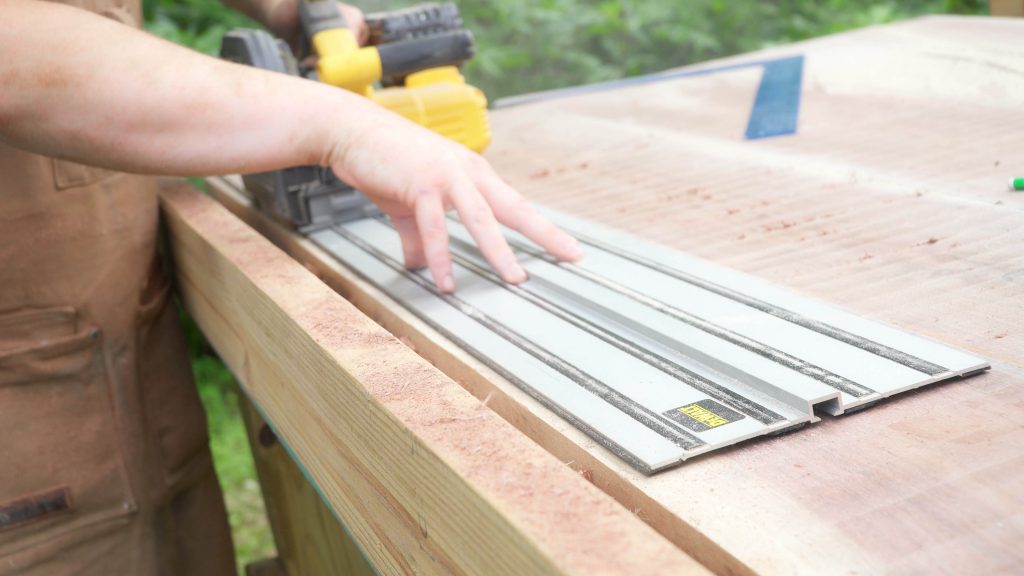
To ensure the table top and panel would stay flat I then routed out a pocket to fit a piece of steel C-channel. The C-channel has a hole in the center and a slot near each end. This will allow the steel to ensure the panel stays flat over time but also allows for expansion and contraction form the wood through time.
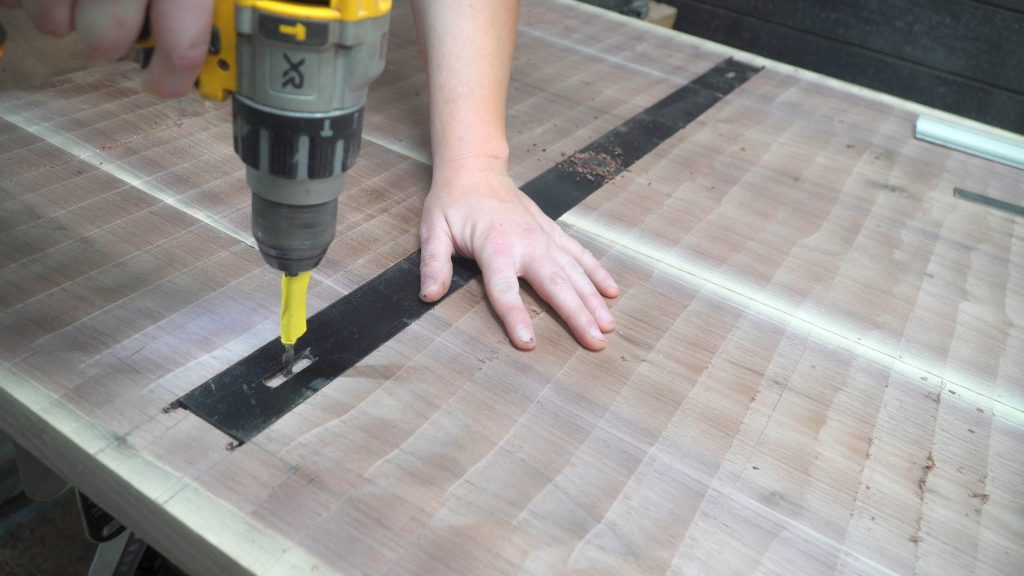
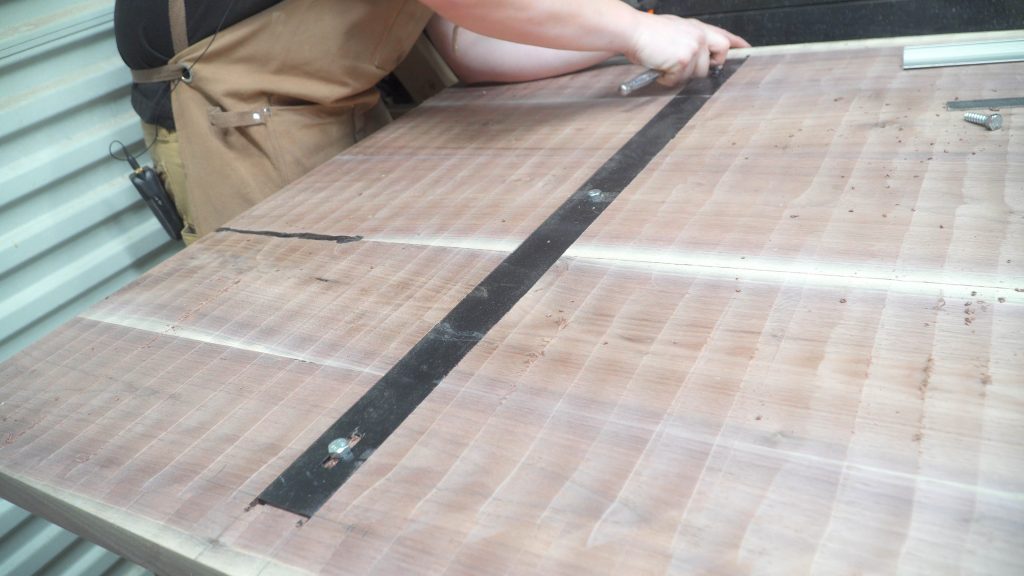
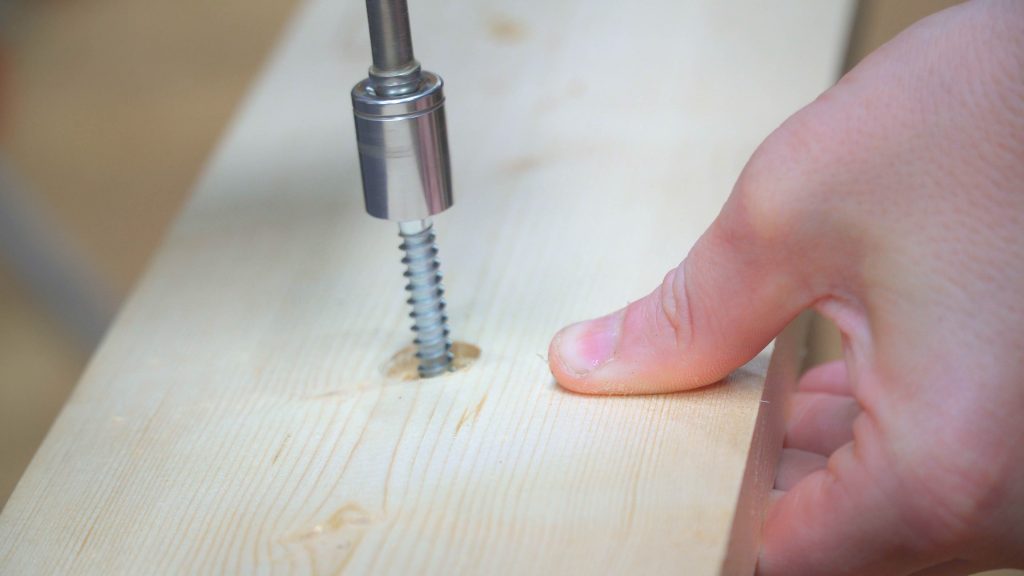
To attach the C- channel I used lag bolts first pre drilling the holes and tightening them by hand with a ratchet to ensure that the bolts did not strip out the wood.
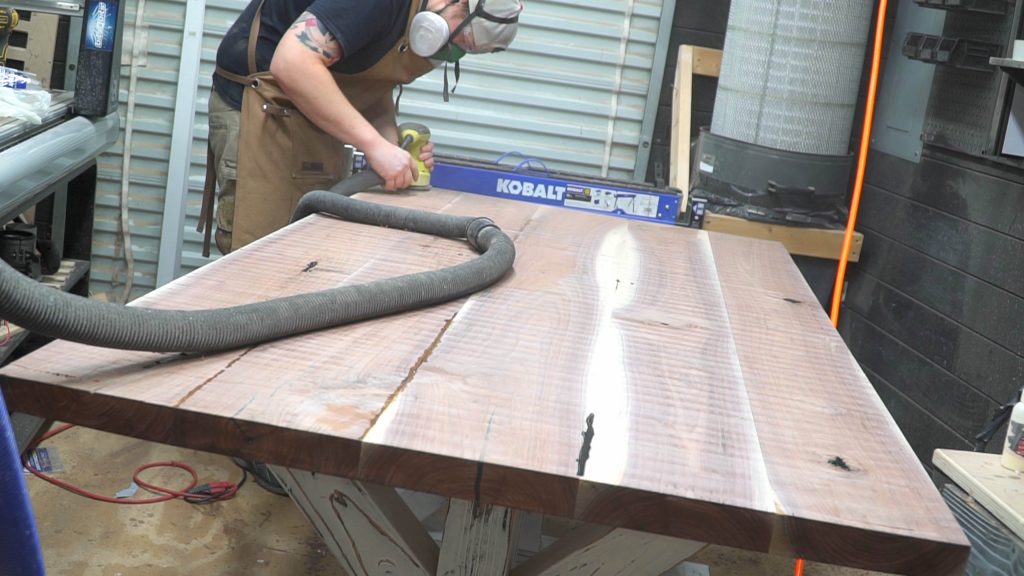
With the C -channel secured in place I then sanded the table top to prepare for finish. I started with some 80 grit and worked my way up to 400 grit to finish.

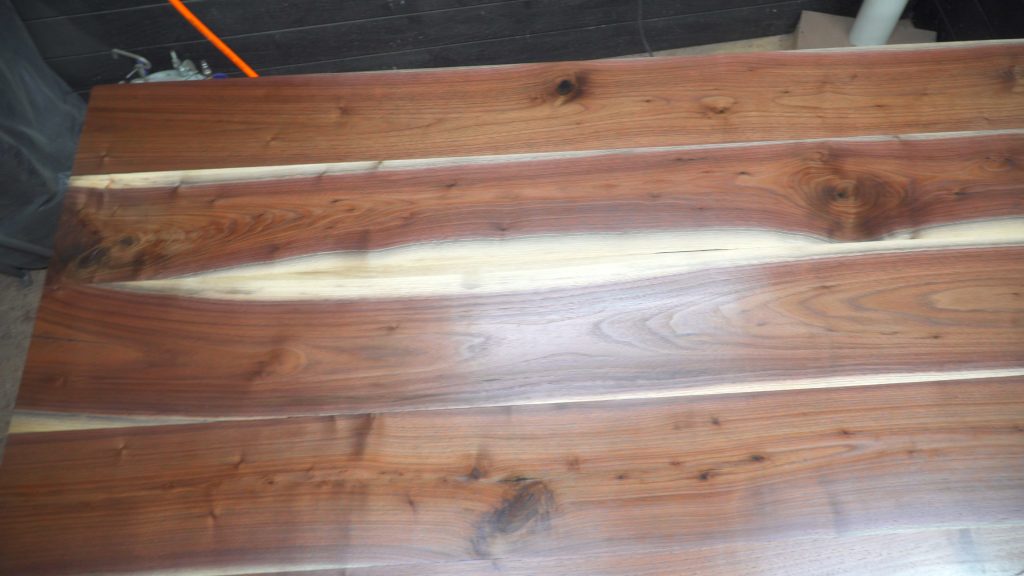
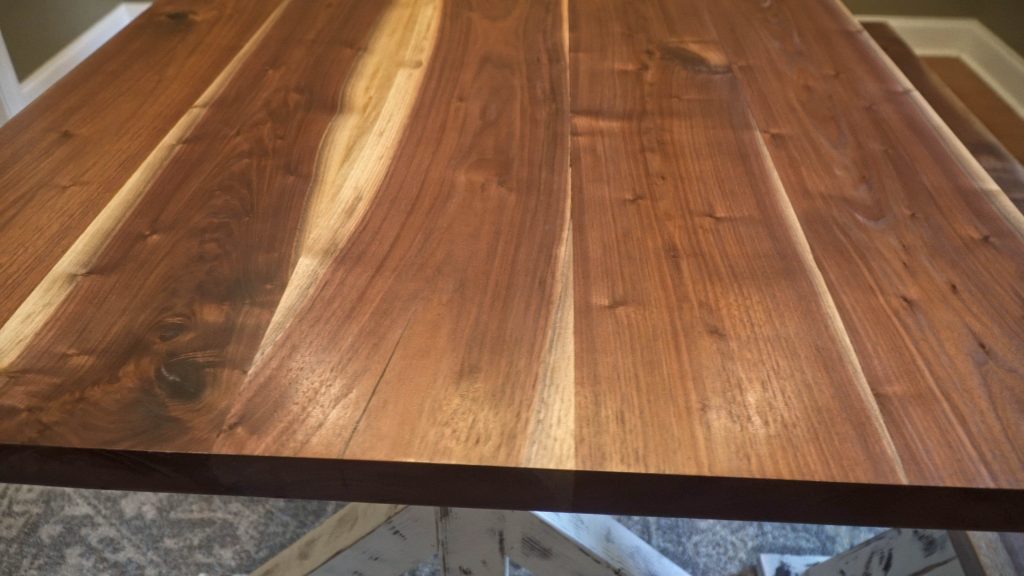
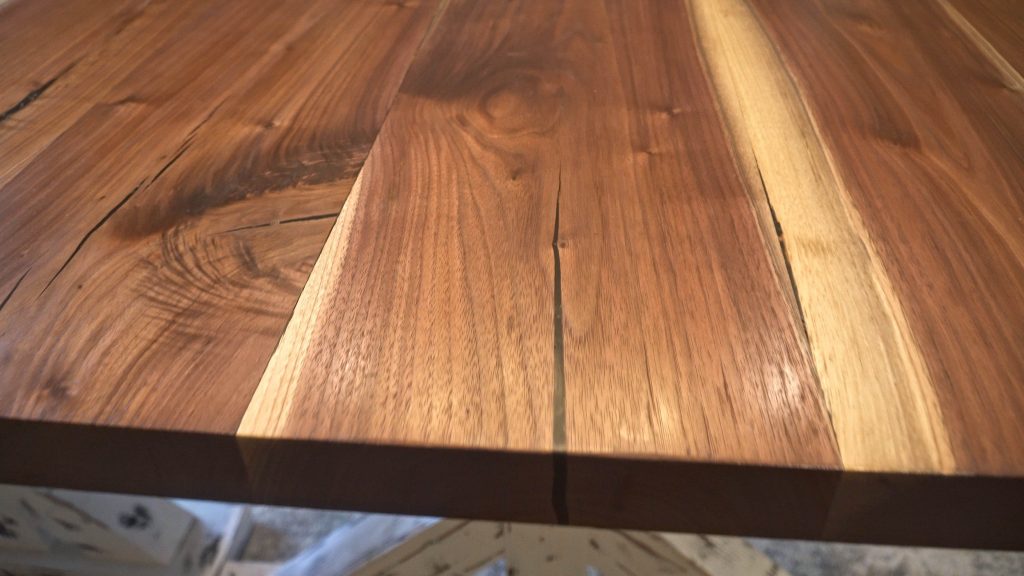
I then applied 5 coats of arm-r seal to each side of the table top. One thing I think I think is important to point out is the layout of the walnut. I specifically kept some of the sapwood on the boards while making the panel. I see a lot of projects making something similar to this and not taking into account the wood and boards themselves. Paying close attention to the boards colors, grain structure, defects and sapwood can be taken advantage of. I wanted this beautiful contrast throughout the panel. I thought it would add to the overall look of the table and honestly was not disappointed.
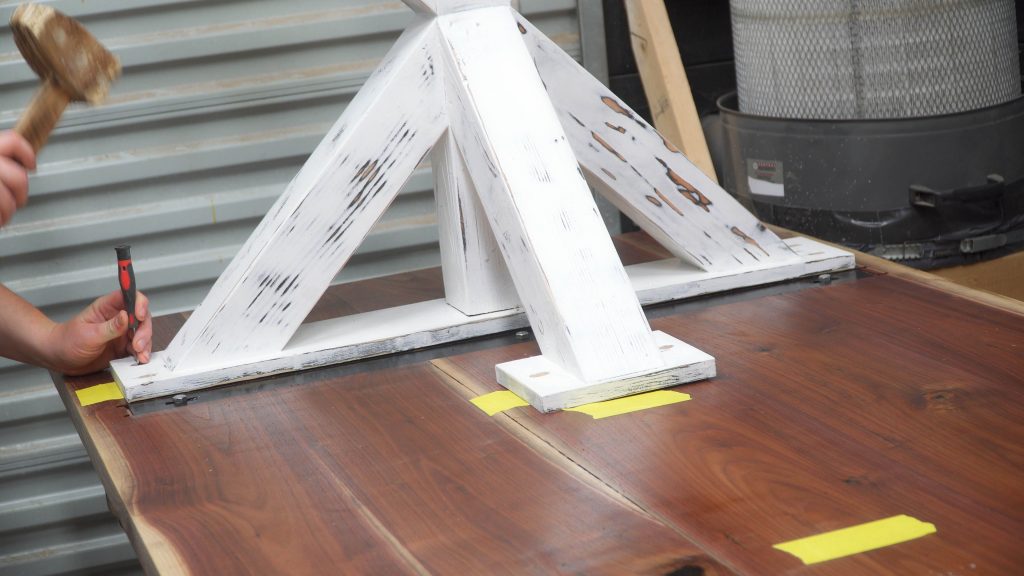
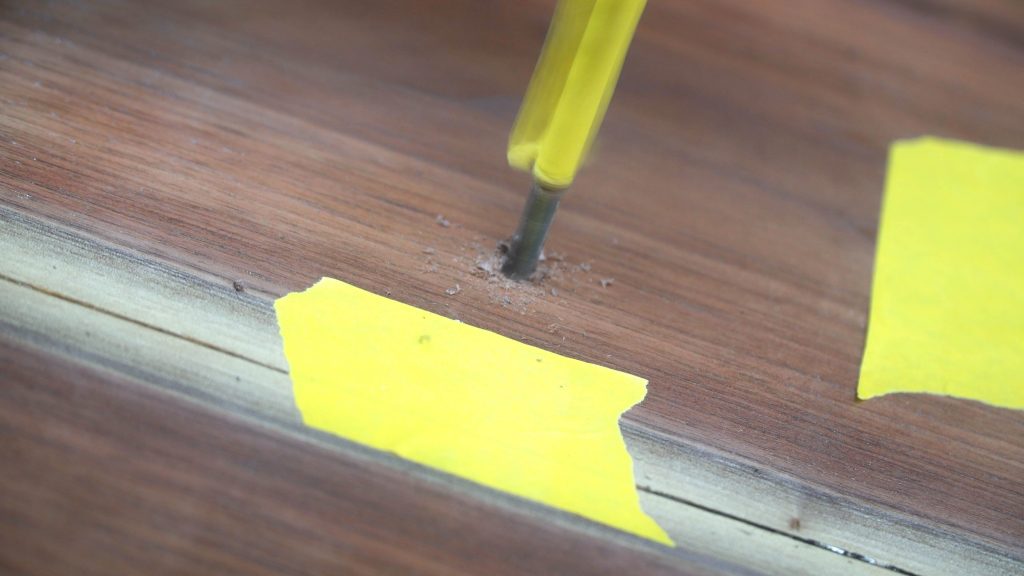
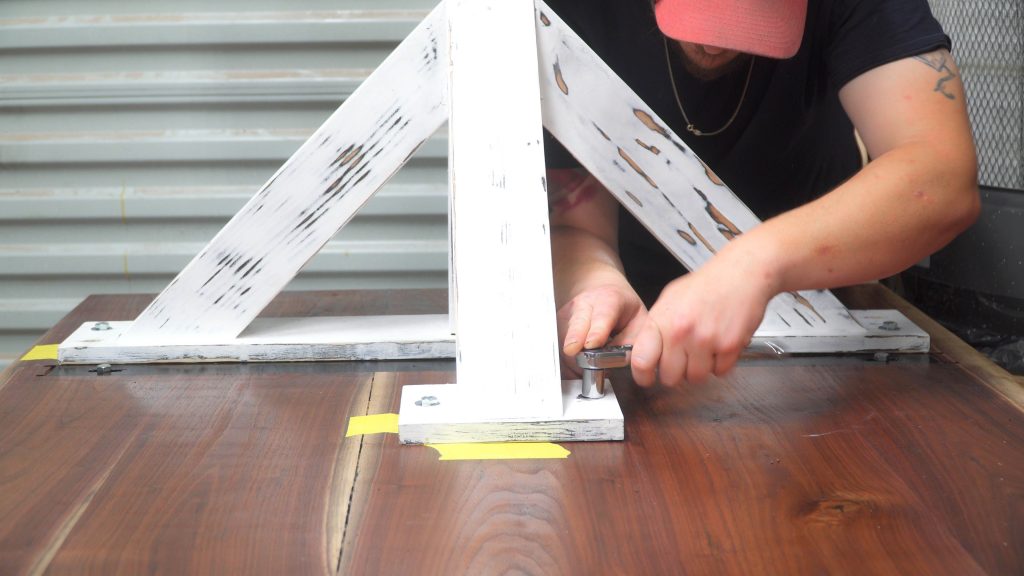
To attach the legs I marked out the pre drilled holes in the cross braces of the bases. I used a pick to make an exact punch dot for each of the hole that then would be drilled out. Just like the C- channel the holes on the ends are actually slots allowing for movement of the top over time. Also like with the C- channel I used lag bolts to attach the bases tightening the bolts by hand to ensure they did not get stripped out.
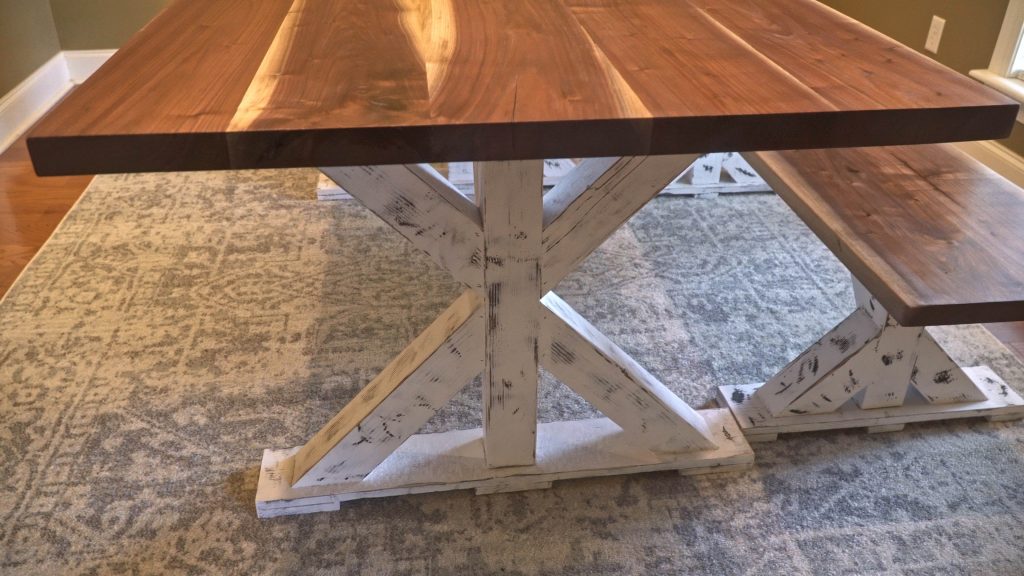
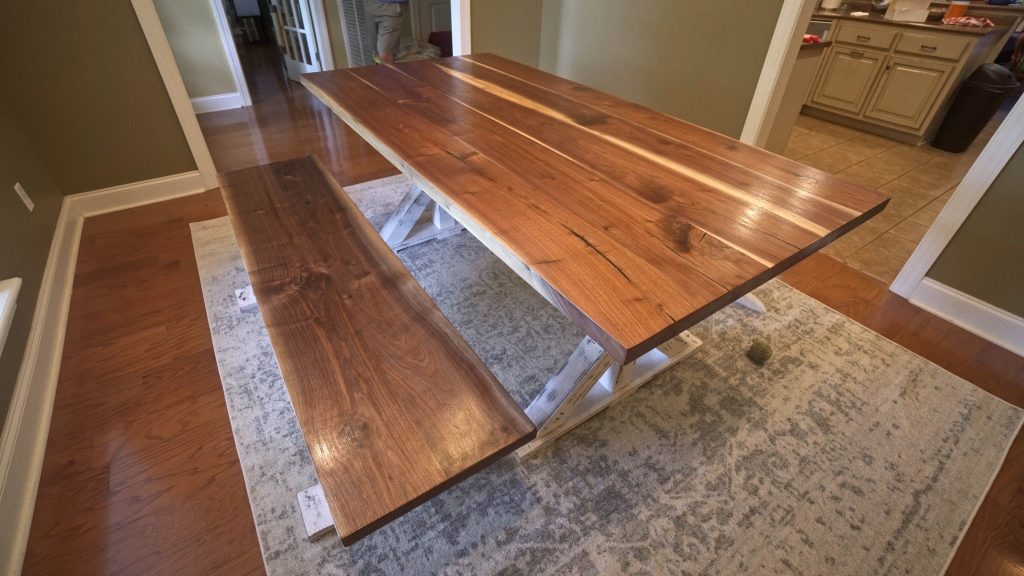
This to me has been one of my most beautiful projects even though farmhouse furniture is not my favorite. This is one piece that I would have gladly placed into my own house. The colors came out amazing and I was extremely proud to say it was something that I produced.
Thank you guys for getting this far and all fo your support make sure to go subscribe on YouTube and if you want more photos and videos follow me on Instagram @jpaynewoodworking. I hope you found this helpful and fun I will see you guys on the next one!!
