 JPayne Woodworking Creative Craftsmanship
One of the most difficult things in my opinion in woodworking is finding new creative ways to make things. Sometimes this means thinking of something completely new to make and sometimes it means coming up with a new process or technique and other times it is as small as trying to figure out a cool pattern to add some flare to a project you have done before.
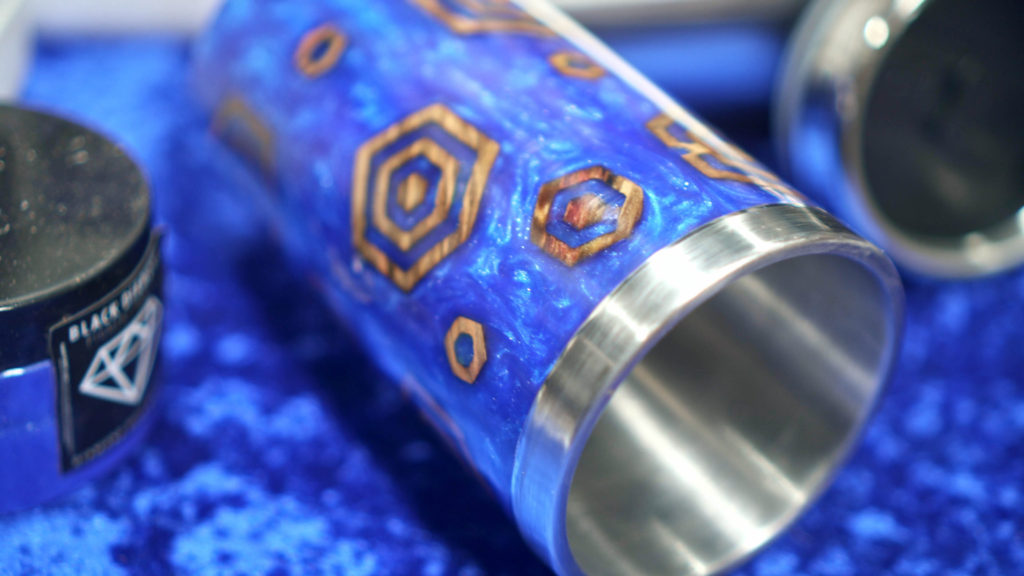
Well that was the particular hurdle to overcome on this project. I have made a few of the mug before and most of them were done with random pattern or with wood with natural voids that I could add the epoxy to. So after thinking about it for a while I thought it would be fun to do some hexagon shapes. But not just random hexagon rings but do evenly spaced hexagon patterns randomly on the mug.
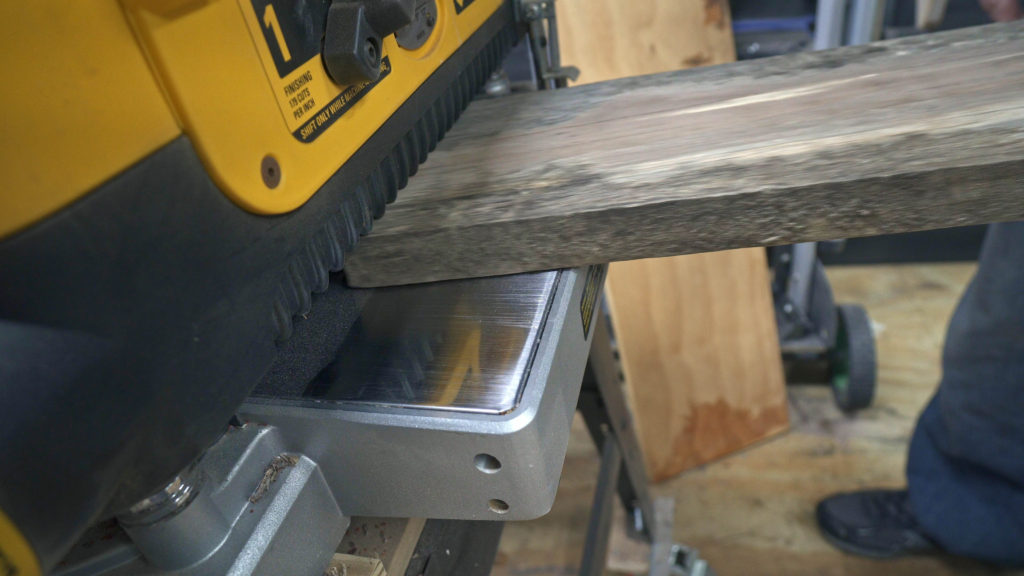
I started off with some red gumwood and needed to plane the thickness down to where it would fit inside the mold. This took some math and testing the spacing inside the mold. I also had to keep in mind that the rings could not be placed tight against the inside wall of the mug. If it was it would then be likely to have gaps in the epoxy or capture air pockets. With that in mind i started planning the board down to just under ½ of and inch thick. This would be the thickest I could leave the wood and still have space inside of the mold.
I can now move over to the I2r-8 UCCNC to cut the hexagon patterns. This is also where I would like to remind you that if you are interested in a CNC check out I2r for all of your cnc needs. If you use code JPAYNE10 at check out you will receive up to $200 off of your purchase of the I2r-8 UCCNC. This also shows them that I am a valued partner and really helps to support the page and to keep making content.
Using the I2r-8 UCCNC I could cut out the hexagon patterns. I used a ⅛ inch end mill that would leave some somewhat sharp corners on the inside of the hexagon pattern. A good rule to remember is that the smaller the bit the sharper the corners will be inside of any cut. The outer corners should be sharp regardless of the size of the bit.
I also added tabs while in V-Carve Pro. This would keep the rings evenly spaced after they are cut making sure that they are perfectly placed after the epoxy is poured. After the patterns were cut out using the I2r-8 UCCNC I then did some light sanding to remove any frayed edges.
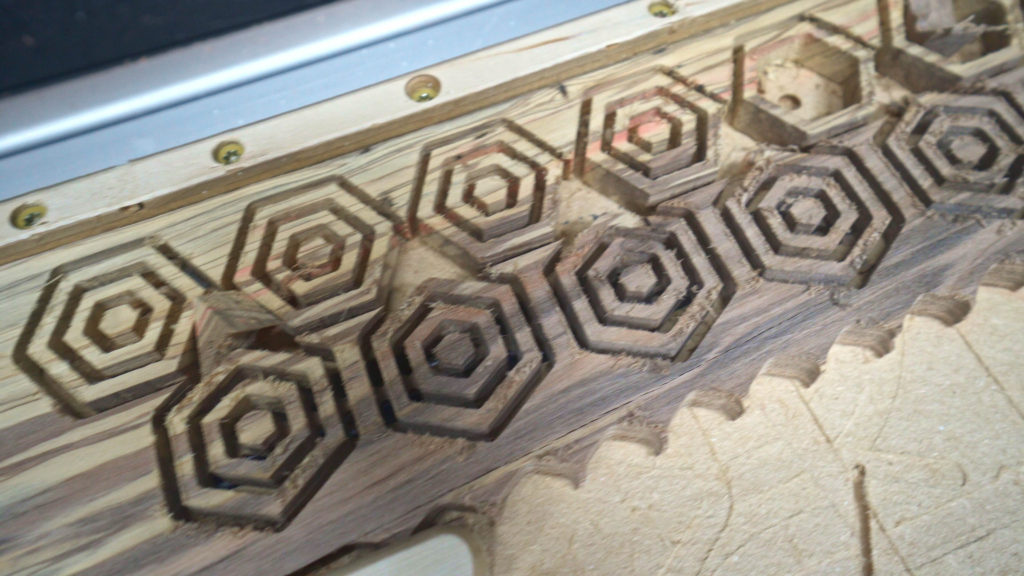
I cut out a couple of different size pieces. First were the small single ring hexagons and then a set with concentric rings. To get the middle sizes rings I was able to break away the outer rings of the larger pieces using the tabs. This would give me a lot of room on the mug insert to place different size rings and pieces so that it would not be a standard look and would have some variation.
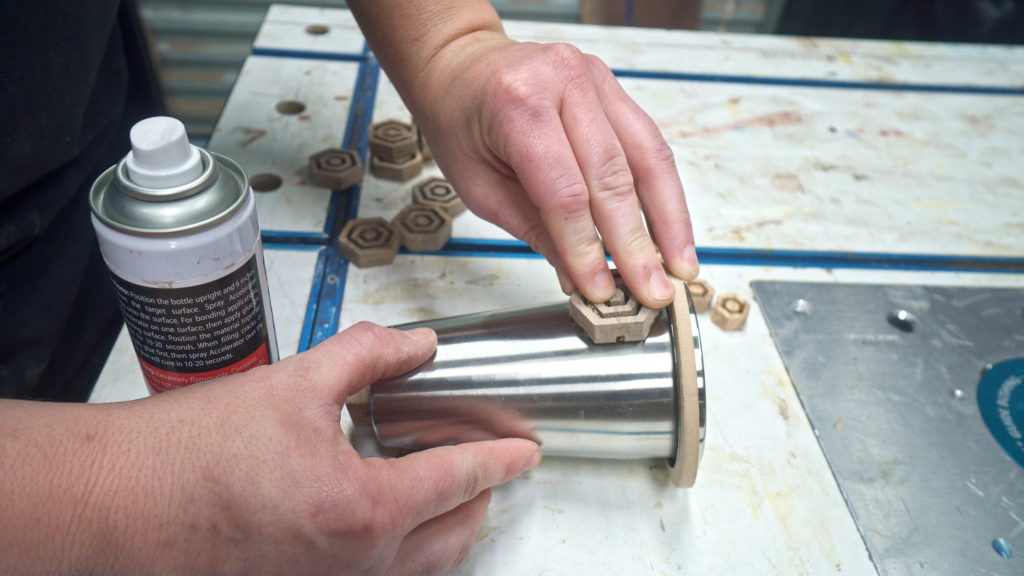
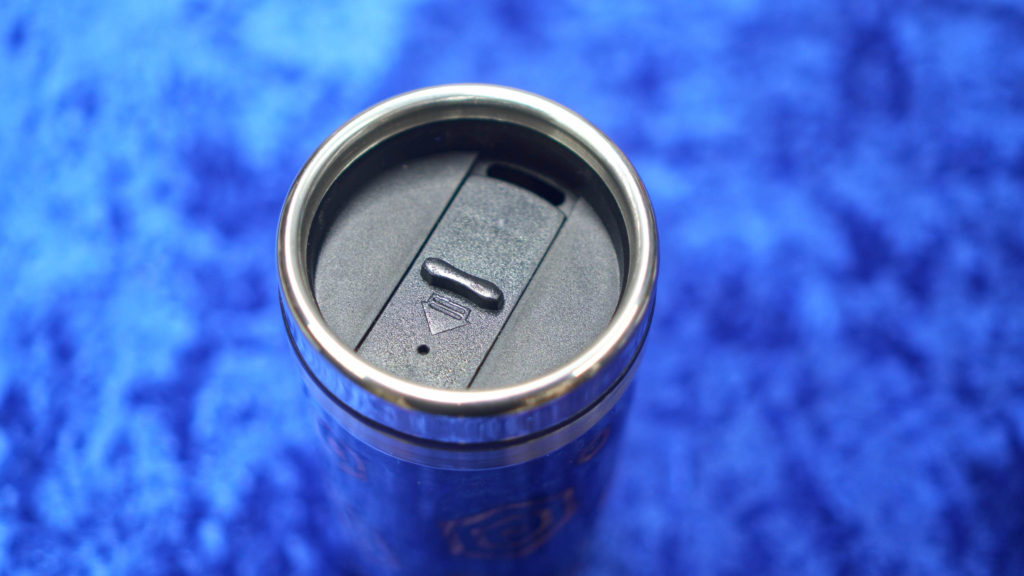
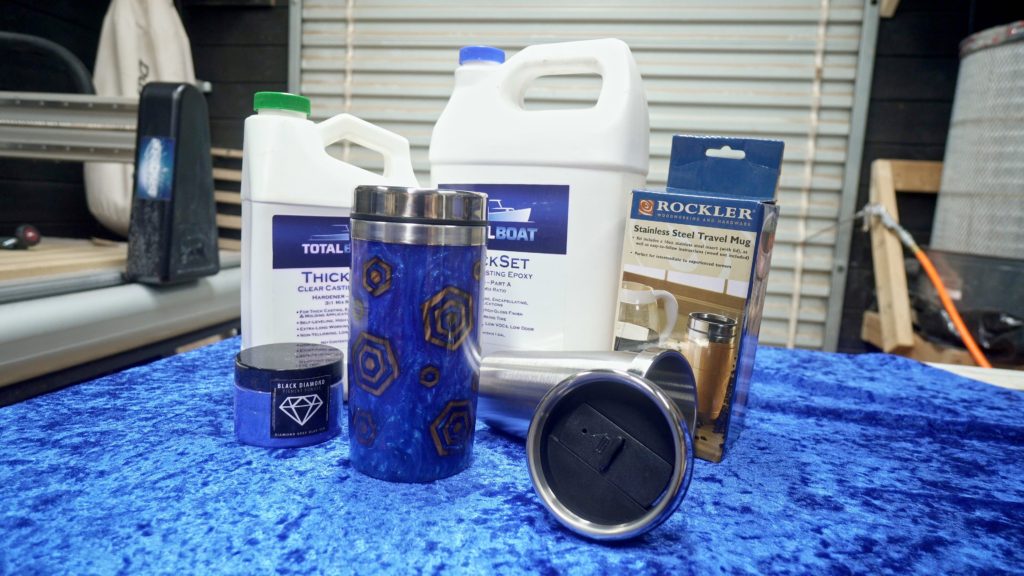
The mug insert I am using is from Rockler.com they are well made and work great for this application. Placement of the hexagon pattern pieces was quite easy as I did not have a specific layout that I was looking for. I mainly just wanted to make them as much of a random layout as I could. I used Starbond Adhesive Ca and accelerator to hold the pieces in place. Using the accelerator made for easy application of the hexagon pieces due to the CA almost instantly hardening and holding the pieces in place.
Once I had all of the pieces in place I was then able to start assembling the mold. I started by adding some hot glue to the circular insert that is placed around the top of the Mug insert. this is a spacer that is specifically cut for this application that allows me to use a piece of 4 inch PVC as a mold. The mold had already being lined with clear packing tape to ensure that the epoxy would not stick to the inside of the PVC.
To seal off any possible leaks I use hot glue around the spacer ring as well as on the seams of the PVC. Using a liberal amount of hot glue on the scenes ensures that there shouldn’t be any leaks. I then use clear packing tape to tightly wrap the entire mold from top to bottom. This does a couple of different things first it holds the mold tightly in place to ensure a uniform shape. And secondly if you wrap the packing tape while the hot glue is still warm it will compress the glue tightly into the seams along the edges of the PVC and help ensure no leaks occur.
I also usually go back around the spacer and add a secondary bead of glue around the top edges of the mold as well as around the spacer and insert. It’s always better to have more protection against leaks in a mold then have to worry about it. Fixing a leaking mold can be quite difficult.
For the epoxy like always I will be using a Total Boat Epoxy For this particular application I’m going to be using their thick set epoxy. This epoxy works really well in these applications where you need a deeper poor. In most instances it calls for only pouring up to about an inch and a half to maybe 2 in thickness but this can be overcome by using a pressure tank which I will be using in this pour. The Dixon epoxy mixes and a mix ratio of 3 part resin to one part hardener. This gives it a slower set curve allowing for more of the air to escape as well as for this heat to be generated making it less likely to have heat fractures in your project.
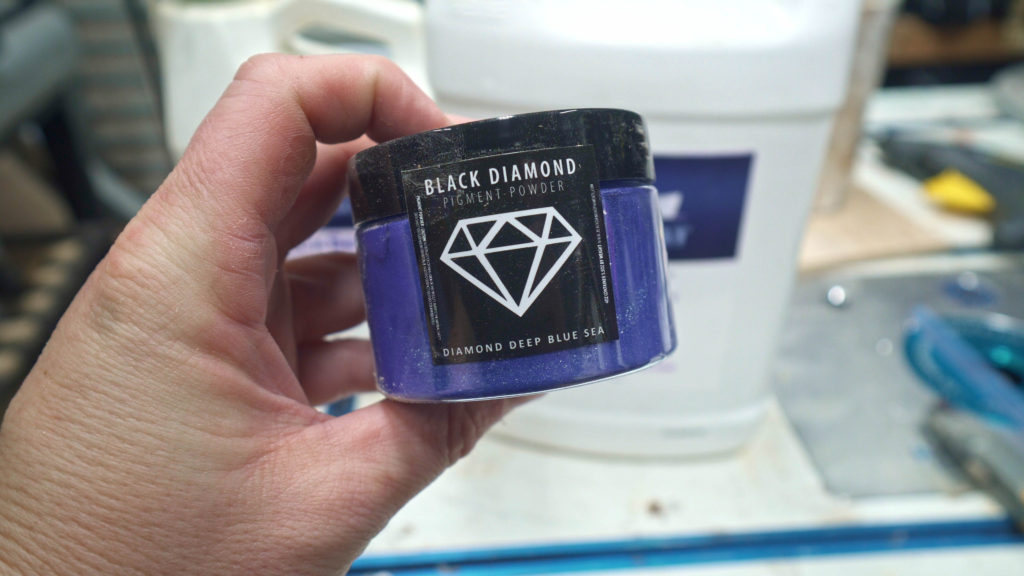
After pouring the proper amount of epoxy in this case around a 25 oz total. I then added some Black Diamond Pigments To get this beautiful blue color. If you guys do any kind of epoxy work I definitely suggest checking these guys out you can click their name here in the article it has a link to their website they have a ton of colors and the colors look really really nice and it mixes great. So go check those guys out if you’re going to be doing any kind of colored epoxy pours you will not regret that.
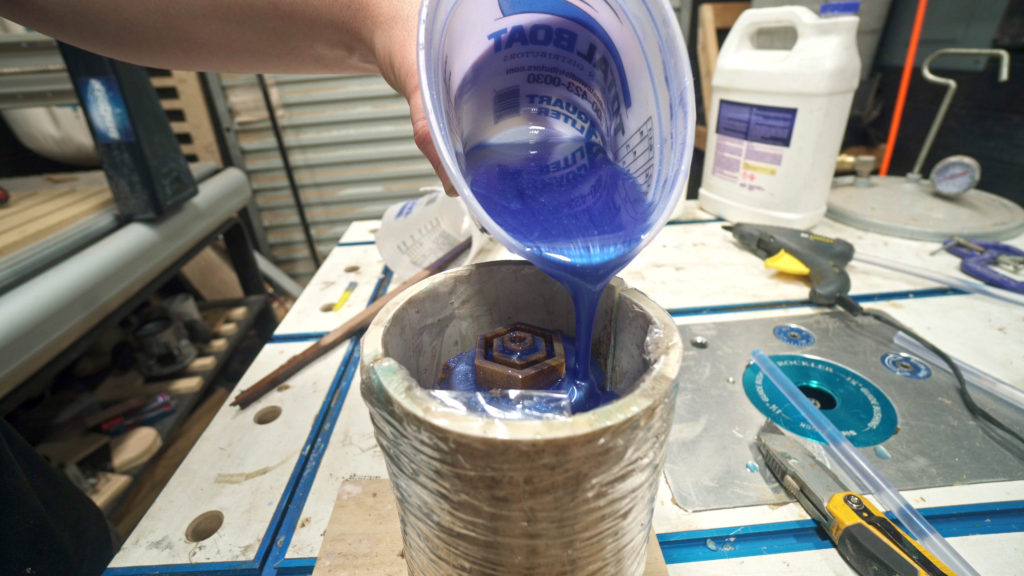
With the colors added it was time to pour the epoxy into the mold. This is just like any other epoxy pour just don’t get in too big of a hurry allow the epoxy to go to the bottom of the mold and fill the mold from the bottom up and this will help to expel extra air out of the mold as you pour the epoxy. It will also reduce the number of bubbles that you might have come up into the epoxy during the curing process.
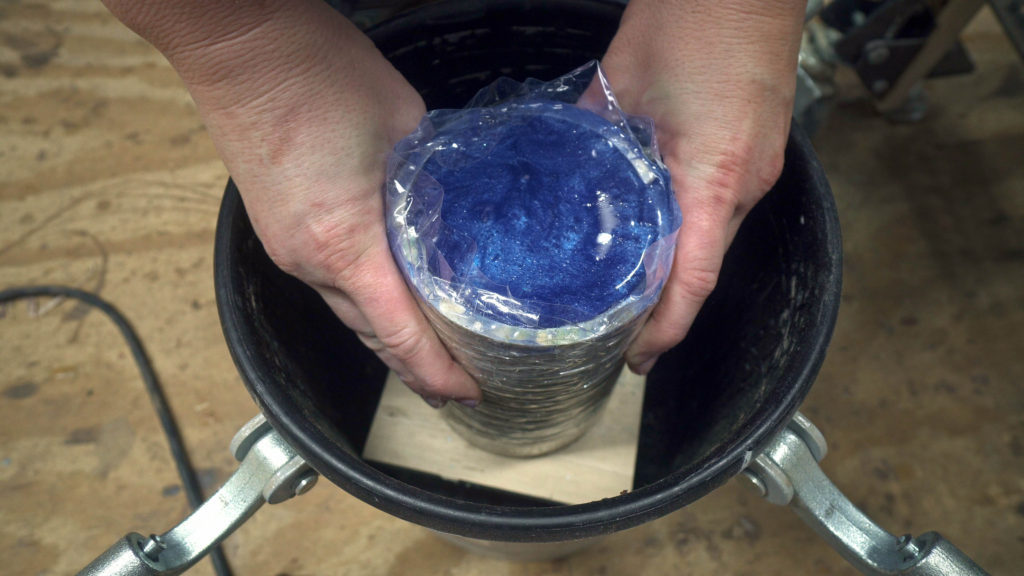
I didn’t place the theme old into my pressure tank if you do not have one of these it is a really handy thing to have to ensure that there are few to no bubbles in your casting. If you would like to know how I made my new using a Harbor Freight paint tank click HERE. After adding about 55 PSI of pressure to the tank and then let the epoxy cure for about 3 days. This would make sure the epoxy was nice and cured and help with the cutting and finishing process later on.
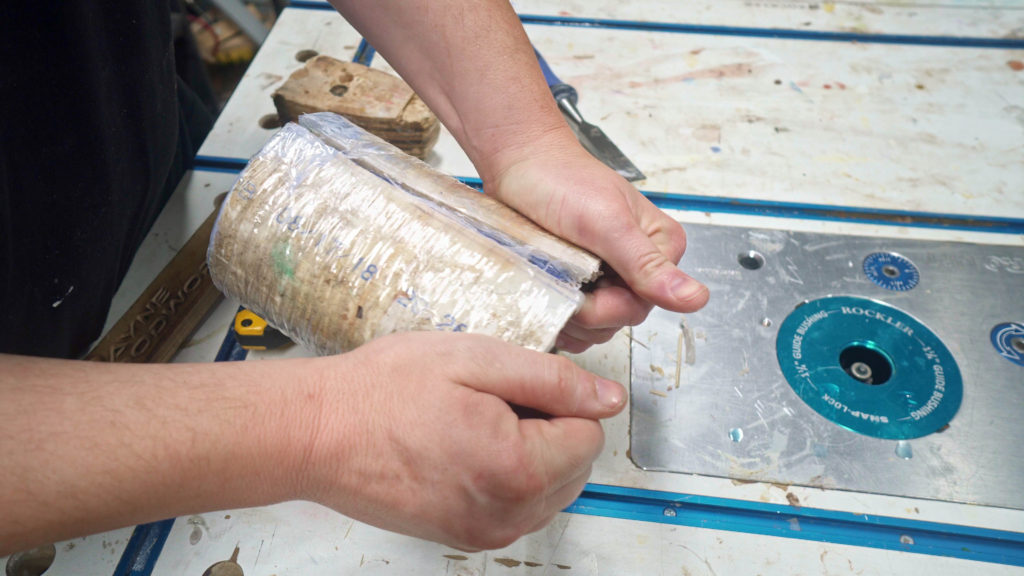
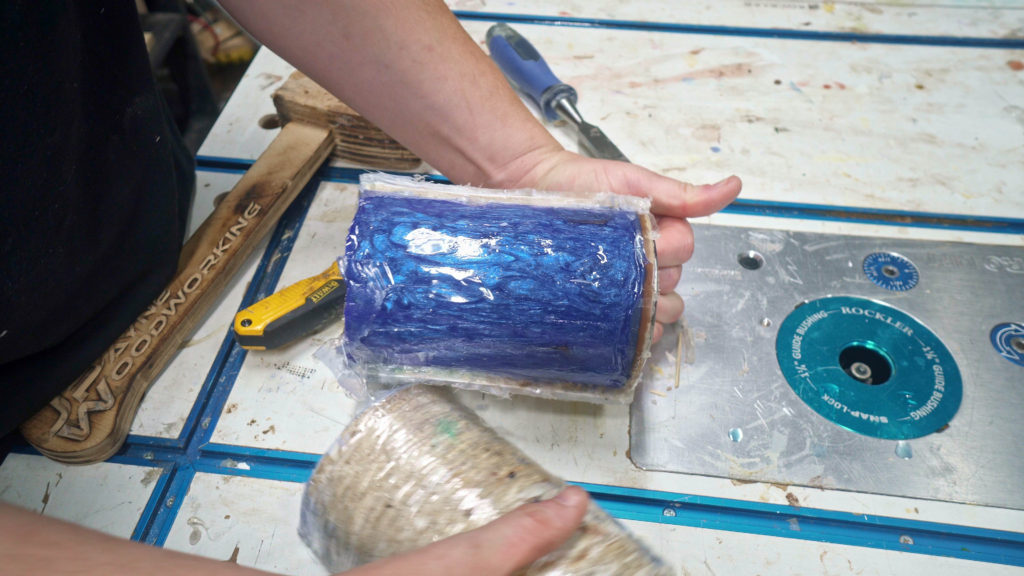
To remove the mold I started by cutting away at the packing tape on the outside of the mold and then used a chisel to open up the seams on the side of the PVC. If you had properly prepped your mold with PVC removing the epoxy blank should not be too difficult. It should simply pull away from the packing tape leaving a fully formed mold and not sticking to the inside of the PVC.
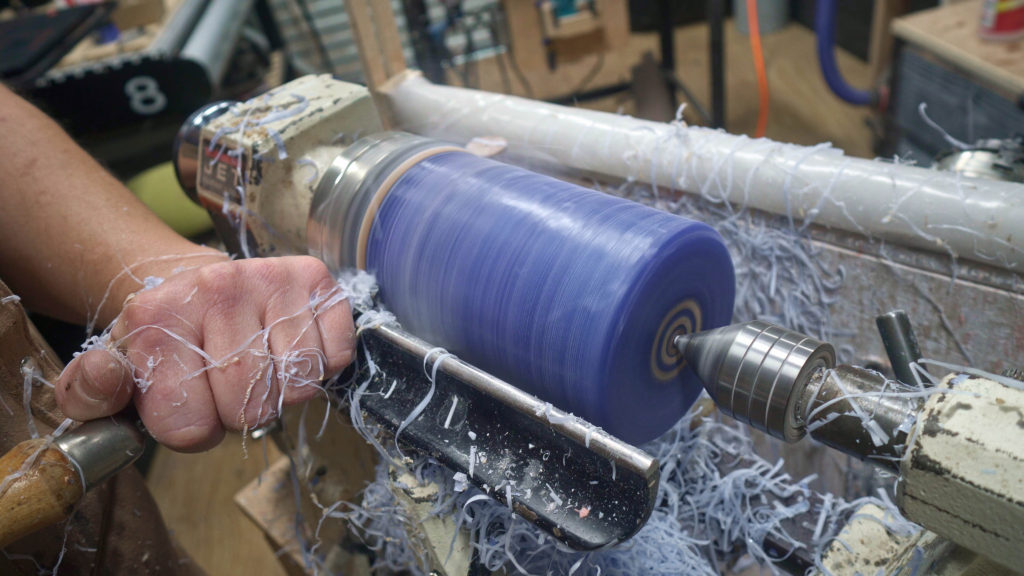
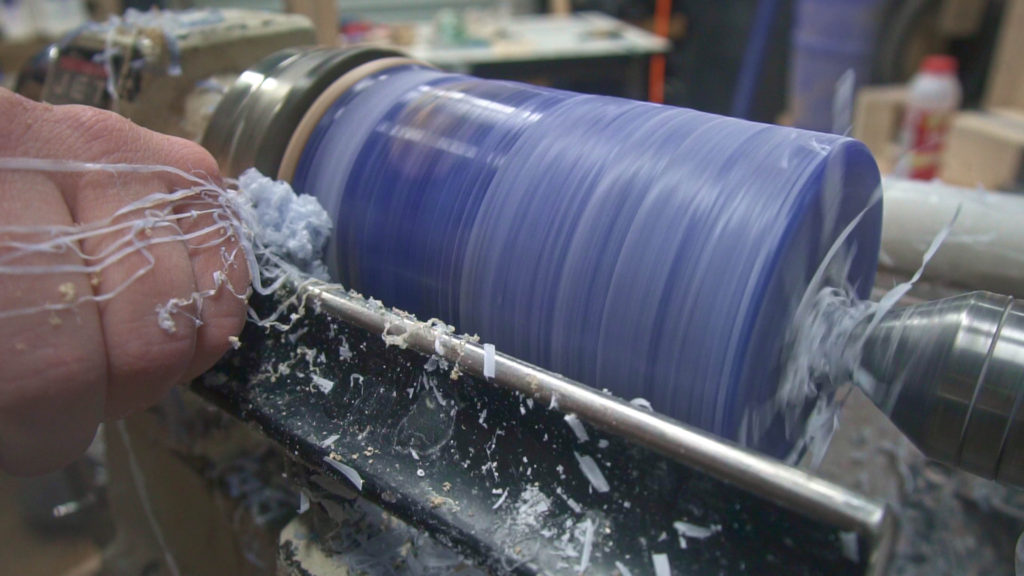
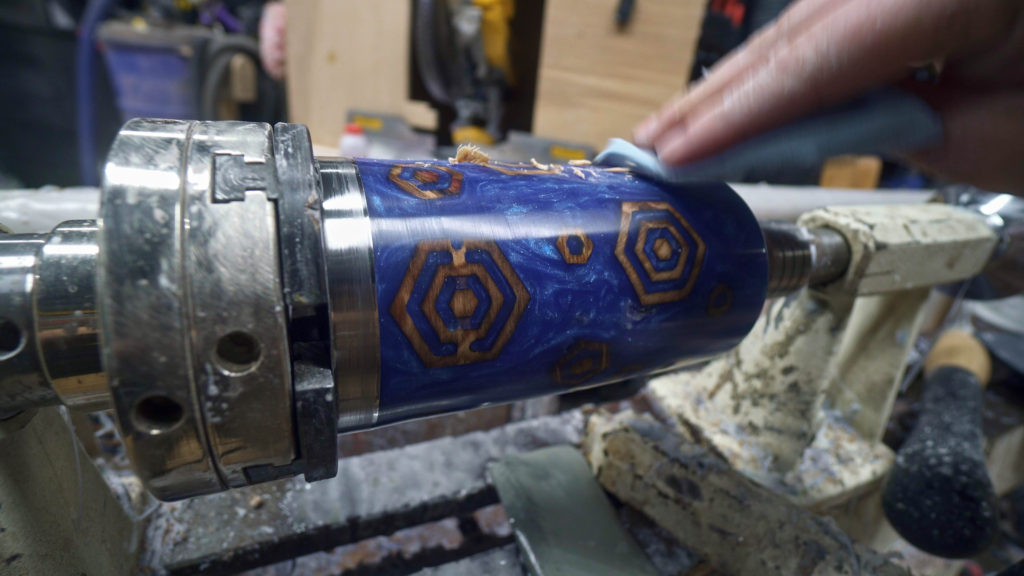
I can now move on to the lathe and start turning the mug to shape. This is a pretty straightforward process and I have been over it on the other videos so I’m not going to go into detail on how to cut these. If you would like to check those out you can check out the YouTube channel I have a few examples of different turning projects showing how to turn epoxy. With that being said I got the mug cut to shape.
I didn’t started with the rough sanding starting at 220 Grit then moving on to 400 Grit.
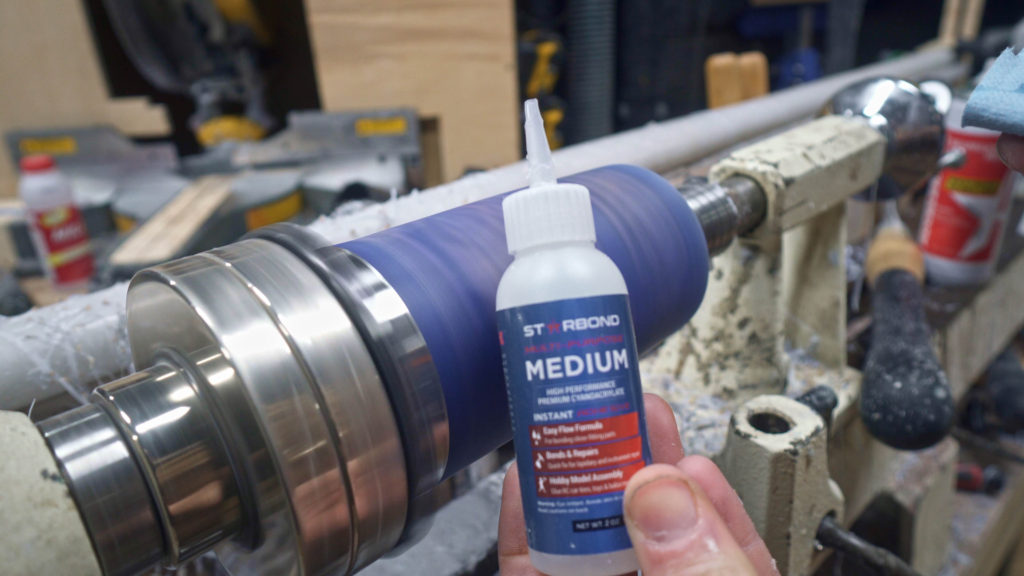
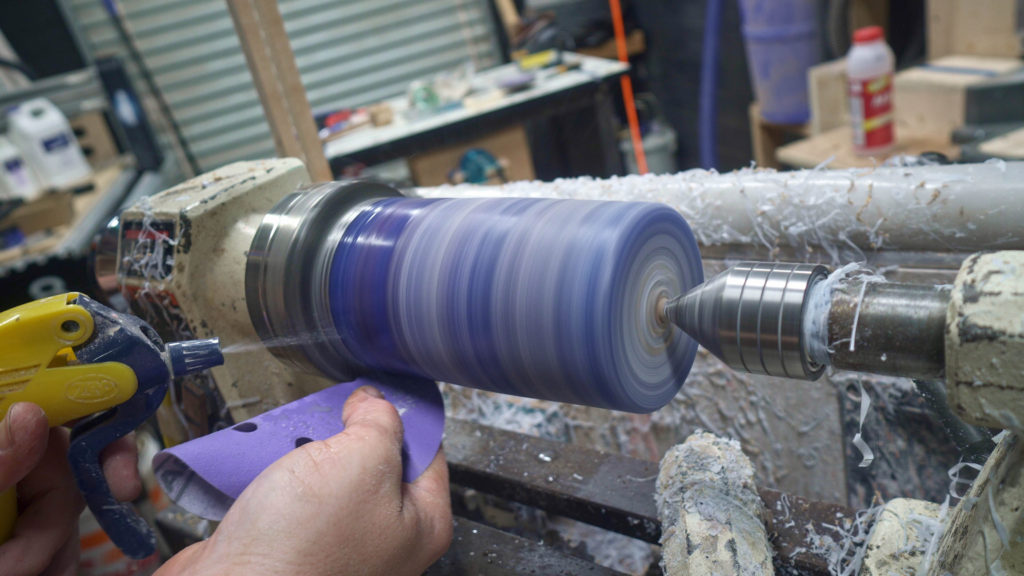
Before adding five total layers of the Starbond Adhesive Ca as a finish. I could then start the final sanding process.

Starting with 400 Grit and progressively working my way up wet sending all the ways to 12000 Grit.
are there any used eee ultra shine turners wax to polish the outside layer of the epoxy. This gave a really nice high Sean and it gave the colors a bit of a deeper look to them. It’s something I try to do on all of my turning projects that involve epoxy. It is a great way to add a really nice smooth glass-like finish.
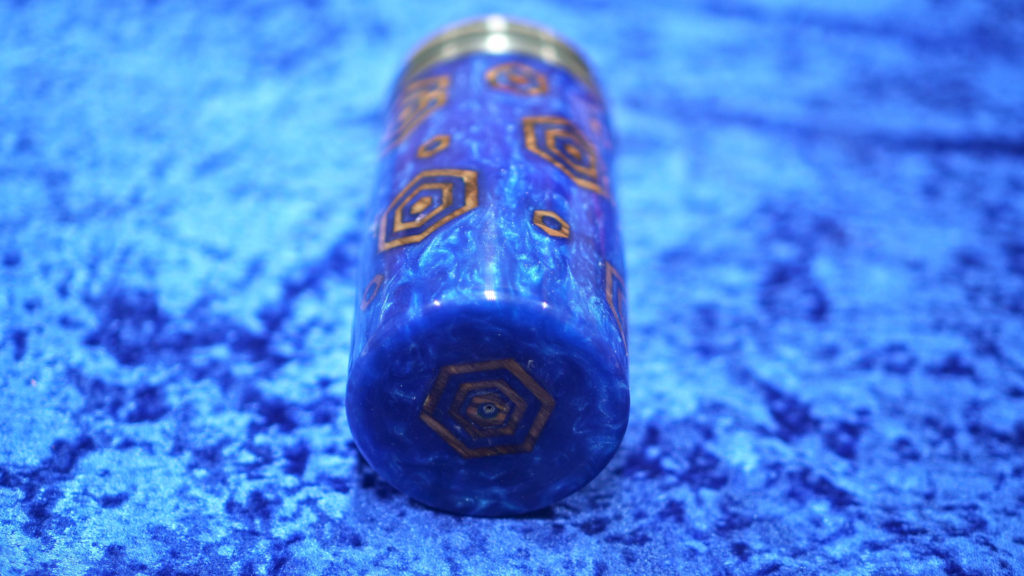
This project was a lot of fun to do. I really enjoyed getting to mix techniques like using the CNC and lathe to create something like this. That is part of the enjoyment of projects like this to me is getting to figure out ways to do things just a little different but also end up with a finished project that looks as if it was done in a standard technique.

I really hope you guys found this video and article helpful. Or at least entertaining. if you want to show your support make sure to click any of the links above not only against some of the links to save you some money on some great products but they also help out this page to let our partners know that we are a valued partner. Also make sure you go subscribe on YouTube. And if you want to keep up with all new articles, news updates and products that come out here on the website make sure it’s a sign up for the JPayne woodworking newsletter. For more photos and videos follow me on Instagram @jpaynewoodworking. I hope you guys had fun. I know I did. So I will see you on the next one.
