JPayne Woodworking Creative Craftsmanship
HI guys
Hope you are all doing well. I wanted to show you guys a new addition to the shop though it is a bit of a small one in size. It should make a large difference in the operation on the Cue Smith Cue lathe.
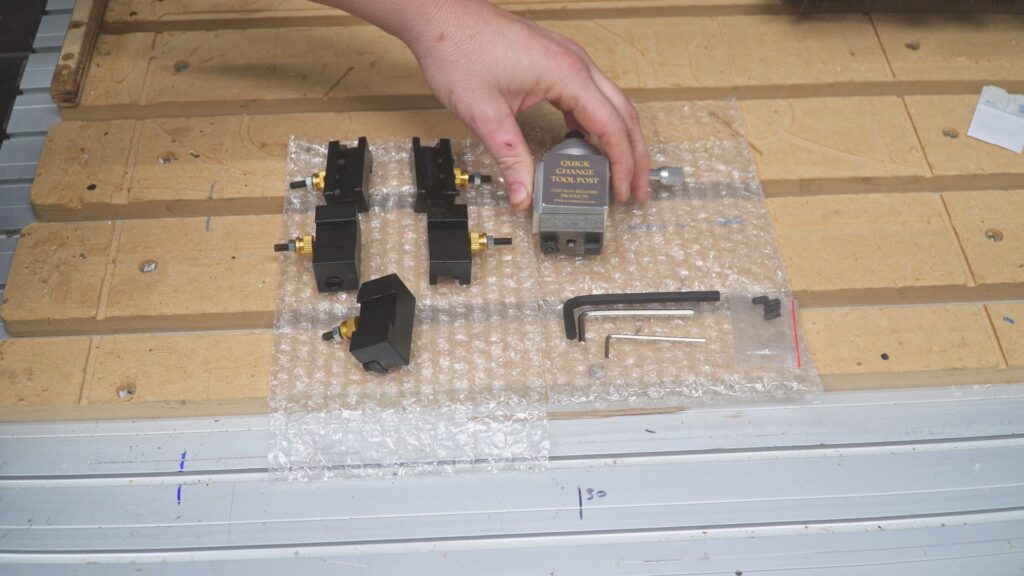
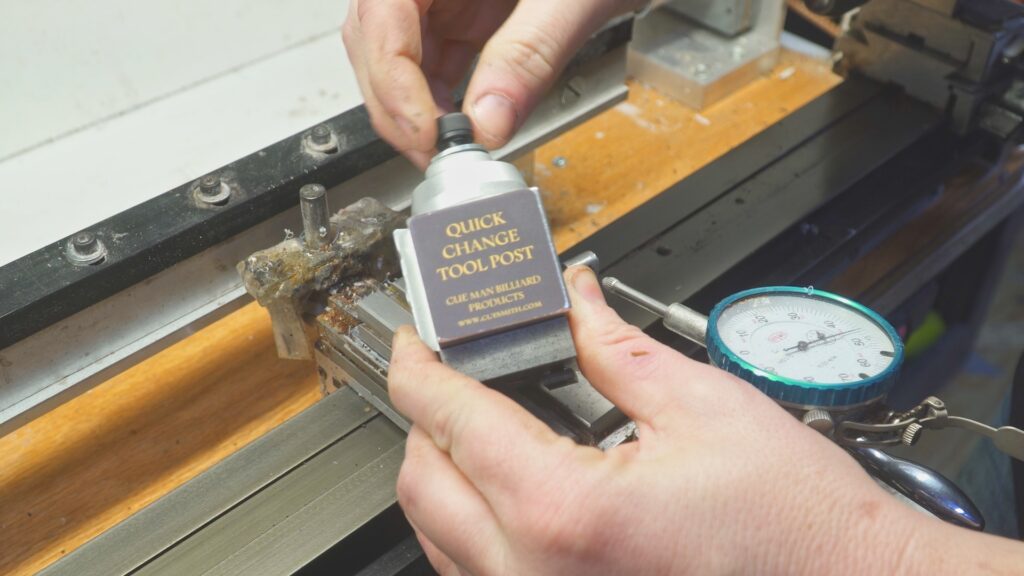
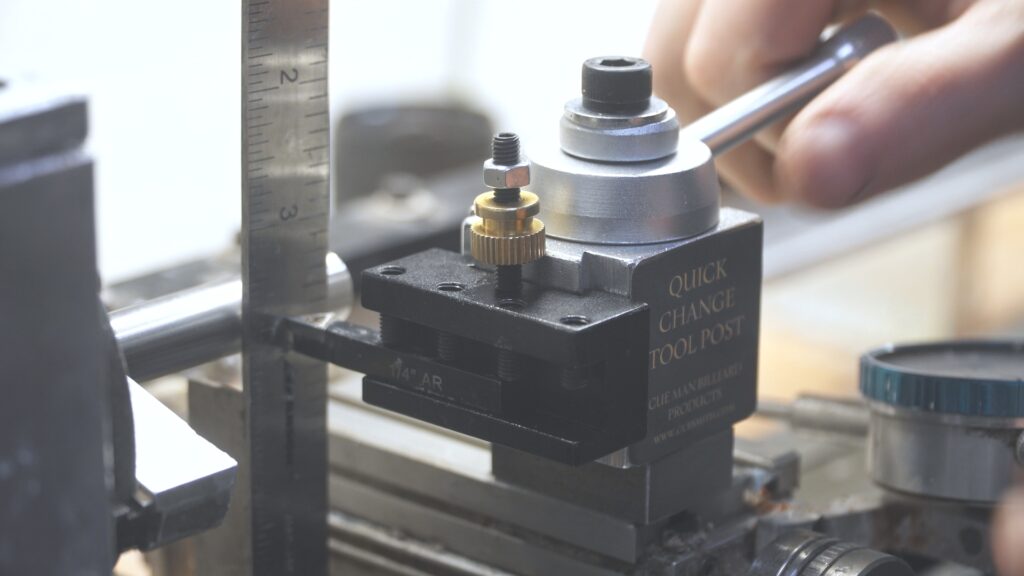
This is the Quick Change Tool Post from Hightower Cue Lathes. There is other quick change tool posts I have been told will work but I have not used them. As such I will link them below but accessories or the way they are made may vary. This is one tool I have been looking to get for some time now. It this is not a necessary tool but can make a huge difference in the workflow on the lathe. First I want to go over the tool post and the accessories that are included with the kit. First of course you get the tool post itself. I will go over how it works in more detail later on. The other pieces included are 3 different types of tool holders. Along with the tool holders, you will also get replacement screws for the tool holders as well as all of the allen wrenches to install or adjust any parts.
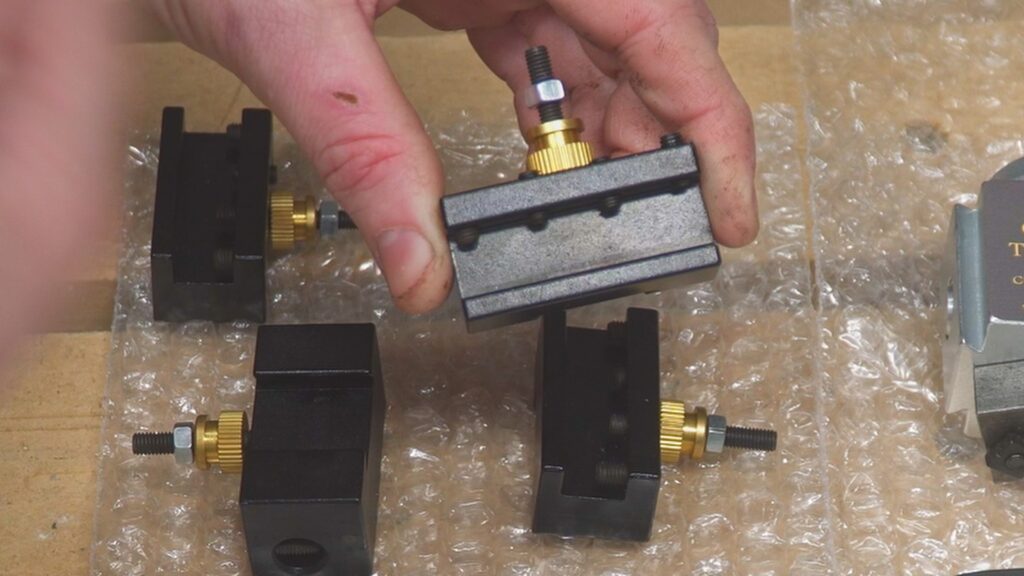
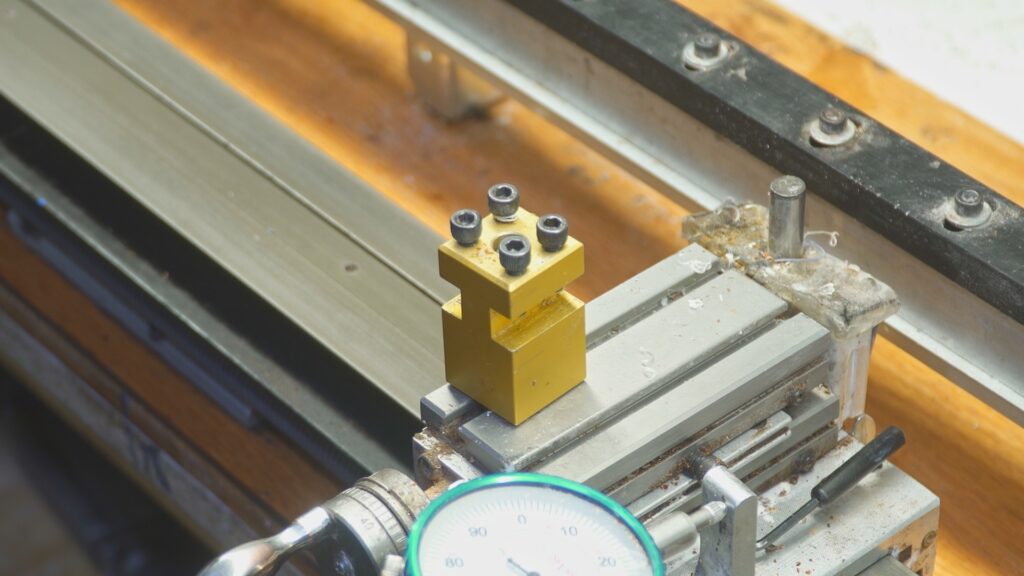
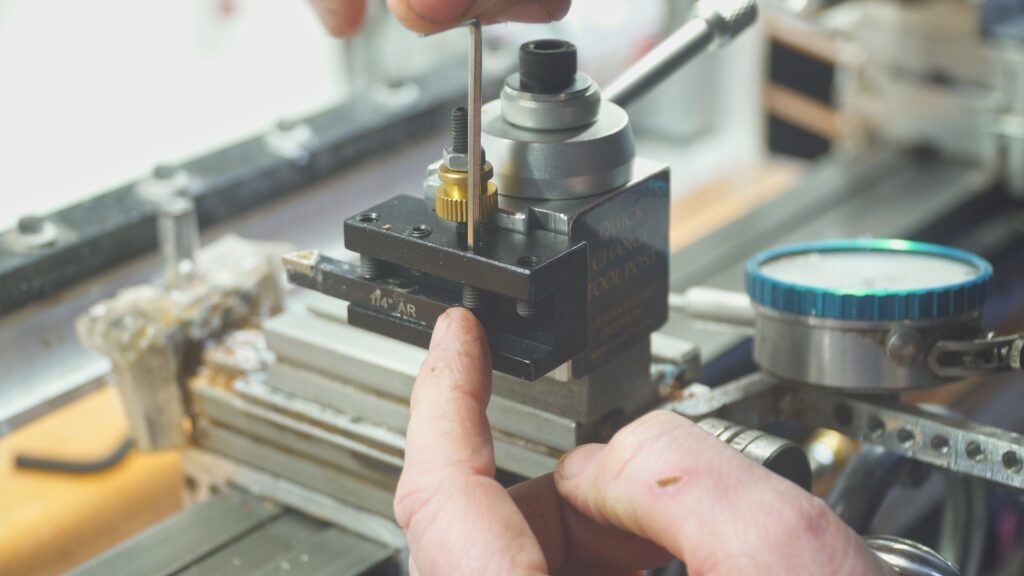
The kit includes 2 of the standard tool holders. This tool holder can be used with ¼ inch square shank cutting tools and boring bars. I do believe you can also use th3e 3/8 square shank tools as well as the opening is a full ½ inch in width but I have not tried these as of typing this so I can not say for sure.
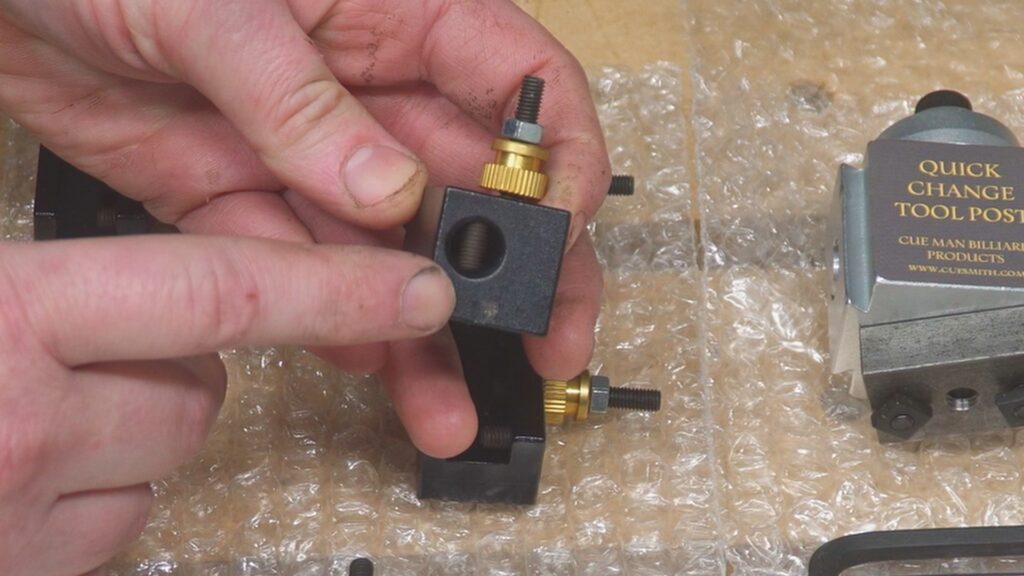
The kit also includes 1 tool holder to be used with 3/8 inch round shank tools. There are a ton of very high-grade cutting tools and boring bars that could be used with a 3/8 round shank. I will be trying to try some of these out later on and I will try to give a review on them.
The final tool holder that is included in the kit is a parting tool holder. This one used the ½ inch parting tools. I have to be honest I rarely use a parting tool such as the one this. I mainly use jeweler saw on a router to cut items such as rings. With that being said I do plan to get a good parting blade as it could be useful in some instances. These are all of the holders that come along with the basic kit. You can also order others or multiples.
The basic tool posts that come along with the Cuesmith lathes work great, to be honest. There are a couple of shortcomings though that I have noticed. One is the need to adjust each and every time you need to change tools over. Yes, the tools will not have to be calibrated for height but once but to change from one tool to the other you need to loosen a set screw and then spin the tool post. While this is by no means a deal-breaker it can be quite a pain and also if you need to change anything mid-process this can cause a bit of a headache.
Installing the quick change tool post is very simple. First, remove the main body of the tool post. Loosen and remove the allen head screw on top of the tool post body. This will allow the base to come free. Set the body of the tool post to the side. Now loosen the square nuts on the bottom of the base. The base can now be slid onto the cross-sled. The square nuts should easily slide into the slots of the cross-sled. Align the base in the position you most prefer. This might be slightly different than mine or other makers. Once the base is in the position you would like to tighten in the two set screws on each side of the threaded hole.
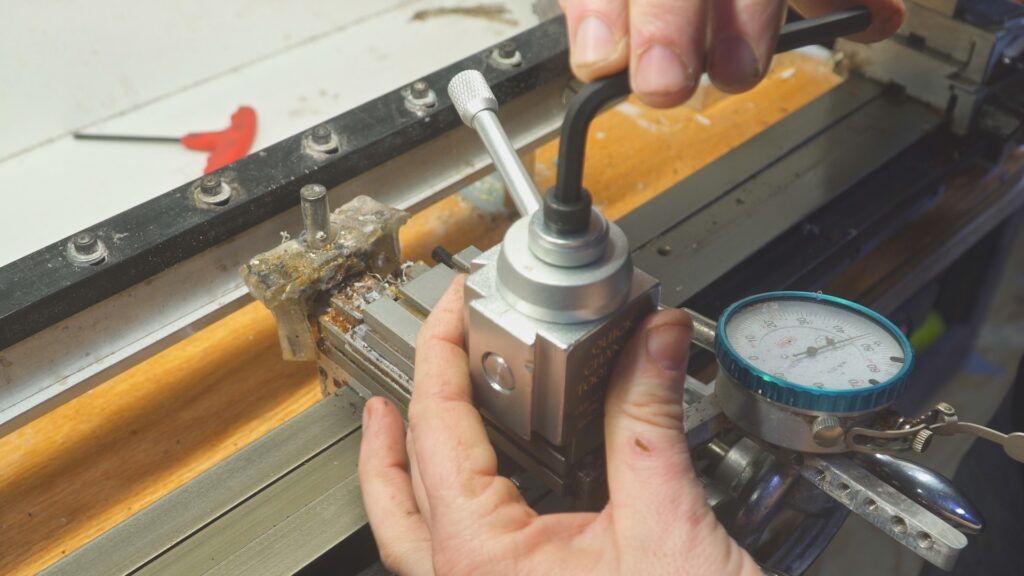
With the base firmly in place place the main body of the tool post onto the base. Placing one of the dovetails facing the head-stock and the there facing away from your body. This will allow the use of one for multiple tools and the other for processes like boring. You might need to tweak the angle slightly depending on your exact preference. Personally, I try to square the post to the cross-sled the slightly spin the tool post slightly toward the head-stock. Not much of an angle needs to be used or applied only a couple of degrees. This is just my personal preference. Feel free to set the angle of the tool post to what suits you and your workflow the best. Once the tool post is in position tighten down the allen head screw to secure the body of the tool post. This can also be adjusted at any time.
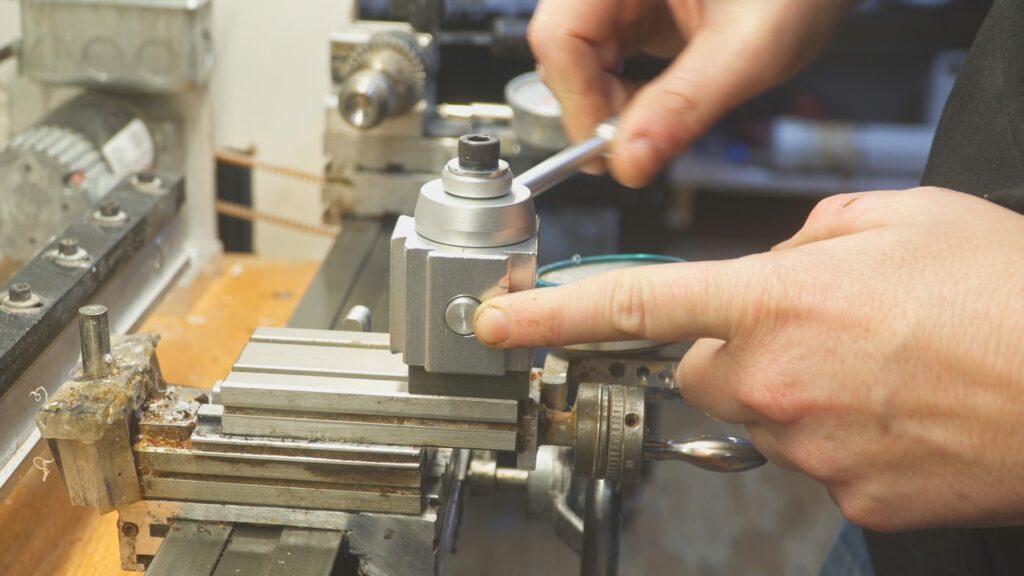
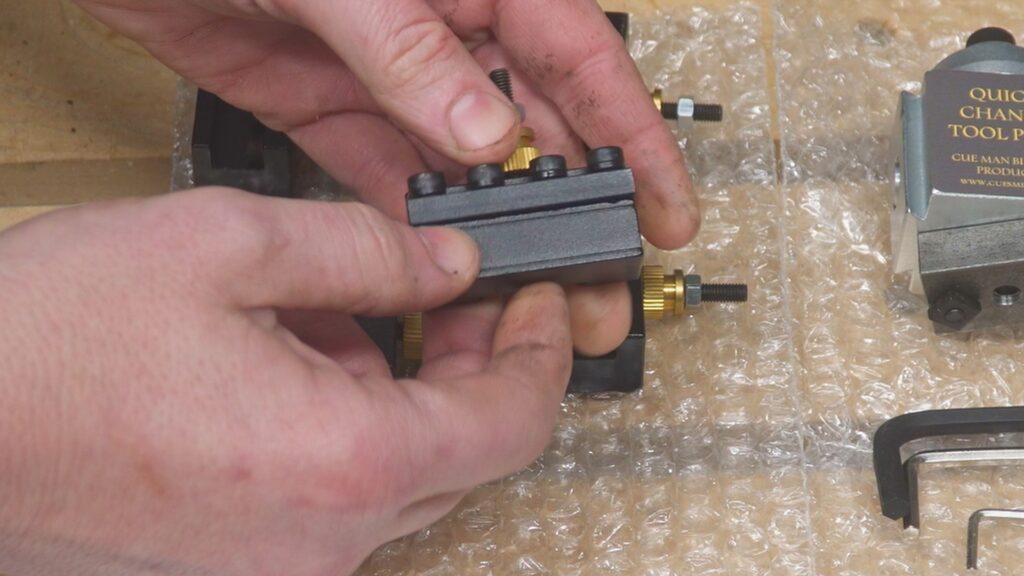
The tool post has two small dowels protruding from each side of the tool post with the dovetails. This is the mechanism that holds the tool holders into place on each side. Inside the post is a cam that presses these dowels out to press into the tool holders and hold them into place.
To install a cutting tool into the tool holder you first select your tool. In my case, I will be mainly using the right-hand cutting tool. This means that this cutter will cut in a right-hand to left-hand direction. There are multiple tools that can be used and these processes will be the same for all. Place the tool into the holder and make sure to press the tool completely into the back of the holder. Also, make sure that the tool is not protruding too far from the front of the holder. This could cause some flexing at the end of the tool. Once you have the tool in the position you would like use the supplied allen wrench to tighten the small allen screws.
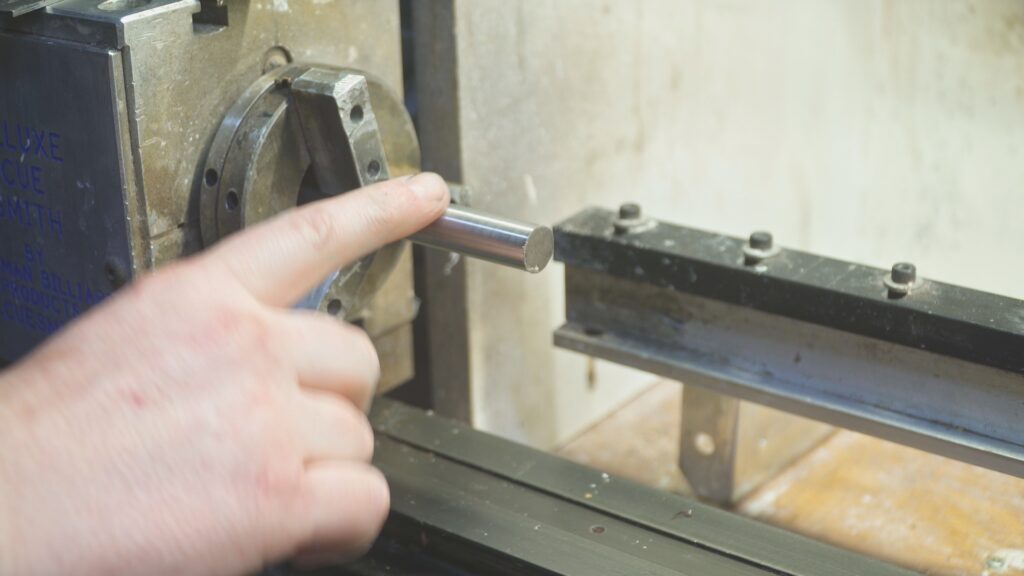

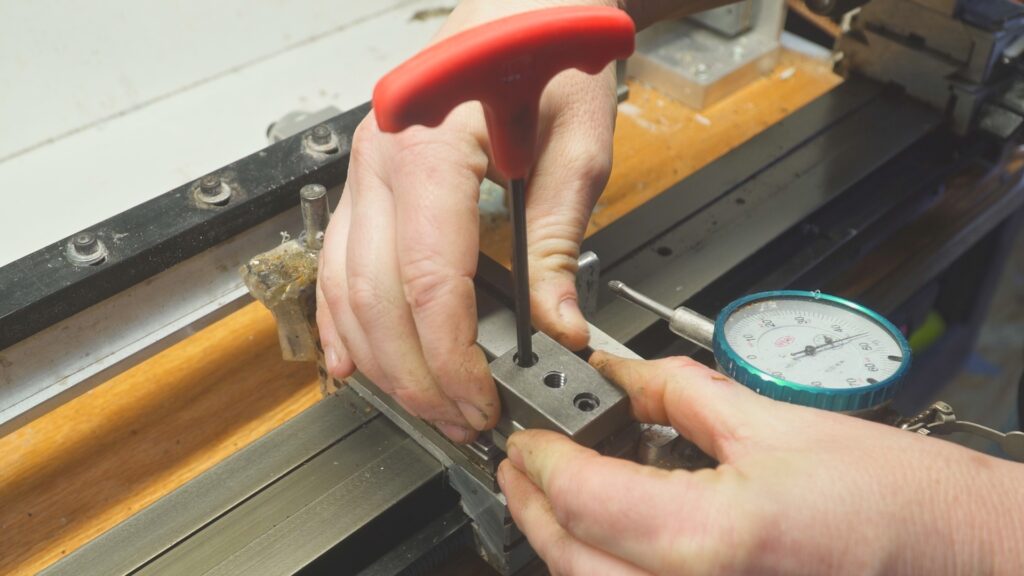
Now you will need to set the height of the tool holder to ensure that the tools are centered on your workpieces. For this, you will need a piece of trued-up round stock. In my case a piece of ½ inch steel. You will also need a small square. The square will need to be able to fit under the round stock you have chosen. Lastly, you will need a flat piece of metal. It is very very important that the metal is flat and straight. For this, I chose to use a 6-inch steel ruler.
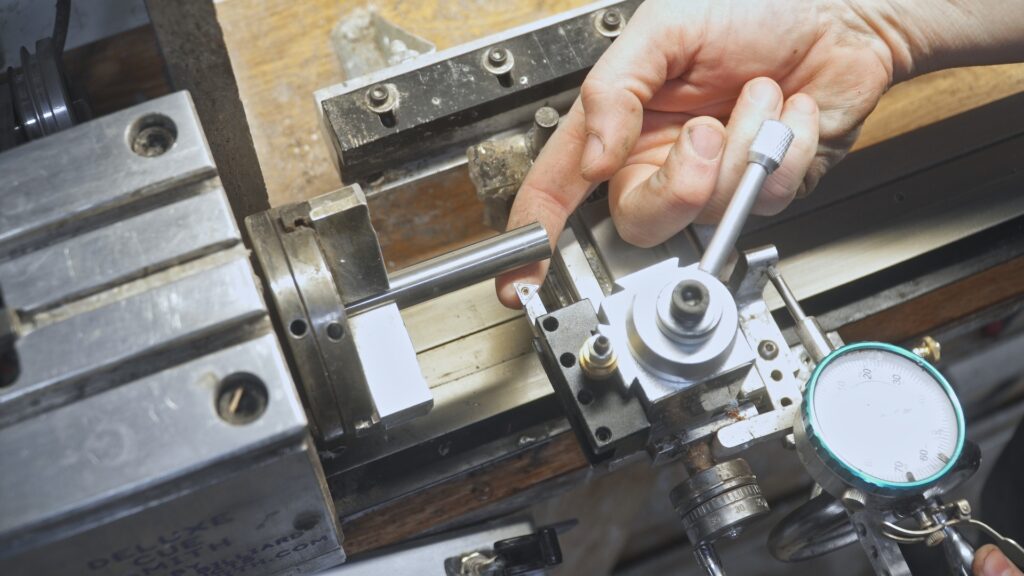
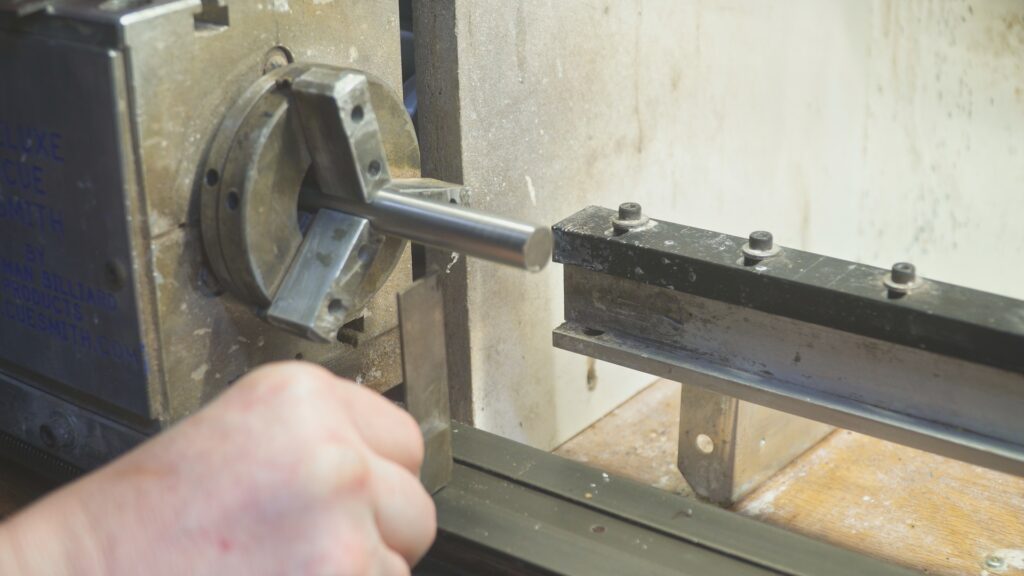
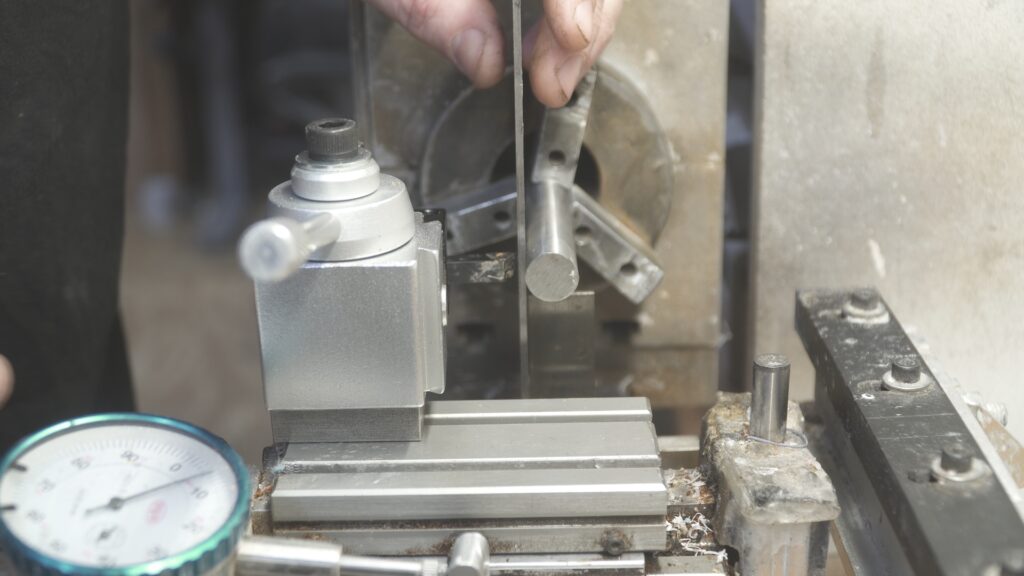
Place the round stock into the chuck and close it securely. Then move the cross-sled into position. There should be enough room from the end of the round stock to place the flat metal (ruler) flat and completely onto the round stock. Place the ruler into position between the tool point and the round stock. You do not need to put much pressure on the metal. You may also need to back the tool off or add more pressure depending on how the tool is located relative to the round stock. There should be just enough pressure to hold the ruler against the side of the round stock.
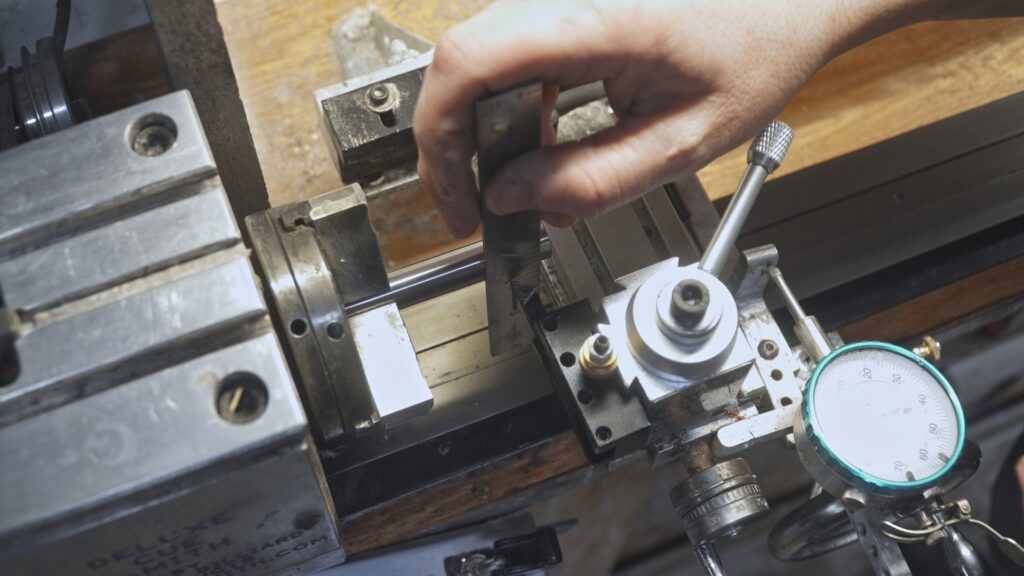
Once the ruler is in place make sure the tool post handle is tightened and take a look at the angle that it is pointing. If the top of the ruler is angled away from you then the tool is to high. If it is angled toward you it is too low. To adjust the height of the tool holder loosen the handle of the tool post and then use the brass knob to adjust the height. Tighten the handle of the tool post back and then note the angle of the ruler. Once you are close to the straight vertical place the square on the bed of the lathe and slide it against the ruler. Make sure to only lightly touch the ruler with the square. Note the angle and gap of the ruler to the square. Adjust the tool holder position until the square is perfectly flush along its length to the square. When there is no longer any gap the tool is in the center of the round stock and in the proper position. Make sure to tighten the handle of the tool post each time after the adjustment and before checking against the square. Then once in position back the cross-sled off and lift the tool holder from the post making sure not to move the brass knob and then replace it and check to ensure it is still aligned. Do this as many times as necessary to ensure the post is correctly positioned each time.

After all the calibration is done the tool post is ready to use. Overall I really like this system. It should make the workflow of many of the processes on the lathe much quicker and more consistent. I also like that it is pretty modular as different tool holders and tools can be set up in many different and useful ways. If you are using a cue lathe or any metal lathe really I would highly suggest looking into one of these awesome quick change tool posts. It is well worth the money and time to install in my opinion.
Below I will list the one I personally used in this case as well as I will link to some of the others that are available on sites like amazon. I have not tried these particular tool posts but have read and spoken with many people that have and the feedback I have been getting is very positive. I hope found this helpful and I will see you on the next one!
LINKS
CueSmith Quick Change Tool Post: https://www.cuesmith.com/quick-change-toolpost/
Amazon Quick Change Tool Post: https://amzn.to/3BHOX5Z
For more links to some of the tools, you will see in my shop check out https://jpaynewoodworking.com/tools-materials-and-links/