 JPayne Woodworking Creative Craftsmanship
Have you ever been in the shop and got this great idea for a project and you think to yourself I have the perfect board for this. Then you trot off to your wood storage and grab the board and back at the workbench you realize that the board has bad edges. You start looking around your shop and this is the point where you really wish you had a good jointer. A jointer is likely one of the most useful tools you can have but they can be expensive and also they can take up a whole lot of room in your shop. If you are like me that is a problem on both counts. So you start day dreaming and wishing and scrounging through the couch cushions and you car seats to start up a jointer fund.
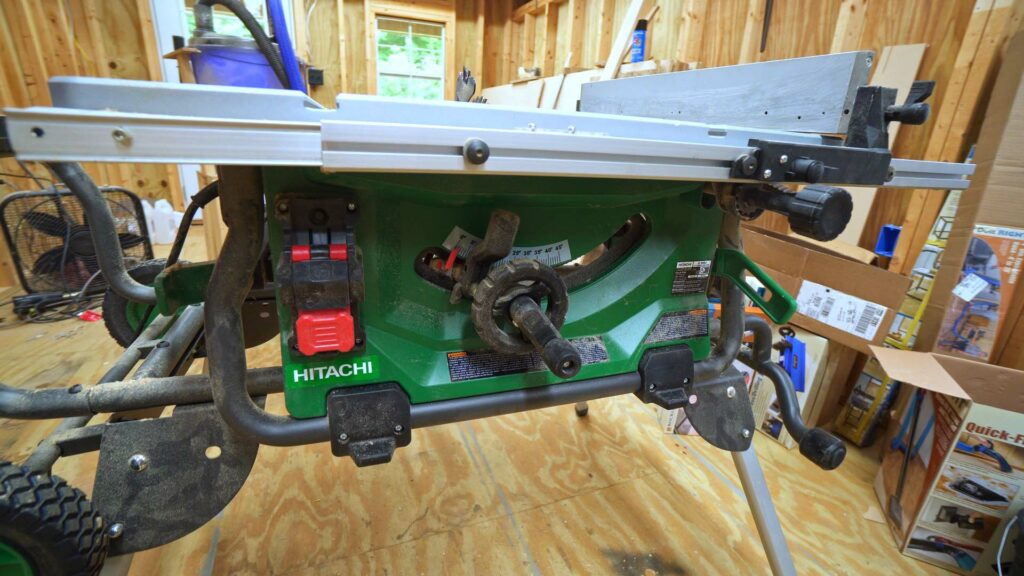
Well I have a better Idea! All you need to fix this issue is some simple sheet goods, a couple of sections of Rockler T-track and some Rockler T-Track clamps and a Table Saw. This is the jointer jig. I have been using this jig for some time now I love how well it works. I will go over more on how it works later on. First let’s look at how to make a jointer jig for yourself.
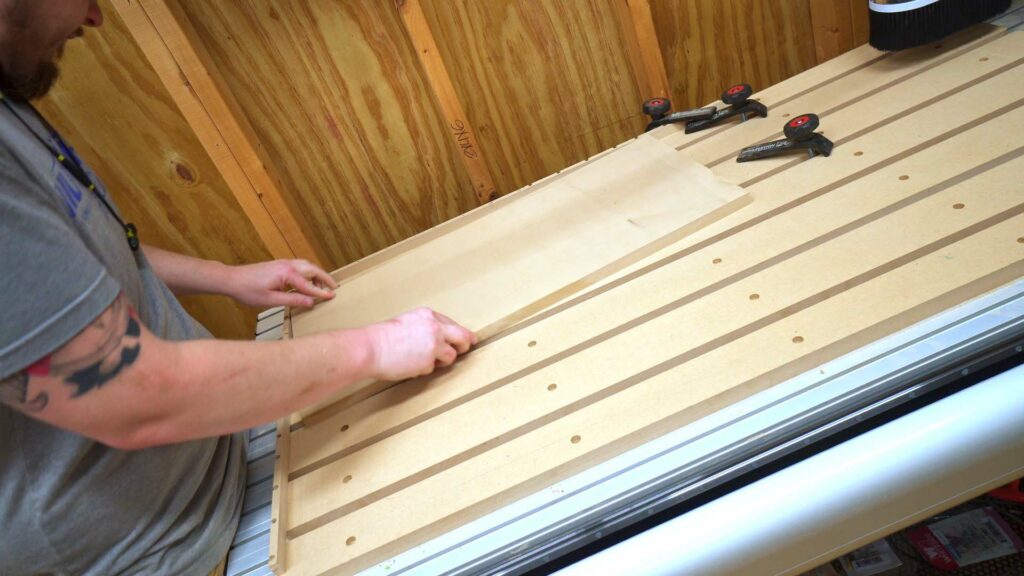
Starting off you need some type of sheet goods. In this case I used MDF. You can also use plywood if you would like or even something HDPE. The only real requirements are that the material is smooth and stable so that there will be not warping or twisting. You need the board once cut to size it will not change.
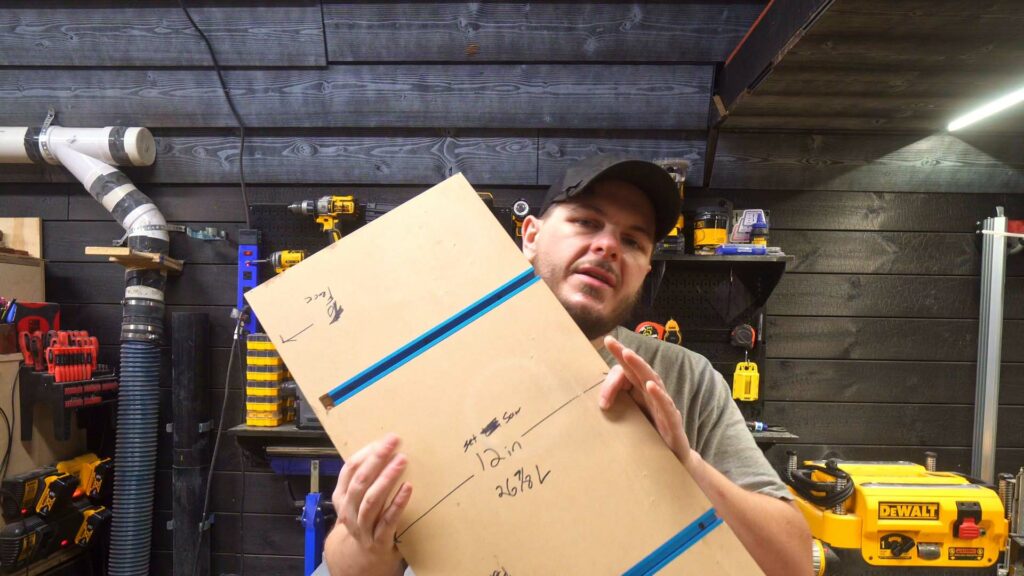
While setting up to cut the width of your jig keep in mind the size of the board that you create the jig as will directly affect the size of the boards you can joint with it. For example if you cut your jig to the same size of the jig I created 12 inches by 26 inches. This would mean that you would only be able to joint board with a width of around 11 inches in width and shorter than 26 inches. Trying to joint boards that are longer than the jig would be dangerous. DO NOT DO THAT!!!! Please. Create multiple jigs at different lengths. Another thing is that once the board is cut to width that is the width that you will have to set the fence to, to be able to use the jig. As with this jig it is cut to 12 inches wide so the fence will need to be set to 12 inches to use the jig.
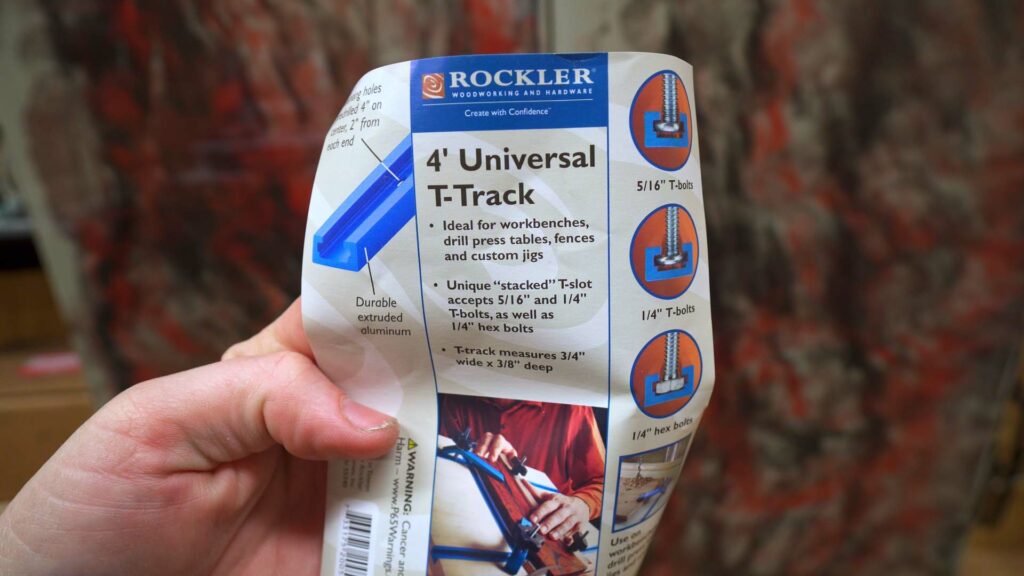

The next step is to prepare the Rockler T-track. The amount of T-track the you will need will depend on the width of your jig. The T-track will be how the board is clamped to the jig. I do suggest using Rockler T-track that is proven to be strong and have good quality control. Like all things in the shop, safety is the first priority. A cheap T-track can break or pull away from the jig and cause kickbacks or worse.

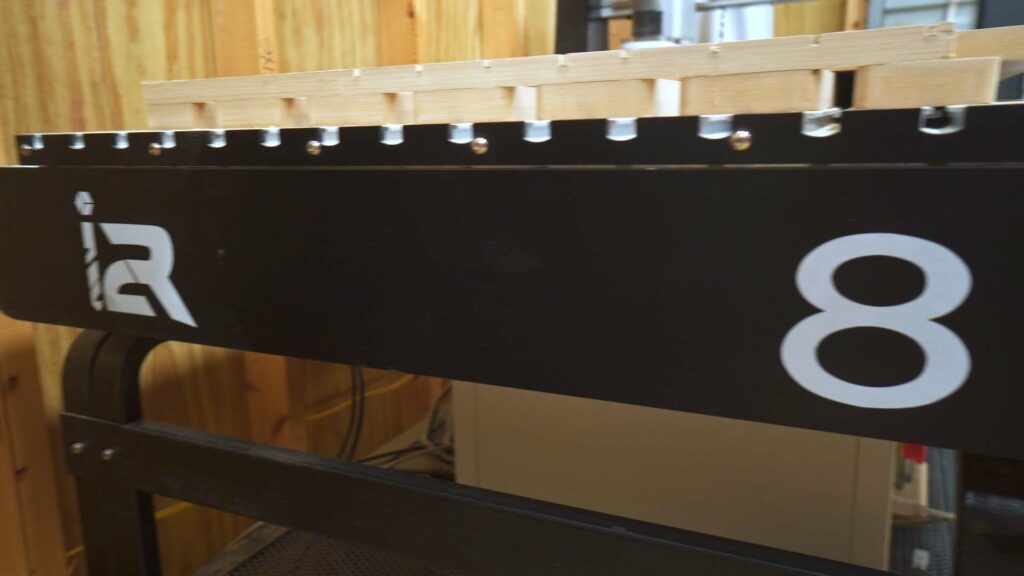
To cut the slots for the T-track I used the i2r-8 UCCNC from i2rcnc.com to cut the slots. Also if you want to get into cnc woodworking go to i2rcnc.com and use code JPAYNE10 at check out and get up to $200 off of an i2r-8 UCCNC. You do not have to have a cnc to do this. You can easily use a router and guide to create the slots. Make sure if doing this that you create the slot for a slightly tight fit and they need to be perfectly straight. Use the T-track itself to mark out the guidelines you need to follow. Do not rush or get into a big hurry so that you get a perfect fit.
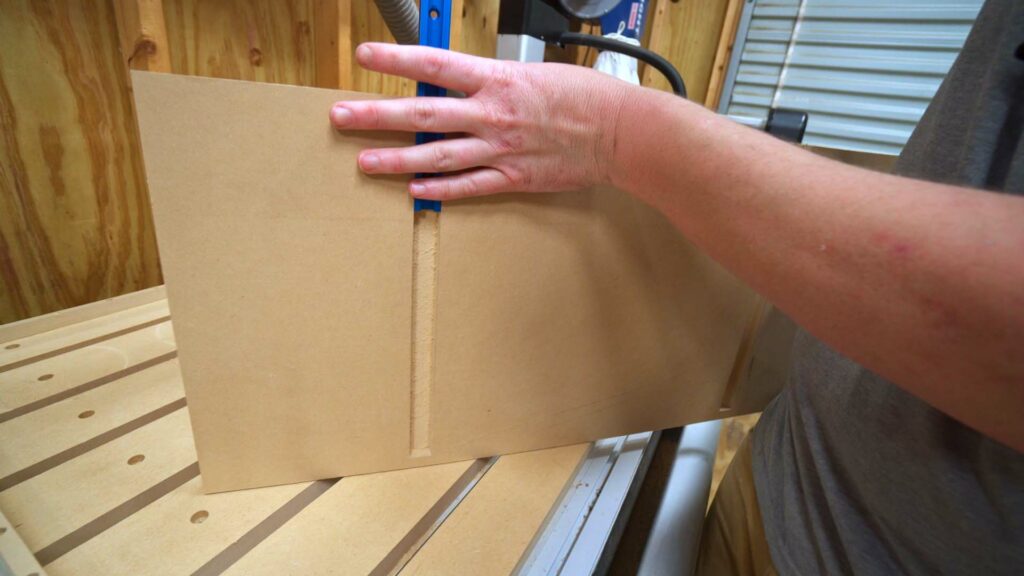
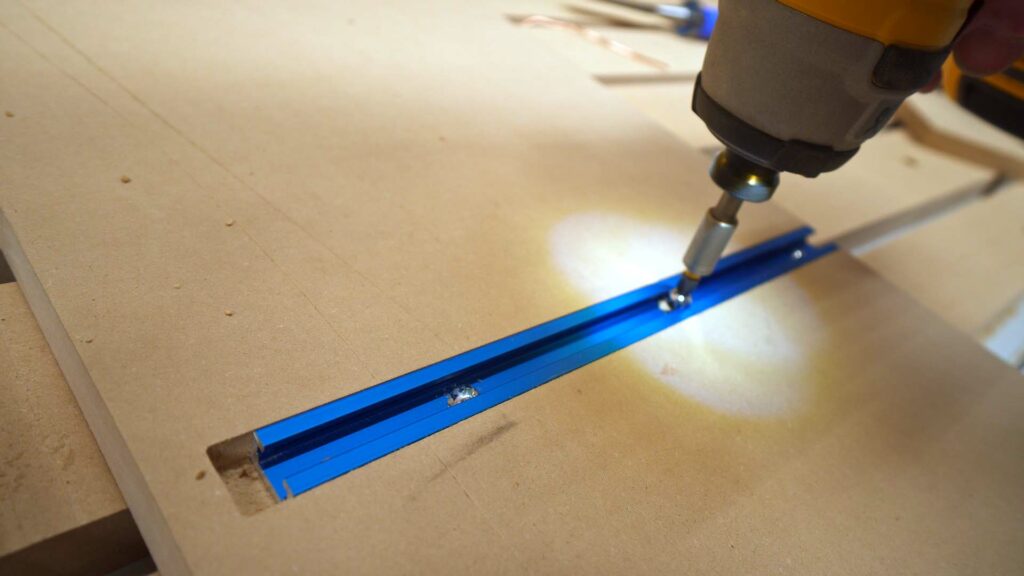
If the slots for the T-track are cut correctly you should need to tap down the track into place. The track needs to fit tightly and also it needs to be completely flush with the top of the jig. You do not want the track protruding as it will cause the board you are trying to joint to not sit flat and this can affect the edge that you cut. Once you have tapped the track into place use a countersink bit and the supplied screws to attach and secure the track. DO NOT STRIP OR OVERTIGHTEN THE SCREWS! Stripping out the screws can harm the strength of the track once you are clamping the board into place. This can be dangerous. You want the board to stay in place as tightly as possible.
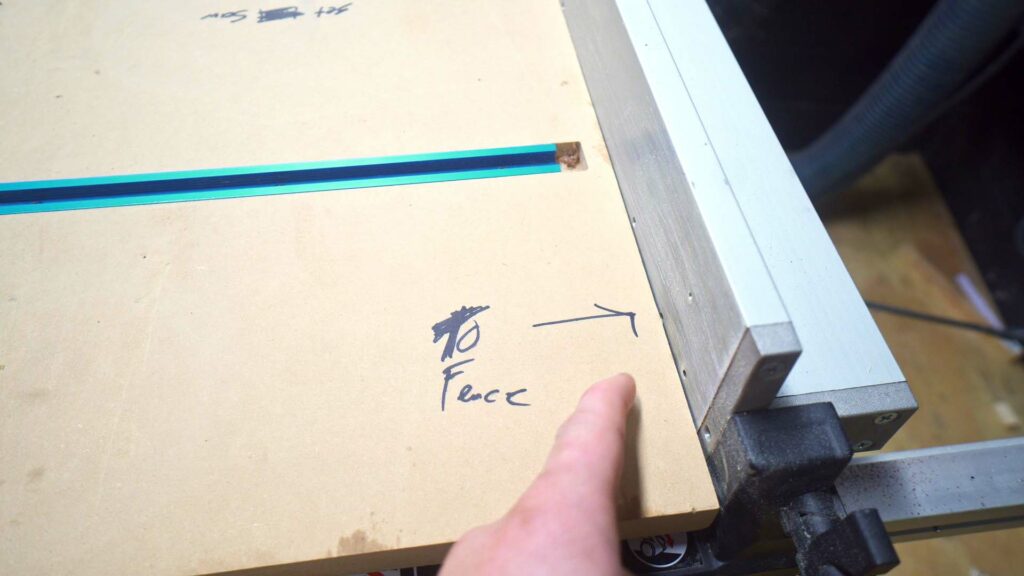
I also highly suggest marking on the jig what edge you use against the fence on the saw. This will ensure that you are using the same reference face against the fence for each use.
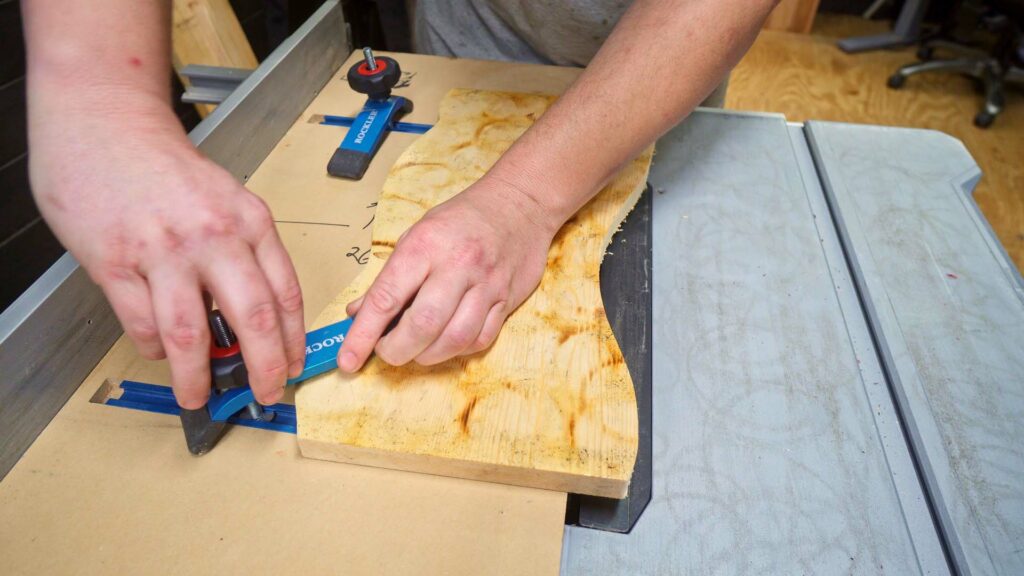
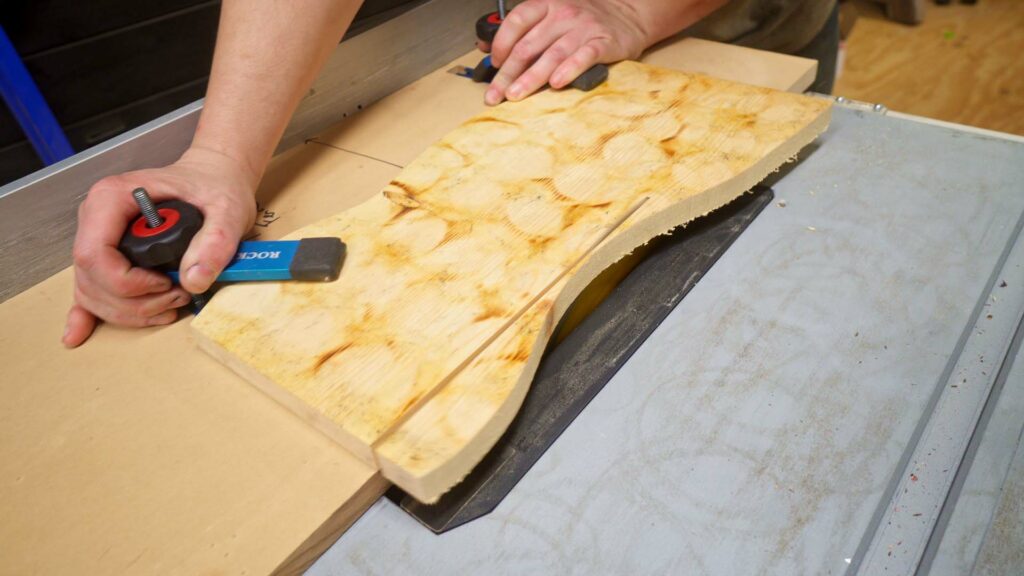
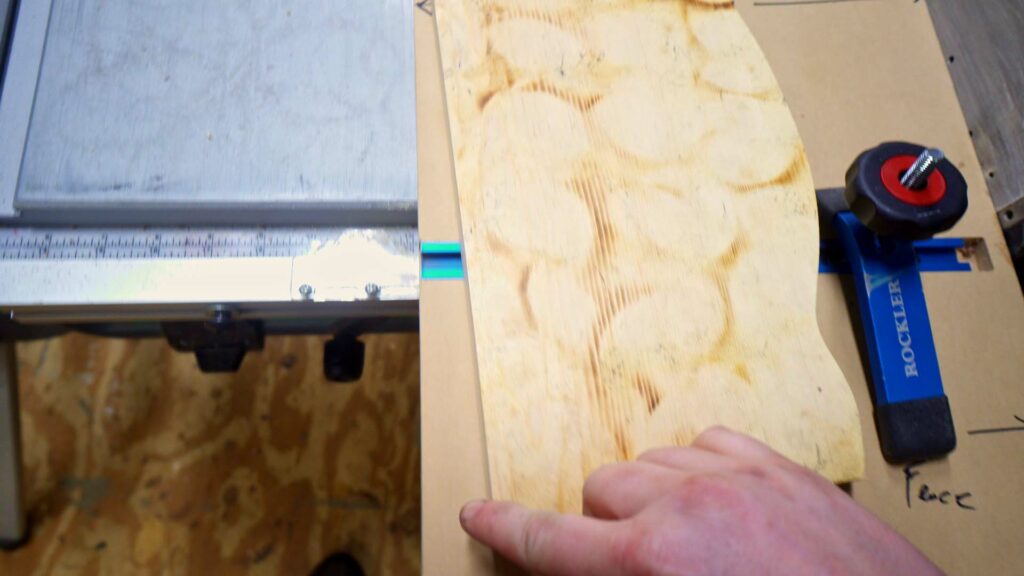
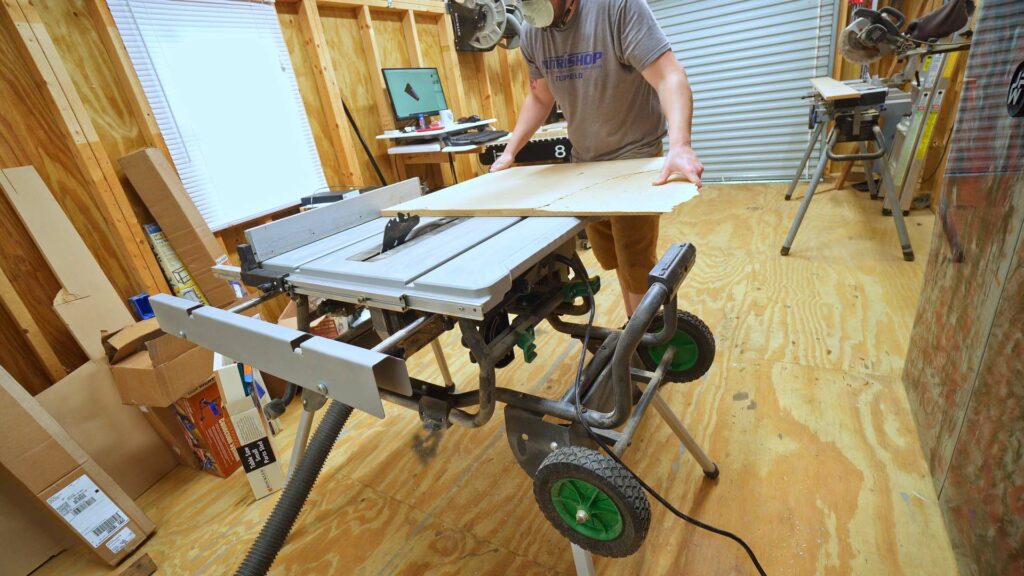
To use the jig you simply place the board onto the jig with the edge you would like to joint overhanging on the side of the jig with the blade. You also need to keep in mind that doing this you will lose at least ⅛ of an inch of material from removing the edge of the board. Once you have the board in position on the jig you then use the Rockler T-Track clamps to tightly clamp down the board. You need to make sure the board cannot move at all. Movement is bad. If you can even slightly move the board you need to reset and re-tighten the clamps.
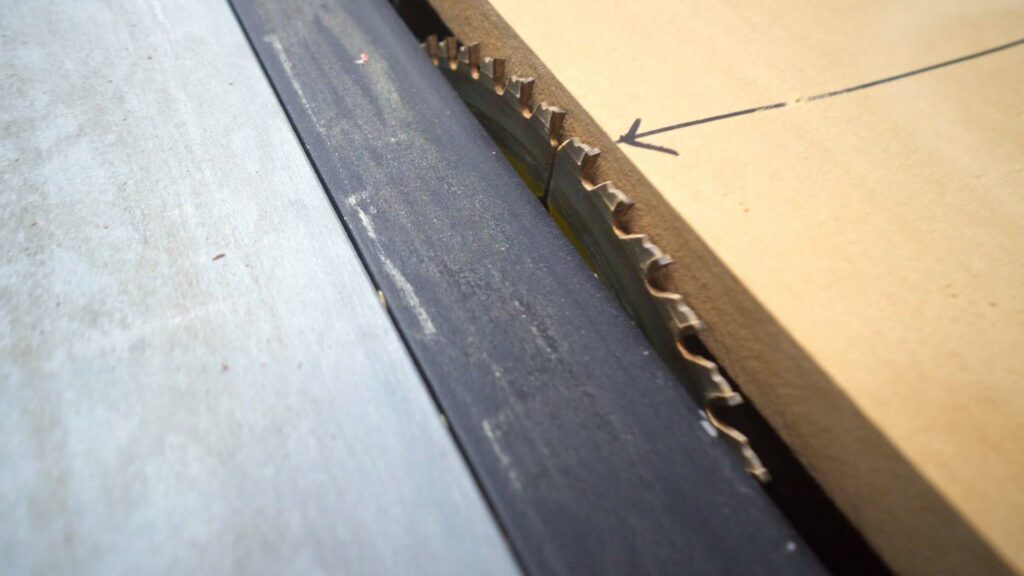
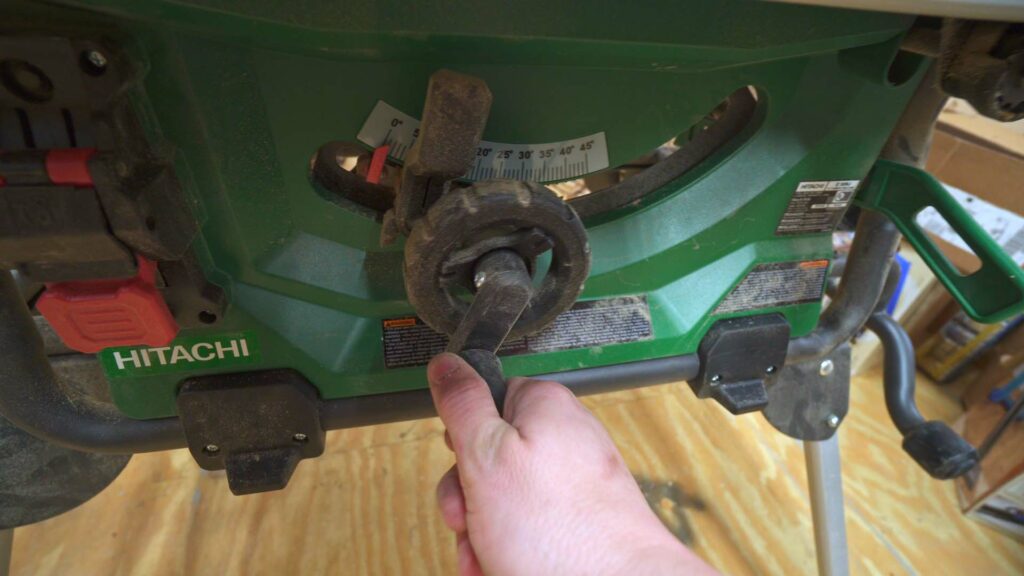
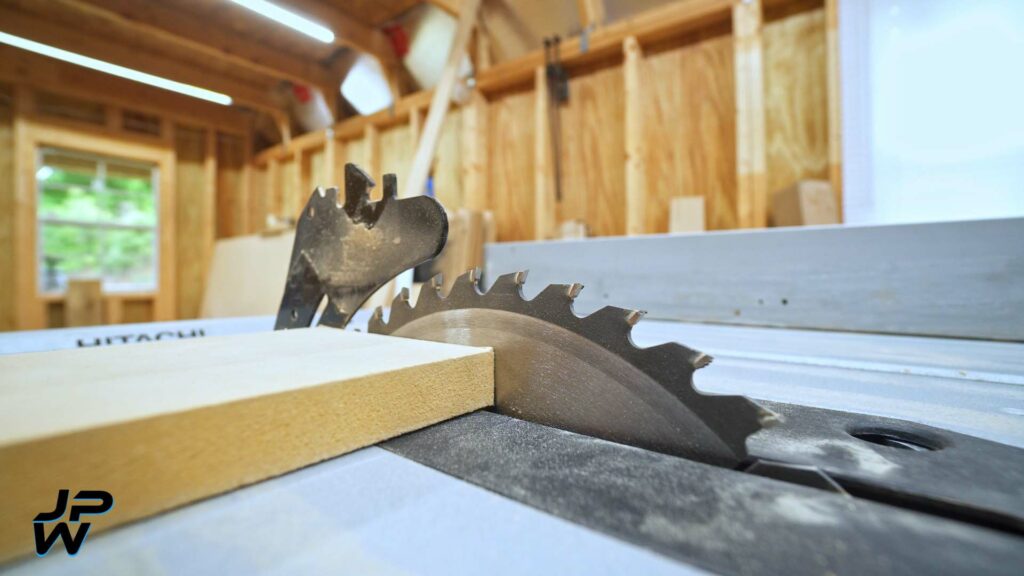
Set the fence to the proper width of the jig.You want the fence set precisely to the width you created the jig ( i.e. a 12 inch jig the fence is set exactly 12 inches from the blade). You want the blade to be against the edge of the jig. Not cutting into the jig and with almost no gap. Then raise the blade only slightly above the top of the board. Not the jig you want to completely cut the small strip off of the edge of the board you are trying to joint. This removal of material is what gives you a straight edge on the board you are joining. You can remove as much or as little material as you need to remove all of the warp, cracking , or issues with the edge you are trying to joint. In the video I use a board with exaggerated wavy edges to show that the board no matter how bad the edge can be corrected using this jig.

This jig is a tool that I use so much. One of the best tools and tricks in my shop. This is a great way to be able to joint boards and get a perfect straight edge. You can make these jigs at any length you would like. This would give you the ability to joint boards that are as long as the jig. If you make a jig with a length of 8 ft you would be able to join an 8 ft board. This is a great affordable alternative. A jointer can cost hundreds of dollars and if you were to plan the jigs correctly you could create multiple jigs for around $100-$150.
I hope you guys found this helpful. Make sure you go subscribe on YouTube. Also you can follow me on Instagram @jpaynewoodworking for more photos and videos. Make sure as well to sign up to the newsletter here on jpaynewoodworking.com to see what article, videos, products and news as it is released. Thank you guys and I will see you on the next one.
